DIY Rainwater Systems for Vertical Gardens
Learn to create a DIY rainwater system for your vertical garden to save water and promote healthier plant growth with low-cost solutions.
By Alfred van der Heide, Founder, AIGardenPlanner. Editorially reviewed for practical garden-planning accuracy.
Want to save water and grow a thriving vertical garden? A DIY rainwater system can help you cut water bills by up to 50% while giving your plants chemical-free hydration. Here's how it works: collect rainwater from your roof, filter it, and use it to efficiently irrigate your vertical garden. With costs as low as $15, it's an affordable and eco-friendly solution.
Key Takeaways:
- Cost Savings: DIY systems range from $15–$100, much cheaper than pre-made options.
- Water Collection: A 1,000 sq ft roof can capture over 620 gallons of water per inch of rain.
- Healthier Plants: Rainwater is free of chlorine and chemicals, promoting better growth.
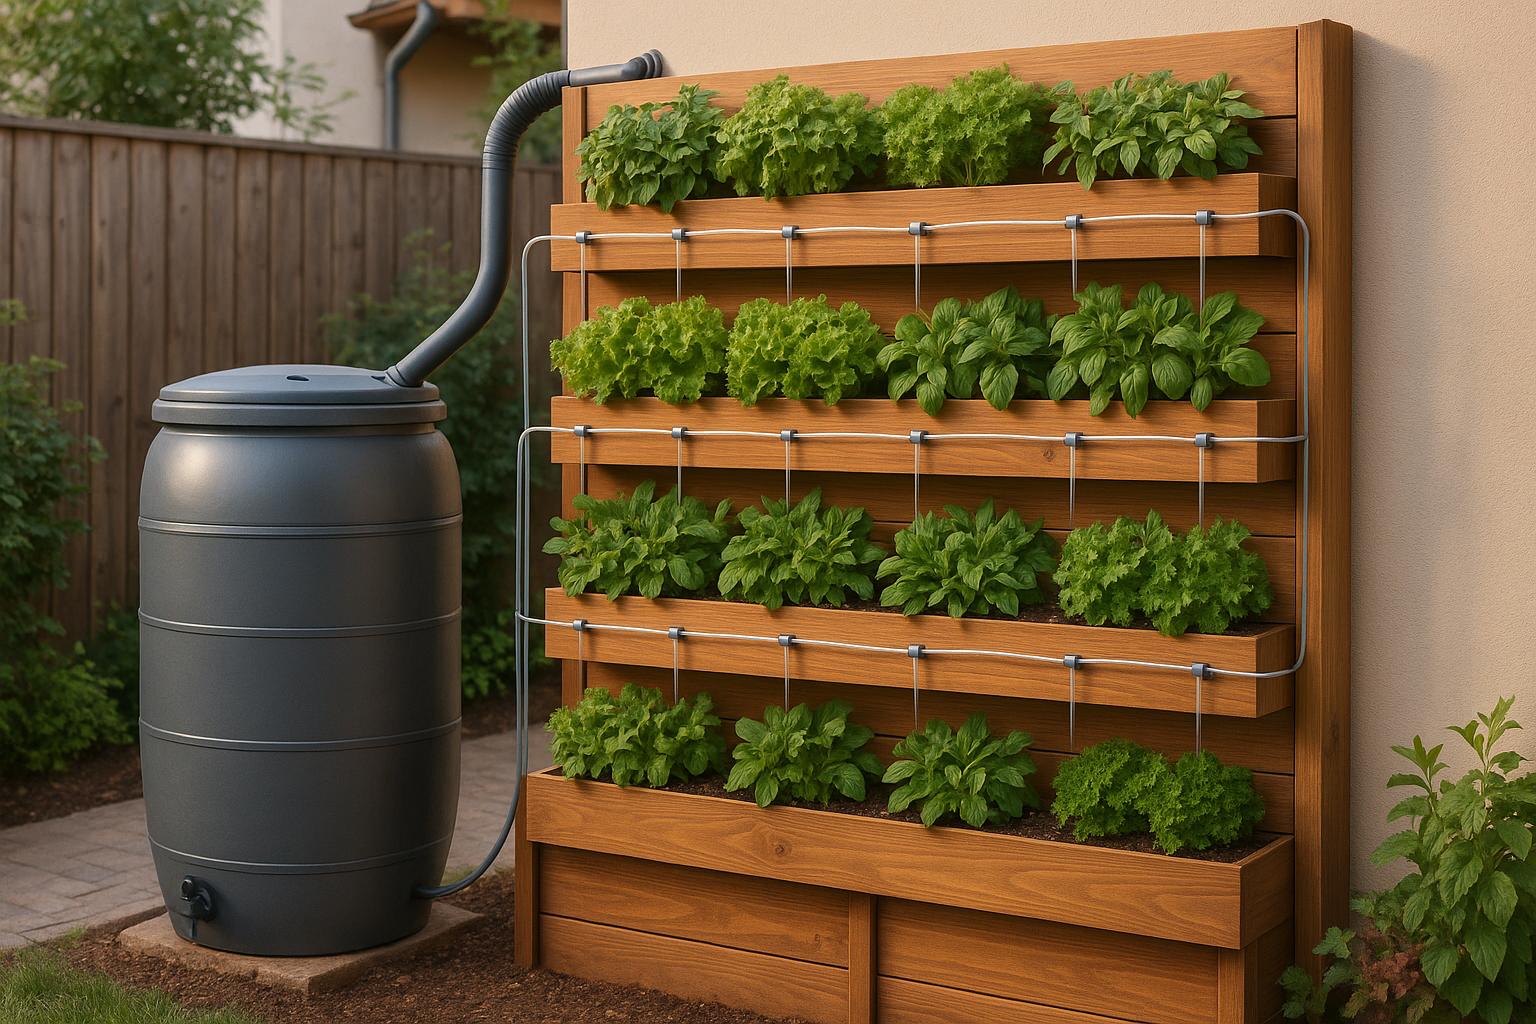
- Simple Setup: Use gutters, filters, and a storage tank to create a gravity-fed or pump-based system.
Quick Steps:
- Install gutters and downspouts to channel rainwater.
- Add pre-filters and a first flush diverter to remove debris.
- Store water in a durable tank with an overflow system.
- Set up a distribution system with hoses or drip irrigation for your garden.
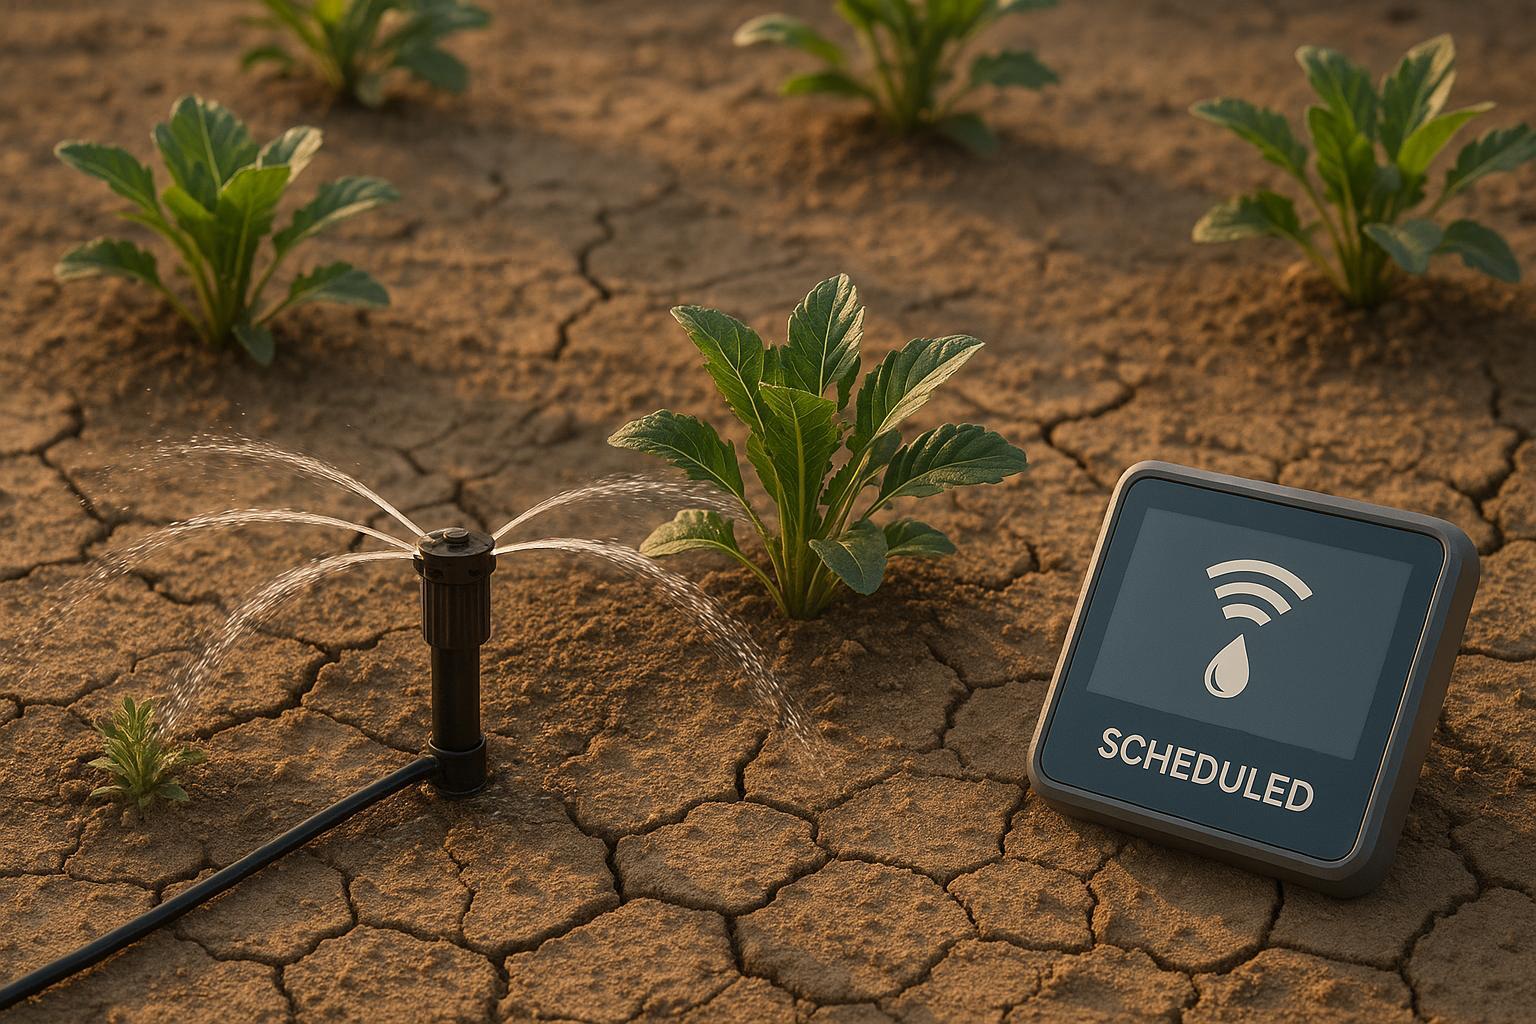
Regular maintenance, like cleaning gutters and filters, ensures your system runs smoothly. Whether you're a beginner or experienced, this guide equips you to build a reliable rainwater system that supports your garden and reduces your water use.
DIY Vertical Gutter Garden & OffGrid Irrigation System!

How Rainwater Collection Works
Rainwater collection starts with your roof, which captures rainfall and channels it through gutters into a storage tank for future use - like watering your garden. To give you an idea, in regions with 100 inches of annual rainfall, each square foot of roof can collect about 62 gallons of water per year. However, factors like roof shape and evaporation reduce collection efficiency to about 75%. So, in reality, you’d collect roughly 47 gallons per square foot annually [8].
Using harvested rainwater comes with some impressive perks, especially for vertical gardens. Daily water savings can reach up to 40%, and in some households, total water consumption might drop by as much as 50%. For instance, in Brisbane, switching to rainwater for garden irrigation can save up to $4.60 per kiloliter compared to municipal water [2][7].
The effectiveness of your system depends on several factors. Roof type and slope are key - metal roofs are less likely to carry contaminants compared to asphalt shingles. Both are fine for garden irrigation, but smoother, lower-pitched roofs tend to collect water more efficiently [8][6]. A well-designed system not only maximizes water collection but also ensures a steady supply for your vertical garden. Let’s break down the main components that make it all work.
Main Parts of a Rainwater System
"Essential rainwater harvesting system components include a catchment area, a conveyance system, pre-storage filters, a storage system, a filtration system, and a distribution system." – Rainwater Management Solutions [5]
A rainwater harvesting system consists of six main components that work together to capture, clean, store, and deliver water to your garden.
| Component | Function | Key Features |
|---|---|---|
| Catchment Area | Collects rainwater from the roof | Roof size determines how much water you can collect |
| Conveyance System | Directs water to the storage tank | Gutters and downspouts guide water flow |
| Pre-Filters | Removes debris before storage | Screens trap leaves, twigs, and larger particles |
| Storage Tank | Holds collected rainwater | Sized based on roof area and rainfall patterns |
| Filtration System | Cleans water for garden use | Includes sediment and carbon filters |
| Distribution System | Delivers water to plants | Uses pumps or gravity to move water |
The catchment area, usually your roof, is the starting point of the system [5]. To estimate how much water you can collect, use the roof’s footprint (the flat area it covers) rather than its sloped surface [9]. A general rule: for every inch of rainfall, you can collect about 10 gallons of water per 1,000 square feet of roof surface [8].
The conveyance system - gutters and downspouts - needs to be properly sized to handle the water flow. For example, 5-inch-wide gutters with a slight slope of 1/16 inch per foot ensure smooth drainage. Placing the storage tank close to the roof reduces the length of piping needed [8][9].
Pre-filters and first-flush diverters are essential for water quality. They remove the initial flow of water, which often contains debris and pollutants washed off the roof during the first moments of rainfall.
The storage tank should be opaque to prevent algae growth and sized to meet your garden’s water needs. If you live in an area with infrequent rain, you might need a larger tank to store enough water between rainfalls [8][6].
Finally, the distribution system moves the water to your garden. Gravity-fed systems are simple and energy-efficient, but if your tank is located below the garden, you’ll need a pump to do the job [8].
Materials and Tools You'll Need
Creating a reliable and efficient rainwater harvesting system for your vertical garden starts with having the right materials and tools on hand.
Required Materials
Your system will need eight main components: a catchment surface, conveyance system, downspout screen, first flush diverter, tank screen, storage container, overflow system, and bulkhead fitting.
For the catchment surface, opt for materials like metal or clay tiles, as these are less likely to leach harmful chemicals compared to asphalt shingles [5]. Standing seam metal offers the best collection efficiency, while asphalt shingles are generally safe for watering gardens [11]. However, steer clear of materials like cedar shake, copper, and lead [11].
Make sure you have enough gutters for the sections of your roof you'll be using. Add a downspout screen to filter out large debris before water enters your storage tank [10].
When it comes to storage, there are several options to choose from, including food-grade 55-gallon drums, decorative rain barrels, poly tanks, underground cisterns, IBC totes, or steel tanks [3][10]. Polyethylene tanks are a popular choice due to their durability and lightweight, corrosion-resistant design. Stainless steel tanks, on the other hand, are excellent for handling extreme temperatures [5].
Other essential components include a first flush diverter to remove initial runoff contaminants, a tank screen to keep insects and debris out of the stored water, and a bulkhead fitting for secure connections [10]. An overflow system will manage excess water during heavy rains.
For watering your vertical garden, use flexible hoses and connectors. If your tank is elevated, a gravity-fed setup can work well, but you can also use a water pump for mechanical systems. Economical options like hose nozzles and watering wands are great for manual watering [16].
You can also add optional upgrades to enhance your system. These include solar shields to prevent algae growth, filtration systems with sediment and carbon filters, and UV light disinfection for indoor water use [5][10]. For vertical gardens, automatic watering tools like drip irrigation timers and emitters can be a great addition.
Once you've gathered all your materials, it's time to move on to the tools you'll need for assembly.
Construction Tools
With your materials ready, you'll need the right tools to put everything together efficiently. Start with basic tools like a drill with various bits, adjustable wrenches, pipe clamps, and a measuring tape for precise placement and connections.
For installing the tank, you'll need a spade to prepare the ground, a wheelbarrow for moving materials, and lumber for building a solid foundation. This includes 1x8 boards for forms, 1x2 stakes for support, 2x4 lumber for framing, and clamps to hold everything steady while the concrete sets [13]. Remember, the foundation must support the full weight of the water - about 8.3 pounds per gallon.
Plumbing tasks will require Teflon tape for tight seals, a pipe cutter or hacksaw for sizing pipes, and sandpaper to smooth any rough edges [12].
Safety is key during the construction process. Wear safety glasses when drilling or cutting, work gloves when handling metal parts, and sturdy shoes with good traction, especially if you're working on a ladder or near the roof.
If you're a beginner, consider starting with DIY wall panel kits that come with easy-to-follow instructions [14]. Pallet systems are another great option, as they usually require basic tools and can be built with low-cost or reclaimed materials [15]. Using upcycled items like old gutters or wood scraps is also a great way to keep costs down [14].
🚀 Ready to Reinvent Your Garden?
Join thousands of homeowners who have transformed their gardens using our AI design tool. Upload one photo to explore endless possibilities.
Get your AI garden designs →How to Build Your Rainwater System
With your materials and tools ready, it’s time to bring your rainwater system to life. A careful and methodical approach will ensure everything runs smoothly and efficiently.
Choosing the Right Location
Picking the right spot is key to your system’s success. Place your rain tank close to the structure collecting the rainwater - this minimizes plumbing work and makes the setup more convenient [17].
Keep in mind that a full tank is heavy - 1,000 liters of water weighs about a ton [18]. The ground must be able to support this weight. Also, take advantage of gravity by positioning the system so water naturally flows into the tank [19]. Think about how water will drain downstream and ensure the tank fits the space. If aesthetics or limited space are concerns, below-ground tanks are an option, but large above-ground tanks can also make a bold statement [18][19].
Once you’ve chosen the location, prepare the collection area.
Building the Water Collection Area
The gutters and downspouts are the heart of your collection system, channeling rainwater from your roof to the storage tank [21]. Choose gutters that can handle the expected runoff. For example, a 5-inch gutter paired with appropriately sized downspouts works well for every 100 square feet of roof area. When installing, tilt the front of the gutter slightly lower than the back for better drainage. In snowy regions, attach hangers every foot, while in milder areas, spacing them every three feet is sufficient [21].
Add gutter guards to keep debris and pests out, reducing the risk of clogs [20]. Plan for overflow - a 1-inch rainfall on a 100-square-foot roof can yield about 60 gallons of water (since 1 inch of rain on 1 square foot equals 0.623 gallons) [1]. Finally, cut the downspout to the correct height for a secure, leak-free connection to your storage barrel [20].
Setting Up the Storage Tank
Position your storage tank in the chosen spot and elevate it 2 to 4 feet off the ground. This height allows gravity to create water pressure - about 1–2 PSI for most systems, with every foot of elevation adding roughly 0.43 PSI [22].
Trim the downspout for a tight, leak-proof fit and set up an overflow system to manage excess water during heavy rains [20]. Choose a barrel size that fits your needs, and if possible, align the tank with your garden layout for easy water distribution.
Adding the Watering System
Once the tank is ready, it’s time to set up your irrigation system. Start by attaching a 100-micron inline filter to the rain barrel’s drain. This filter keeps debris out of the tubing and emitters while ensuring smooth water flow [22]. Add a ball valve spigot to the filter to control water output.
For automated watering, use a mechanical ball-valve timer designed for zero-pressure systems - perfect for gravity-fed setups. If your garden isn’t right next to the barrel, connect a garden hose with a swivel adapter to reach it. Run 1/2-inch tubing along your garden rows, angling it downward to maintain flow [22].
Use a hand-held punch tool to create holes in the mainline for barbed connectors, which attach to 1/4-inch emitter lines or drip tape. Secure the ends of the mainline and consider adjustable bubbler emitters for gardens with varying water needs. If your tank is elevated more than 6 feet or you’re using a pump, an inline pressure regulator can help maintain steady water flow [22].


Your garden could look like this!
Upload a photo and get professional garden design ideas in seconds.
Design your garden in 3D — free, no sign-upFinally, test the system for dry spots or clogs and adjust emitters as needed. Don’t forget, rainwater has a slightly acidic pH (5–6), which can be a bonus for many plants compared to tap water’s pH of 7.5 [23].
sbb-itb-4d6a8dd
Caring for Your Rainwater System
Keeping your rainwater system in good shape doesn’t have to be complicated, but regular maintenance is key to ensuring it works effectively. By focusing on components like gutters, filters, storage tanks, and distribution lines, you can extend the life of your DIY system and avoid costly repairs.
Regular Cleaning and Check-ups
Make it a habit to inspect your system monthly. Start with the overflow spout - ensure it’s free of debris to avoid water backups during heavy rains [6]. During the first year, check for sediment buildup in the tank every month. This will help you decide how often deeper cleanings are necessary [25].
Gutters are especially important. Clogged gutters can bring your entire system to a halt, so clean them every six months. If you live in an area with heavy debris, such as falling leaves or pine needles, you might need to clean them more often. Installing leaf guards can also reduce the frequency of clogs if trees surround your collection area [24][26].
Filters require the most frequent attention. After every rainfall, inspect and clean the filters, including the first flush diverter [24]. Rinse them with clean water every few weeks and replace them as soon as you notice a drop in performance [26]. During pollen-heavy seasons, you may need to clean filters more often since they clog faster [25].
Annual maintenance keeps your system in top shape for the long haul. Check your tank for cracks or leaks once a year [6]. Plan a deep cleaning for the tank every 6–12 months using non-toxic cleaning solutions, and make sure it’s sealed tightly afterward [26]. Don’t forget to inspect pipes for leaks or cracks and replace any damaged sections immediately [26].
Here’s a quick look at a maintenance schedule for your rainwater system:
| Component | Inspection Frequency | Key Maintenance Tasks |
|---|---|---|
| Gutters & Downspouts | Monthly (weekly in heavy seasons) | Remove debris, check for damage, ensure proper drainage |
| Filters & First Flush Diverters | After each rainfall | Clean debris, test function, replace when needed |
| Storage Tank | Monthly visual, annual deep check | Look for cracks/leaks, remove sediment at 50% capacity |
| Overflow System | Monthly | Clear debris, ensure proper water direction |
| Distribution Lines | Spring and fall | Test for leaks, check pump function, inspect connections |
Once you establish a routine, you’ll find it easier to keep everything running smoothly.
Smart Water Usage Tips
Beyond regular maintenance, fine-tuning how you use your collected rainwater can make a big difference in efficiency. Knowing your water needs and adjusting your system seasonally are great ways to get the most out of it.
Spring is a good time to test all components and clean out any debris that may have built up over winter [25]. In the fall, prepare for colder months by insulating any exposed pipes to prevent freezing [24].
Monitoring water quality is another way to ensure your system is performing well. Test water at the point of use, especially if you’re using it for drinking or irrigation. For drinking water, consider at-home test kits or professional analysis to ensure safety [26]. Keeping a maintenance log can also help you spot patterns and address issues before they escalate [26].
Efficient water distribution is just as important. Use adjustable bubbler emitters to cater to different garden areas with varying water needs. Keep an eye out for dry spots or clogs in the system. If you notice biofilms or sediment buildup in distribution filters, clean or replace them as needed [25].
Lastly, plan your water usage around your local rainfall patterns. During dry periods, focus on watering your most sensitive plants. In times of heavy rain, make sure your overflow system is directing excess water away from your home’s foundation and garden beds. This not only protects your property but also helps you make the most of every drop.
Pros and Cons of DIY Rainwater Systems
Creating your own rainwater system for a vertical garden has its perks, but it also comes with some challenges. For starters, the cost is a big factor. DIY systems can range from $15 to $100, which is a lot cheaper compared to pre-made systems that can cost anywhere from $80 to over $1,400 [4][34][27]. However, as expert Chris Maxwell-Gaines points out, poor planning can lead to costly mistakes, so careful design is crucial [32].
One of the biggest advantages of using rainwater is its natural quality. Since it’s soft, free of chlorine, and has a lower pH compared to municipal water, it’s ideal for plants [4][28]. Plus, the potential water yield is impressive. For example, a 1,000-square-foot roof can collect a significant amount of water - up to 623 gallons per inch of rainfall. A single rain barrel can save up to 1,300 gallons during the summer months [4][30].
There’s also the environmental angle. Harvesting rainwater helps reduce stormwater runoff, which can prevent urban flooding and minimize water pollution. It also decreases reliance on municipal water supplies and lowers the energy used in water treatment and distribution [29]. This practice aligns with global sustainability initiatives like the United Nations' Sustainable Development Goals [7].
Benefits vs. Drawbacks Comparison
| Benefits | Drawbacks |
|---|---|
| Cost Savings: DIY systems cost $15–$100 versus $80–$1,400+ for pre-made options | Weather Dependency: Rainfall can be unpredictable, limiting water availability |
| Water Quality: Naturally soft, chlorine-free water with a lower pH is great for plants | Space Requirements: Storage tanks can take up valuable space |
| High Yield: A 1,000 sq ft roof can yield about 623 gallons per inch of rain | Technical Skills: Installation requires planning and technical know-how |
| Environmental Impact: Reduces stormwater runoff and municipal water use | Maintenance Responsibility: Homeowners must clean and maintain the system regularly |
| Customization: Systems can be tailored to fit specific garden needs and spaces | Health Risks: Poor designs may attract mosquitoes or lead to waterborne illnesses |
| Emergency Backup: Provides water during droughts or supply interruptions | Contamination Risk: Roofing materials may introduce contaminants like petroleum residues |
While DIY systems are a cost-effective and flexible option, they do come with challenges like inconsistent rainfall, space limitations, and the need for technical skills. For instance, areas with sparse or irregular precipitation may find rainwater harvesting less reliable [32]. Additionally, limited roof size or insufficient room for storage tanks can affect how well the system works [32].
Health and safety are also key considerations. Poorly designed systems can attract mosquitoes, potentially leading to waterborne illnesses [32]. Algae growth in tanks and contamination from roofing materials like asphalt shingles are other concerns [31][33]. Fortunately, these risks can be mitigated with thoughtful design choices, such as sealing tanks to prevent algae and using first flush diverters to keep out initial contaminated runoff [31][33].
For many homeowners, the benefits outweigh the drawbacks. With proper planning, a clear understanding of your local conditions, and a commitment to regular maintenance, a DIY rainwater system can provide an affordable and reliable source of irrigation for your vertical garden. When designed and maintained correctly, it’s a practical solution that can serve your garden for years to come.
Conclusion
Creating a DIY rainwater system for your vertical garden is a smart and budget-friendly project. With costs ranging from just $15 to $100, it starts saving you money right away.
The benefits go beyond cost savings. Rainwater is naturally soft, free of chlorine and other chemicals, and has an ideal pH for plant growth. This chemical-free hydration can make a noticeable difference in your garden's health while potentially cutting your water bill by up to 50% [35].
Beyond your garden, capturing rainwater helps the environment. It can reduce stormwater runoff by up to 44%, which helps prevent urban flooding and protects waterways. Plus, by using less municipal water, you conserve groundwater reserves and reduce the energy required for water treatment and transportation, contributing to a more sustainable future [29].
To keep your system running smoothly, regular maintenance is key. This includes cleaning gutters and filters, performing an annual tank cleaning, and testing the stored water for pH and contamination. If you live in a colder climate, winterizing your system is also important. With these steps, your system will remain efficient and reliable for years.
Pairing your rainwater system with tools like AIGardenPlanner can take your vertical garden to the next level. This AI-powered tool helps you choose plants suited to your location and climate, ensuring your garden thrives. It provides personalized plant recommendations and detailed growing guides, helping you make the most of your harvested rainwater while creating a lush, well-planned vertical garden.
🎨 Visualize Your Dream Garden Today!
Transform any outdoor space into a professional landscape design in minutes. Just upload a photo, choose your style, and let our AI do the rest.
Start your garden transformation now →FAQs
How can I figure out the right size for a rainwater storage tank for my vertical garden?
To figure out the right size for your rainwater storage tank, start by estimating how much water your vertical garden will need. Think about the number of plants, their specific water requirements, and the overall size of your garden. Naturally, larger gardens or those with plants that need a lot of water will require a bigger tank.
Next, calculate how much rainwater you can actually collect. This depends on your local rainfall patterns and the size of your roof. Use this simple formula: multiply your roof's area (in square feet) by 0.6, then multiply that by the average monthly rainfall (in inches). For example, if your roof is 1,000 square feet and your area gets 4 inches of rain in a month, you could collect roughly 2,400 gallons of water.
Once you have these numbers, choose a tank size that meets your garden's water needs and aligns with the amount of rainwater you can collect. For smaller vertical gardens, a tank in the range of 500–1,000 gallons might work. Larger gardens or areas with less frequent rainfall may need tanks of 2,000 gallons or more. This way, you’ll have enough water stored to keep your garden thriving, even during dry spells.
How can I maintain my DIY rainwater system to keep it efficient and safe for my vertical garden?
To keep your DIY rainwater system working smoothly and safely for your vertical garden, regular upkeep is essential. Start by cleaning filters and screens often to get rid of debris and avoid clogs - this is especially important after heavy rainfall or extended dry periods. Take time to inspect your roof, gutters, and downspouts 2–4 times a year to remove dirt and leaves, while also checking for leaks or damage that could contaminate the water.
Ensure your collection surfaces and storage tanks stay clean, and think about adding sediment filters to enhance water quality. Testing the water occasionally and keeping the tank sealed and in good condition will help ensure it’s safe for your plants. With steady maintenance, your rainwater system can continue to be a dependable, eco-conscious choice for your vertical garden.
What roofing materials should I avoid for rainwater collection to prevent contamination?
When collecting rainwater, it’s important to choose roofing materials carefully to keep the water safe. Avoid using materials like asphalt shingles, tar, or any that contain zinc or lead, as these can release harmful substances into the water supply.
Metal roofs are generally a safer option, particularly galvanized steel. However, some coatings on metal roofs may still pose contamination risks, so it’s essential to investigate the materials used on your roof to ensure they are suitable for rainwater harvesting.