5 Steps to Create a Low-Water Garden
Transform your outdoor space with a low-water garden using simple steps that save money, reduce maintenance, and support ecosystems.

Outdoor water use in the U.S. reaches 8 billion gallons daily, with over 50% going to lawns. Switching to a low-water garden can reduce water use by 50–75%, cut maintenance costs by up to 60%, and support local ecosystems. Here's how to get started:
- Plan Your Garden: Understand sunlight, soil, slopes, and group plants by water needs.
- Choose Drought-Tolerant Plants: Opt for native species and plants with water-saving traits like deep roots or small leaves.
- Install Drip Irrigation: Save up to 70% water with efficient systems.
- Use Mulch: Retain moisture, reduce evaporation by up to 50%, and enrich soil.
- Maintain Thoughtfully: Water deeply, prune, and refresh mulch regularly.
These steps help you create a beautiful, low-maintenance garden while conserving water and saving money.
The New California Landscape: Planning a Low Water Landscape

Step 1: Plan and Design Your Low-Water Garden
Start by understanding your garden’s unique characteristics and create a layout designed to conserve water effectively.
Understand Your Garden's Natural Features
The natural features of your garden - like sunlight exposure, soil type, slopes, microclimates, and wind patterns - determine how much water different areas will need.
Sunlight and Shade Patterns
Take note of how sunlight and shadows move across your garden throughout the day. East-facing areas generally receive softer morning light, while west-facing spots endure harsher afternoon heat. Areas with full sun tend to dry out faster, while shaded sections stay cooler and hold moisture longer.
Soil Type and Drainage
Your soil plays a big role in water retention. Test it by squeezing a damp handful or using a jar test. Sandy soils drain water quickly, meaning they may need more frequent watering, while clay soils hold onto moisture but can easily become waterlogged. Adding organic materials like compost can improve both sandy and clay soils, helping sandy soil retain water and enhancing drainage in clay soil.
Slopes and Water Flow
Pay attention to the elevation in your garden. Water naturally collects in lower areas, while higher slopes tend to drain faster. Use this to your advantage by planting drought-tolerant species on higher ground and reserving lower, wetter areas for plants that need more moisture.
Microclimates and Wind Exposure
Look for areas with unique growing conditions, like warm corners or spots prone to frost. Strong winds can dry out plants quickly, so consider planting windbreaks - like layered shrubs or trees - to protect sensitive plants and reduce water loss.
Track Climate Data
Use a rain gauge to monitor rainfall and determine how much natural water your garden gets. Find your USDA Plant Hardiness Zone and consider day-length variations in your area. This information will help you pick plants that are well-suited to your local conditions and guide your watering strategy.
Group Plants by Water Needs
Once you understand your garden’s conditions, organize plants into groups - or hydrozones - based on their water requirements. This method can cut water use by 20–50% compared to traditional watering practices.
Here’s how to group plants effectively:
- Routine zones: For plants like vegetables or annual flowers that need consistent watering.
- Reduced zones: For hardy perennials and shrubs that can thrive with less frequent irrigation.
- Limited zones: For drought-tolerant plants, such as native species and succulents.
- Non-irrigated zones: For areas that rely entirely on natural rainfall.
Water needs can vary widely between zones. For example, Kentucky bluegrass lawns may need up to 10 inches of water monthly, whereas drought-tolerant turf grasses like Dog Tuff grass may require just 1–3 inches once established.
Place these zones strategically. High-water plants should go in naturally moist, shaded spots, while drought-tolerant species are better suited for sunny areas with good drainage. If you have lawns and trees with different watering needs, manage them in separate zones to avoid over- or under-watering.
To make watering even more efficient, consider installing a smart irrigation system. These systems can control individual hydrozones, allowing you to tailor watering schedules to each area’s specific needs.
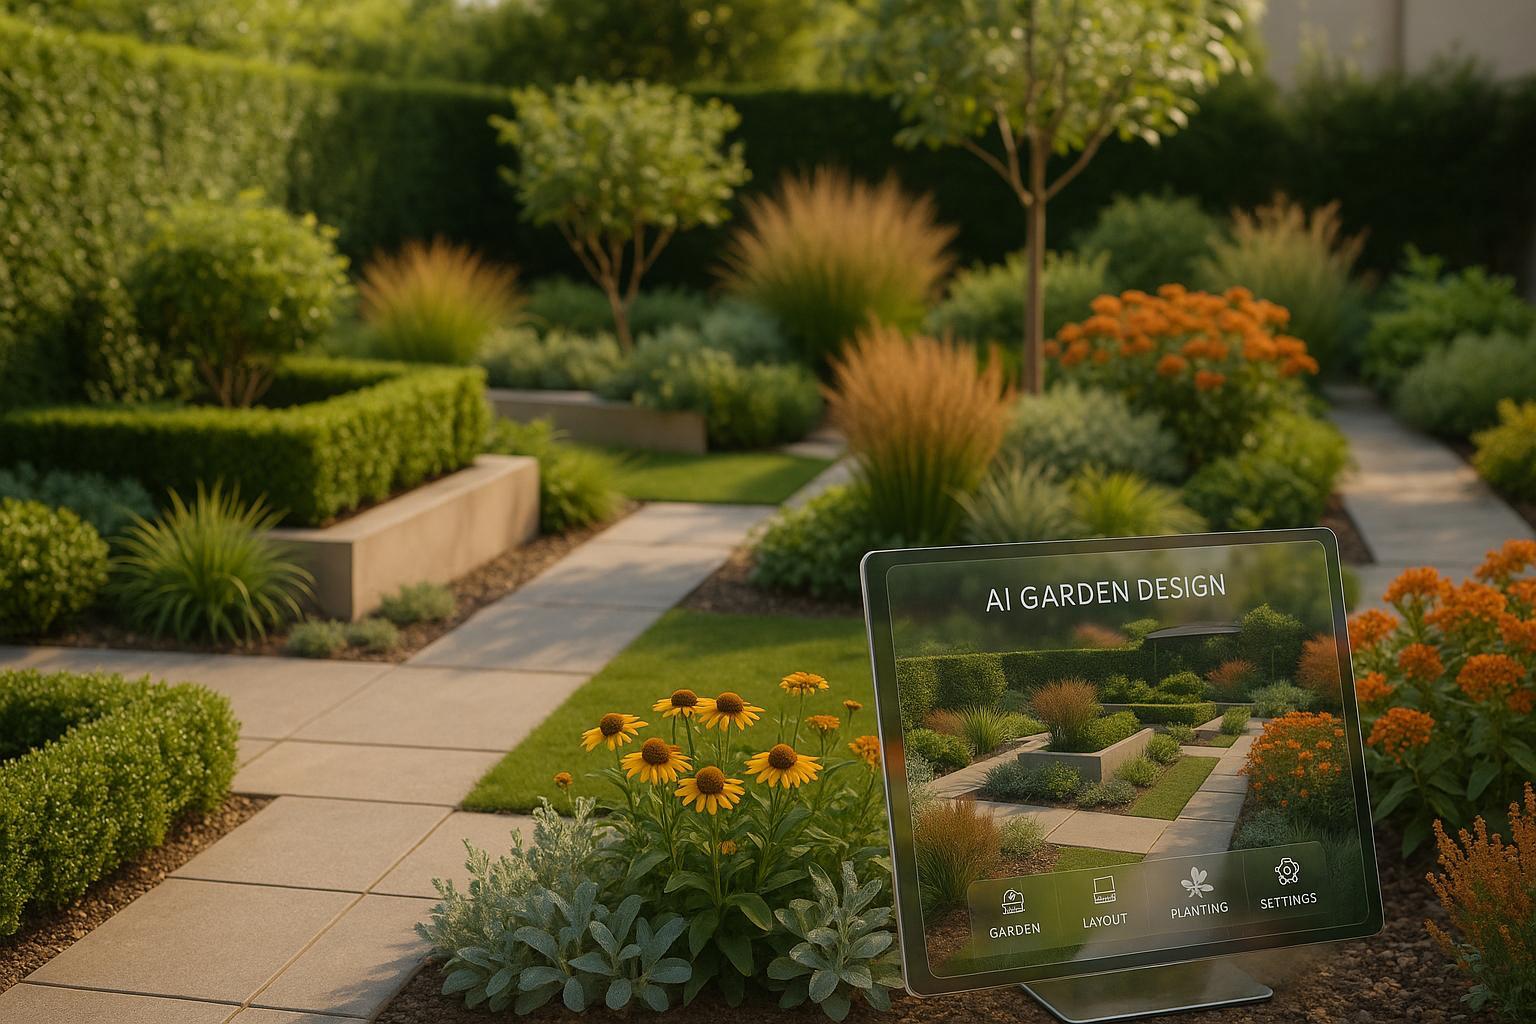
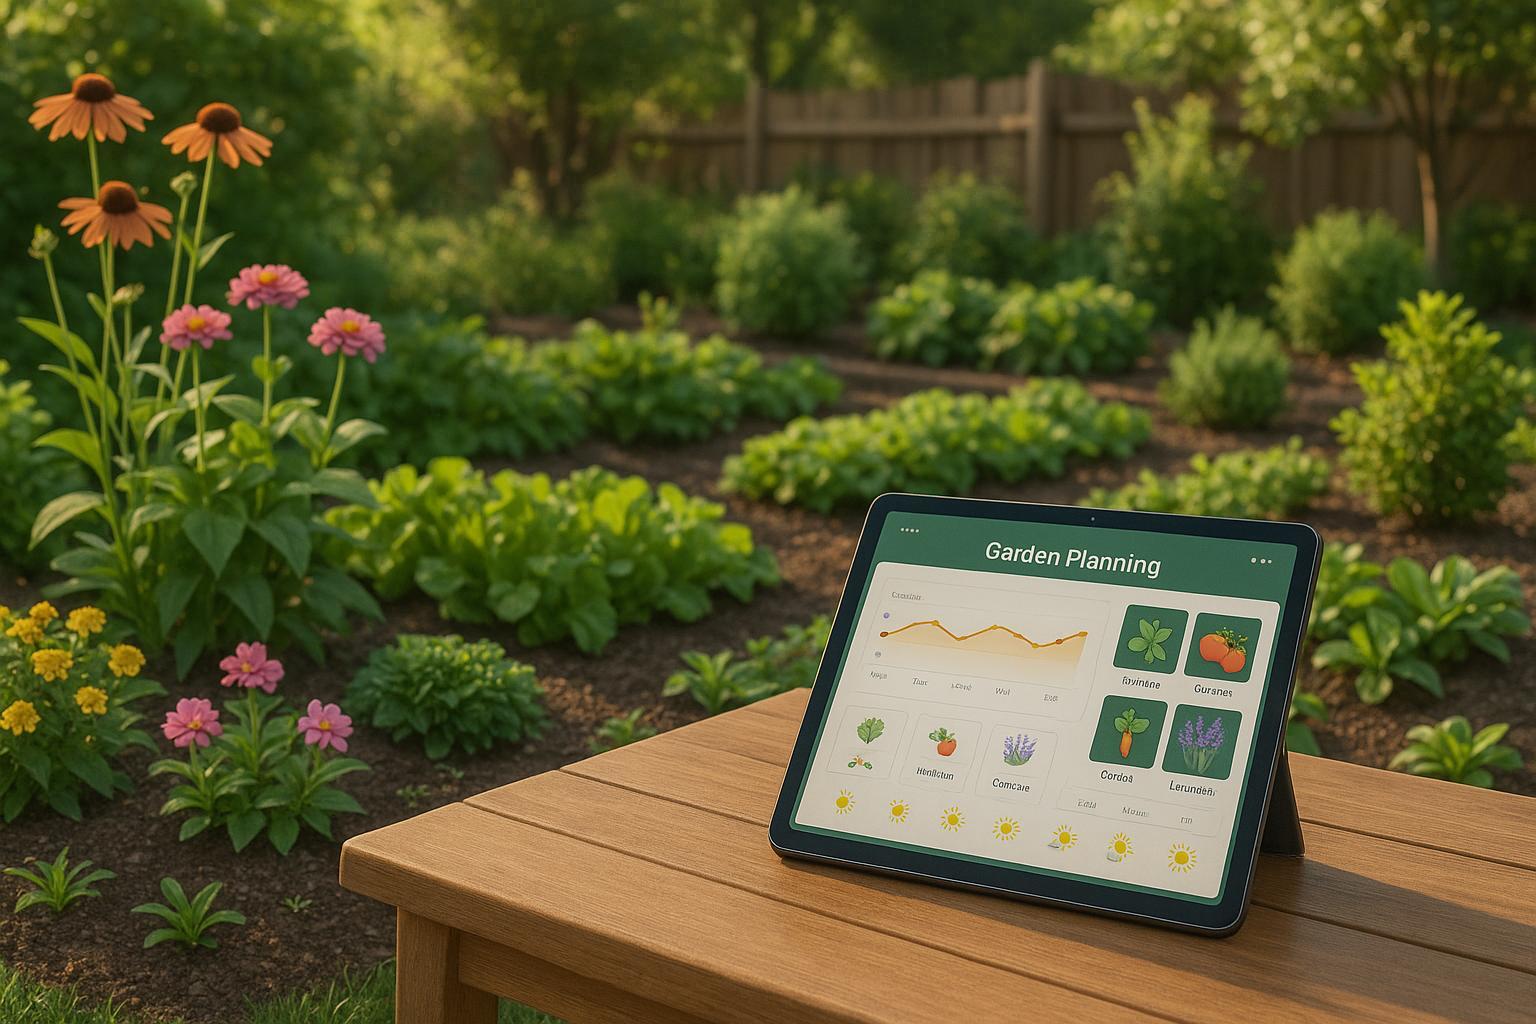
For help visualizing your garden’s layout and selecting plants, try tools like AIGardenPlanner. This AI-powered platform can provide plant recommendations and design ideas tailored to your location, climate, and site conditions, making it easier to create a low-water garden that’s both functional and beautiful.
Step 2: Choose Drought-Tolerant Plants
Pick plants that conserve water while thriving in your local environment.
Native and Climate-Adapted Plant Options
Native plants are a great starting point. These species have adapted over thousands of years to fit your region's soil, rainfall, and temperature extremes. Thanks to their deep root systems, they often need far less supplemental watering once established, as they can access underground water reserves.
To choose the right plants, check your USDA Plant Hardiness Zone. This will help you identify species suited to your climate. You can also look for native plant sales or search online using your zip code to find plants that can be shipped to your area. Observing what grows well in local gardens and landscapes can also offer valuable insight.
Keep in mind that some regions, like Virginia, are transition zones where both northern and southern plants can thrive. Be sure to water any newly planted drought-tolerant species until they have a chance to establish themselves.
Features of Drought-Tolerant Plants
Certain traits make plants better suited to low-water conditions. Look for these features:
- Small or Divided Leaves: These reduce water loss through transpiration.
- Silvery, Gray, or Waxy Foliage: Such leaves reflect sunlight and help retain moisture.
- Fuzzy or Hairy Textures: Fine hairs on leaves and stems trap moisture from the air and reduce evaporation.
- Succulent Characteristics: Thick, fleshy leaves or stems store water for dry spells.
- Deep Root Systems: These roots reach underground water sources, helping plants survive droughts.
"Drought-tolerant plants can be identified just by looking at them or feeling or smelling their bruised foliage. Many fragrant herbs, for example, are drought-tolerant."
Reliable Low-Water Plants
The University of California at Davis has tested and identified some excellent low-water plants. Examples like Sunny Boulevard® St. John's Wort, Juke Box® Pyracomeles, and Pugster Blue® Butterfly Bush have shown they can maintain their beauty while using much less water.
Here are a few other reliable options:
| Plant | Zones | Sun Exposure | Soil Type |
|---|---|---|---|
| Lavender (Lavandula spp.) | 5–9 | Full Sun | Well-draining |
| Russian Sage (Perovskia atriplicifolia) | 4–9 | Full Sun | Well-draining |
| Purple Coneflower (Echinacea purpurea) | 3–9 | Full Sun | Well-draining |
| Yarrow (Achillea spp.) | 3–11 | Full Sun | Well-draining |
| Catmint (Nepeta spp.) | 3–8 | Full to Partial Shade | Well-draining |
| Blanket Flower (Gaillardia spp.) | 3–10 | Full Sun | Sandy, Well-draining |
Fragrant Herbs That Save Water
Herbs like rosemary, thyme, oregano, and sage not only tolerate drought well but also bring added value to your garden. Their essential oils help reduce water loss and can enhance your cooking.
Combining Beauty with Practicality
When choosing plants, think about their multiple benefits. Look for species that attract pollinators, provide culinary herbs, or add year-round visual interest.
"I like to think about adding beauty and benefit... A lovely flowering aromatic will add visual interest and feed the native pollinators. Many drought-tolerant plants offer both eye-catching appeal and enhance biodiversity."
For tailored advice, try tools like AIGardenPlanner. The AI Plant Advisor can recommend drought-tolerant plants that match your climate, aesthetic goals, and gardening needs.
Next, explore how to make your watering system more efficient.
🚀 Ready to Reinvent Your Garden?
Join thousands of homeowners who have transformed their gardens using our AI design tool. Upload one photo to explore endless possibilities.
Get your AI garden designs →Step 3: Install an Efficient Irrigation System
A well-designed irrigation system can significantly cut down on water usage while keeping your drought-tolerant plants thriving. Traditional sprinklers, though common, tend to waste water through evaporation and runoff, making them less ideal for low-water gardens.
Drip Irrigation: A Smarter Way to Water
Drip irrigation stands out as one of the most efficient ways to water your garden. By delivering water directly to the root zones of plants through a network of tubes and emitters, it minimizes losses caused by wind and evaporation. While sprinkler systems typically achieve an efficiency of 50% to 70%, drip systems boast over 90% efficiency. In fact, studies reveal that drip irrigation can save between 30% and 70% of the water used by sprinklers, with some setups achieving savings as high as 80%.
Beyond conserving water, drip irrigation offers other benefits. It operates at low pressure, reducing soil erosion and keeping water off leaves, stems, and fruit - this helps prevent plant diseases. Additionally, keeping the spaces between plants dry makes it easier to access your garden and limits weed growth.
Planning and Installation Tips
Start by mapping out your irrigation zones and identifying your water source. Key components for installation include a pressure regulator, filter, tubing, emitters, and a backflow preventer to protect your water supply. Secure the main tubing every 24 inches, and space emitters based on your soil type - 12 inches for sandy soil, 18 inches for loam, and 24 inches for clay. Once installed, test the system for proper pressure and leaks. For a tidy appearance, cover the tubing with mulch.
Automating Your System
To avoid overwatering, use a mechanical or electronic controller to automate your irrigation schedule. Modern controllers can run on either AC power or batteries, giving you flexibility in placement. Perform regular maintenance by inspecting filters, flushing the mainline, and checking emitters for clogs or leaks.
Smart Watering Practices
Even with an efficient drip system, timing and technique play a crucial role in maximizing water savings.
When to Water
The best times to water are early in the morning or late in the evening. This minimizes evaporation and ensures water penetrates the soil effectively. Using soil moisture sensors can further reduce water waste, saving up to 30% more water. Morning watering is often preferred, as it allows plants to dry before nightfall, reducing the risk of disease. For example, a study in Northwest Arkansas showed that soil moisture sensors reduced annual water use by an average of 66.2% over three years, with a return on investment of 200% in the first year. Rain sensors also contributed to a 22.1% reduction in annual water use.
Adjusting for Seasons
Irrigation needs change with the seasons, weather, and plant growth stages. During the first year - when plants are in their establishment phase - regular watering is crucial, even for drought-tolerant varieties. Once established, you can scale back significantly. Inspect your system regularly for leaks or damage, and recalibrate sensors and controllers each season to ensure accuracy.
For added convenience, platforms like AIGardenPlanner can help you create irrigation zones tailored to your garden's needs. Grouping plants with similar water requirements ensures your system operates as efficiently as possible.
With your irrigation system up and running, the next step is to incorporate mulch, which will further conserve water and support the success of your low-water garden.
sbb-itb-4d6a8dd
Step 4: Use Mulch to Retain Moisture
Mulch acts as a protective shield for your soil, helping to minimize water loss. By covering the ground, mulch reduces evaporation, keeps weeds at bay, and stabilizes soil temperature - cutting water needs by as much as 50%.
Choosing the Right Mulch
Your choice of mulch depends on your garden's requirements, budget, and aesthetic preferences. Mulches are generally divided into two categories: organic and inorganic, each offering unique benefits for conserving water.
Organic Mulches: Natural Soil Enhancers
Organic mulches not only help retain moisture but also enrich the soil as they decompose, improving its ability to hold water and nutrients over time.
- Compost: One of the most effective options, compost can reduce evaporation by up to 70%. Apply a 2–3 inch layer around your plants, refreshing it mid-season in vegetable gardens where nutrient demands are higher.
- Straw: Straw mulch can cut watering needs by two-thirds when applied correctly. A 4–6 inch layer can block up to 65% of evaporation compared to bare soil. It's especially useful in vegetable gardens, though some straw may contain weed seeds.
- Wood Chips: These provide long-lasting moisture retention and reduce water loss effectively. Apply a 3–4 inch layer around trees, shrubs, and perennial beds, leaving a 2-inch gap around trunks and stems. During hot weather, well-maintained wood chip mulch can lower watering needs by up to 40%. However, as wood chips decompose, they may temporarily tie up nitrogen, so additional fertilization might be needed.
- Leaf Mold: Known for its impressive water-holding capacity, leaf mold can absorb up to 500% of its weight in water and reduce evaporation by 70%. Shred fallen leaves and spread a 3–4 inch layer around trees, shrubs, and perennials. The downside? It takes time to make quality leaf mold.
- Grass Clippings: A free and easily accessible option, grass clippings work well when managed properly. Apply a 3-inch layer, letting the clippings dry slightly before use to prevent matting. Avoid clippings from herbicide-treated lawns to protect your plants.
Allison Bailey, an Agriculture and Natural Resources Agent at the University of Georgia, highlights the benefits of organic mulch:


Your garden could look like this!
Upload a photo and get professional garden design ideas in seconds.
Design your garden in 3D — free, no sign-up"As it decomposes, organic mulch adds nutrients (organic matter), enhances soil structure, and supports beneficial microorganisms".
Inorganic Mulches: Long-Lasting and Durable
Inorganic options like gravel and stone are durable and require less frequent replacement, lasting 3–5 years compared to the 1–2 year lifespan of organic mulches. However, they don't retain moisture as well and can heat the soil in hot climates. In desert gardens, a 3–4 inch layer of gravel or stone mulch works well with drought-tolerant plants, thanks to its heat-reflecting properties.
| Mulch Type | Water Savings | Application Depth | Lifespan | Best For |
|---|---|---|---|---|
| Compost | Up to 70% evaporation reduction | 2–3 inches | 1 year | Vegetable gardens, perennials |
| Straw | Reduces watering by up to 2/3 | 4–6 inches | 1 year | Vegetable gardens |
| Wood Chips | Up to 40% reduction during heat | 3–4 inches | 2–3 years | Trees, shrubs, perennial beds |
| Leaf Mold | 70% evaporation reduction | 3–4 inches | 1–2 years | Trees, shrubs, perennials |
| Grass Clippings | Moderate water savings | 3 inches | 1 season | General garden use |
Applying Mulch the Right Way
Getting the most out of your mulch requires proper timing, depth, and placement.
Preparation and Timing
Start by clearing weeds and debris from the area, then lightly water the soil to help the mulch settle. The best times to apply mulch are early spring and late fall. A mid-spring application, when the soil reaches about 65°F, can help capture seasonal rains and boost moisture retention.
Depth and Placement
For most plants, a 2–3 inch layer of mulch works best for retaining moisture. Leave a 1–2 inch gap around the base of plants, trees, and shrubs to prevent rot and discourage pests.
Specialized Applications
Tailor your mulch use to specific garden areas. For raised beds, which dry out faster than ground-level gardens, apply a 2–3 inch layer of compost topped with straw or shredded leaves. In container gardens, a 1-inch layer of fine mulch like coco coir can cut evaporation by up to 70%.
Ongoing Maintenance
Regular upkeep is key to ensuring your mulch continues to perform. Check periodically for signs of wear, weed growth, or pests. Replenish organic mulches when they thin to less than 2–3 inches - typically once a year for shredded mulches and every 2–3 years for bark nuggets. During the growing season, add a fresh 1-inch layer of compost mulch monthly to vegetable gardens. In late fall, apply a thicker 4–5 inch layer of shredded leaves or straw.
Step 5: Maintain Your Low-Water Garden
Keeping your low-water garden thriving requires consistent care. Newly planted areas will need daily attention, while established sections demand less frequent watering.
Caring for Plants During Establishment
Even drought-tolerant plants need extra TLC during their first couple of years to develop strong, deep roots. During this time, focus on watering deeply but less often.
"Deeper, infrequent watering helps plants grow healthy extensive roots, that stand up better to drought stress."
– Saving Water Partnership
"Even drought-tolerant plants need regular water until they are established!"
– Dyck Arboretum
Start by watering thoroughly when planting. For the first week, water daily or every other day to help plants recover from transplant shock. In the second week, scale back to two or three times a week, unless conditions are extremely hot or dry. By the second and third years, deep watering once or twice a week should suffice, though you’ll need to adjust based on your soil type - sandy soils drain faster, while clay soils hold onto moisture.
To decide when to water, check the soil’s moisture level. Use a spade or trowel to probe 1–2 inches below the surface; if it feels dry, it’s time to water. Early morning is the best time to water, and a drip irrigation system can help you conserve water. Add 1–3 inches of mulch around your plants (but keep it away from the stems) to retain moisture. During this phase, skip fertilizers so plants can focus on root development. By the third year, many drought-tolerant plants will rely mostly on natural rainfall.
Once plants are well-established, you can shift to a more structured routine to maintain their low-water needs.
Regular Maintenance Tasks
After the initial establishment phase, maintaining your garden becomes easier with a few regular tasks. Here’s what to keep in mind:
-
Weekly:
Check leaves for signs of pests or disease, and pull weeds promptly to prevent them from competing for moisture [68, 69]. -
Monthly:
Inspect your drip system for clogs or leaks, and prune plants to encourage healthy growth and improve air circulation. This helps foliage dry more quickly and reduces disease risks [69, 70]. -
Seasonally:
Refresh mulch each year to keep its moisture-retention and weed-suppressing benefits. If you have turf areas, de-thatch to improve water penetration. -
Pest & Disease Management:
Attract helpful insects like ladybugs and lacewings by planting a variety of flowers and providing small water sources. Address pest problems with gentle methods like hand-picking or using natural treatments such as neem oil or diatomaceous earth. Ensure proper spacing when planting and remove any diseased materials immediately to prevent the spread of pathogens [63, 64, 65, 66, 68]. -
Water-Smart Practices:
Continue to water deeply only when the soil is dry 1–2 inches below the surface. Be cautious with fertilizers - over-fertilizing can lead to weak, fast-growing plants that need more water and are more prone to pests [69, 70].
Conclusion: Create a Water-Saving and Beautiful Garden
A low-water garden offers more than just a chance to conserve water - it’s a practical way to reduce upkeep, save money, and contribute positively to the environment. By carefully planning, selecting the right plants, using mulch, and committing to thoughtful maintenance, you can create a landscape that thrives in harmony with nature.
Xeriscaping, for instance, can cut outdoor water use by roughly 50%, saving up to 80 gallons per day, and reduce maintenance costs by up to 60%. On top of that, it can boost property values by as much as 15%. These benefits don’t just help the planet - they also make a noticeable difference in your wallet.
While initial installation costs can range between $5 and $20 per square foot, the savings from using less water, mowing less often, and cutting back on fertilizers and pest control quickly balance out the upfront investment. Plus, the environmental perks and financial savings make it a win-win for homeowners.
Adding just 1% more organic matter to your soil can retain up to 25,000 gallons of water per acre, making your garden increasingly self-sufficient over time. Native plants are especially effective in this setup, as they not only thrive with minimal care but also support local ecosystems.
To make the process even easier, tools like AIGardenPlanner can simplify your garden design. This AI-powered tool lets you turn your garden photos into professional layouts, offering over 50 different garden styles, including water-efficient designs. Its AI Plant Advisor takes into account your location, climate, and preferences to recommend drought-tolerant plants that will flourish in your area. With detailed growing guides and maintenance tips, you'll have all the resources you need to create and sustain a thriving, low-water garden.
🎨 Visualize Your Dream Garden Today!
Transform any outdoor space into a professional landscape design in minutes. Just upload a photo, choose your style, and let our AI do the rest.
Start your garden transformation now →FAQs
What are the costs and savings of starting a low-water garden?
The cost of setting up a low-water garden can vary quite a bit, depending on its size and complexity. On average, xeriscaping projects cost $2,500 for smaller spaces and can climb to $50,000 for larger or more detailed designs. Most homeowners typically spend somewhere between $15,000 and $18,000. These expenses usually cover drought-tolerant plants, efficient irrigation setups, and materials like mulch or gravel.
In the long run, these gardens can save you a lot of money. They typically use 50-75% less water than traditional lawns, which translates to lower water bills. On top of that, they need less upkeep - no constant mowing or heavy fertilizing - making them a budget-friendly and environmentally conscious option over time.
How can I figure out the right amount of water for different areas of my garden?
To figure out how much water different parts of your garden need, start by getting to know your plants. Larger plants, such as trees, generally require more water than smaller ones because of their deeper root systems. A good rule of thumb is to water small plants to a depth of about 12 inches, shrubs to 24 inches, and trees to 36 inches.
Consider grouping plants with similar water requirements together. This not only makes watering more efficient but also helps prevent overwatering or underwatering. For more tailored advice, check local gardening resources or use tools like AIGardenPlanner. These can provide personalized recommendations based on your location and climate, helping you choose drought-tolerant plants and better understand their specific water needs.
How can I maintain a low-water garden year-round, even in changing seasons?
To keep your low-water garden healthy and thriving throughout the year, focus on a few key practices:
- Adjust your watering schedule seasonally: During summer, water deeply every 3–5 days to promote strong, deep roots. As the weather cools, plants need less moisture, so you can cut back on watering. Early mornings are the ideal time to water, as it reduces evaporation and ensures plants get the hydration they need.
- Add a layer of mulch: Spread 2–3 inches of organic mulch around your plants. This helps the soil retain moisture, keeps the temperature steady, and prevents weeds from taking over - especially during those scorching, dry spells.
- Choose plants wisely: Select drought-tolerant or native species that naturally thrive in your climate. These plants are better equipped to handle local conditions and require less water overall.
By sticking to these simple strategies, you’ll have a water-efficient garden that’s both easy to maintain and resilient year-round.