Checklist for Setting Up IoT Pest Sensors
Learn how to effectively set up IoT pest sensors in your garden, from choosing the right devices to ensuring optimal performance.
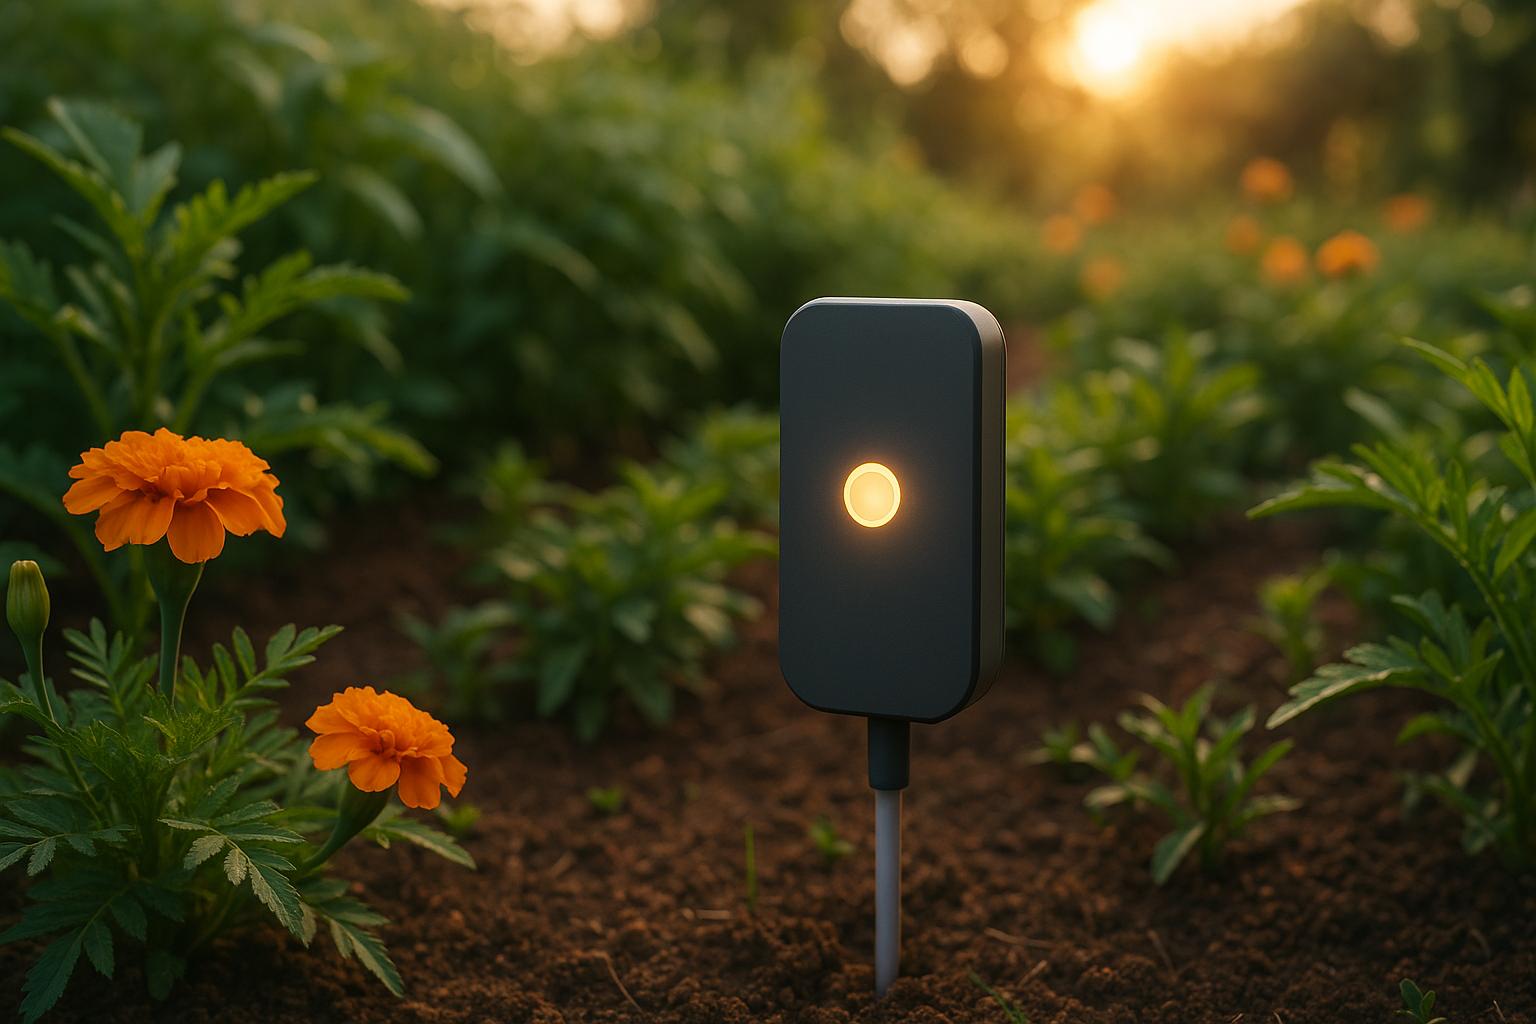
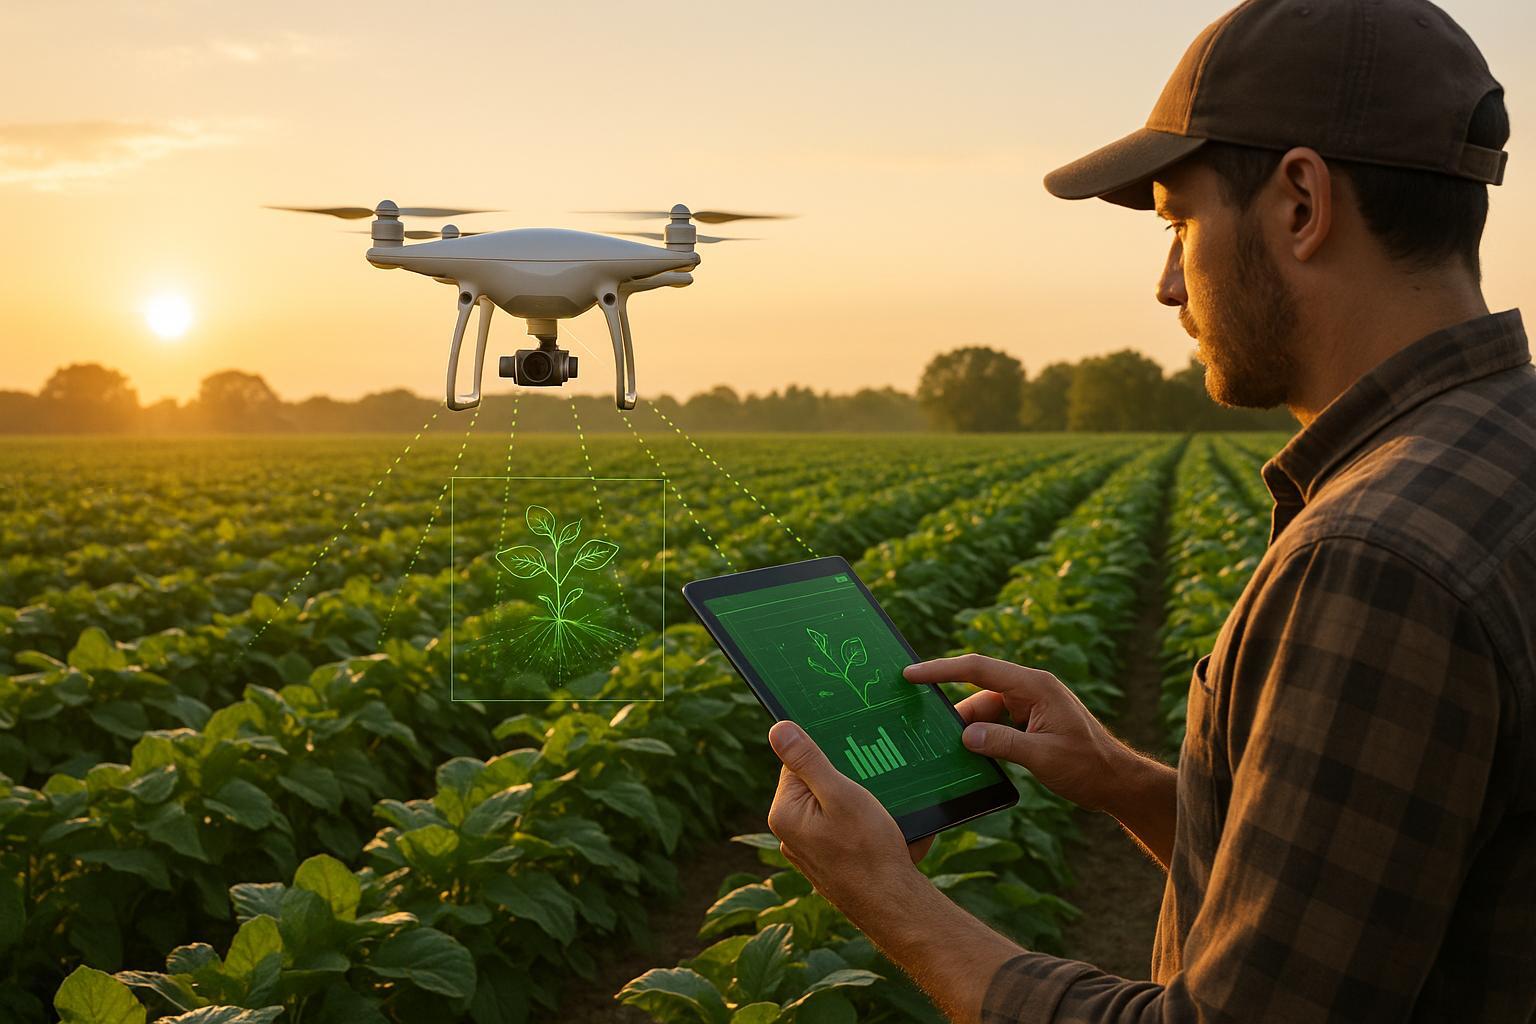
IoT pest sensors are smart devices that help you monitor and manage pest activity in your garden or landscape. They send real-time alerts to your phone or computer, allowing you to act quickly and protect your plants. Here's a quick overview of what you'll need to set up these devices effectively:
- Define Problem Areas: Map your garden to identify pest-prone zones like vegetable patches, compost piles, or shaded, damp areas.
- Choose the Right Sensors: Options include motion, pheromone, image-based, and acoustic sensors, each suited for specific pests.
- Plan Power and Connectivity: Use solar or battery-powered sensors and ensure strong Wi-Fi or alternative network coverage.
- Install and Test: Position sensors strategically, set up the software, and test their performance under various conditions.
- Maintain Regularly: Clean sensors, check batteries, and update software to ensure reliable operation.
Pre-Installation Setup
Check Garden Layout and Pest Risks
Start by mapping out your garden to identify areas that are more prone to pest activity. Pay close attention to vegetable patches, fruit trees, compost piles, and damp, shaded spots. Dense vegetation or mulch can be prime hiding places for pests like insects and rodents, so these areas deserve extra focus.
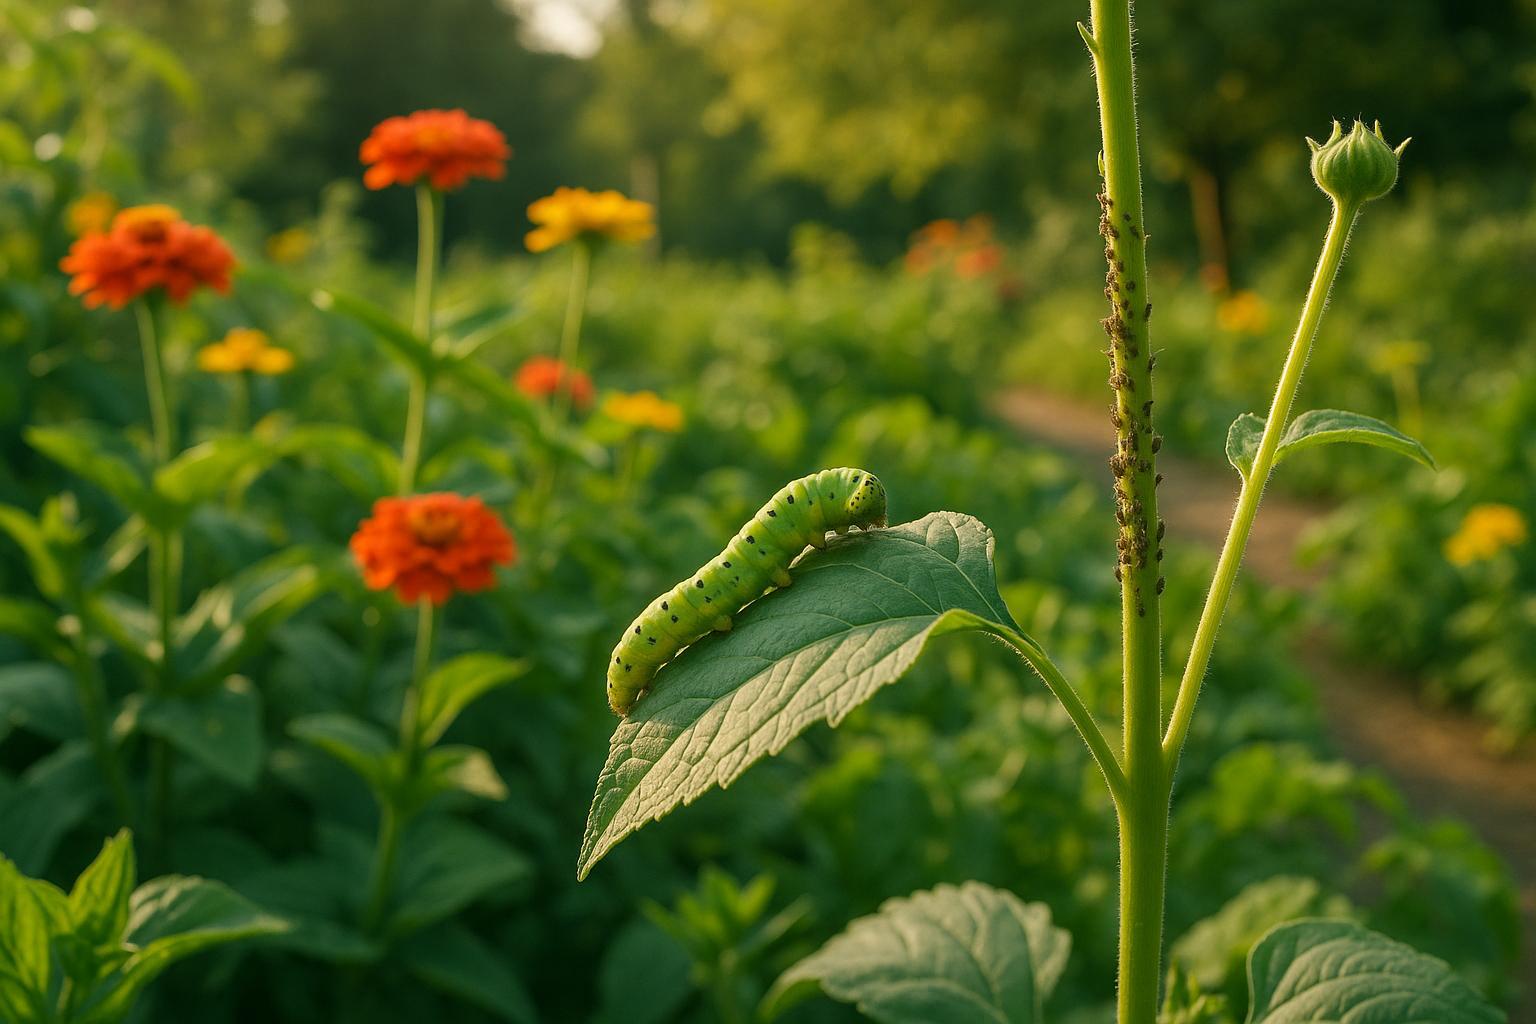
If you've dealt with specific pests before or know which ones are common in your area, document them. This will help you decide where to place sensors. For example, tomato growers in the Southeast might need to watch for hornworms and whiteflies, while gardeners on the West Coast should be on alert for aphids and spider mites.
Look at conditions in different parts of your garden. Areas that stay wet, get little sunlight, or have poor air circulation often attract more pests. These zones should be prioritized for sensor placement to catch issues early. Also, plan for plant growth - ensure sensors won’t be blocked as plants mature.
Use your garden map to guide your choice of sensors and decide where to position them for the best coverage.
Choose the Right Sensor Type
Different pests require different detection methods, so selecting the right sensor is key. Here’s a breakdown of common sensor types and their uses:
- Motion-based sensors: Ideal for tracking larger pests like rodents, rabbits, and birds. These sensors detect movement within a 15-20 foot range and can differentiate between objects of varying sizes.
- Pheromone-based IoT traps: Perfect for flying pests such as moths, flies, and beetles. These traps combine sticky surfaces with smart technology, alerting you when they’re full and helping monitor pest population trends.
- Image-capturing sensors: Equipped with AI, these sensors can identify multiple pest types by analyzing photos taken when motion is detected. They offer detailed insights into pest activity but come with a higher price tag, ranging from $200–$500.
- Acoustic sensors: A newer option that detects sound frequencies unique to specific insects. These work especially well for wood-boring pests or identifying early bee swarm activity near fruit trees.
When choosing sensors, consider your budget and technical comfort level. Motion sensors typically cost $50–$150, while AI-powered image sensors are more expensive. Make sure to account for enough sensors to cover your entire garden.
Once you’ve chosen your sensors, check their power and connectivity requirements to ensure smooth operation.
Check Power and Network Requirements
Power and connectivity are critical for keeping IoT sensors running effectively. Solar-powered sensors are a flexible option since they don’t rely on electrical outlets, but they need 4-6 hours of direct sunlight daily. This makes them less effective in shaded areas.
Battery-powered sensors are more reliable in terms of performance but require regular maintenance. Most use rechargeable lithium batteries that last 3-6 months, depending on usage and environmental factors. Plan ahead for recharging or replacing batteries to avoid interruptions.
For connectivity, ensure your Wi-Fi signal strength is at least -70 dBm. If your garden has weak spots, consider using Wi-Fi extenders or opting for LoRaWAN or cellular sensors, which can transmit data over long distances. Keep in mind, though, that these might involve a monthly fee of $5–$15 per sensor.
Weatherproofing is another must-have feature for outdoor sensors. Devices with an IP65 rating or higher can handle rain, humidity, and temperature changes, ensuring durability. Without proper weather protection, sensors could fail prematurely.
Finally, if you’re using sensors that upload high-resolution images, factor in data usage. A single image-capturing sensor can use 100-500 MB of data per month. If you’re installing multiple units, check your internet plan to avoid unexpected costs. A well-planned setup ensures your sensors work efficiently and deliver accurate pest monitoring results.
Installing and Setting Up IoT Pest Sensors
Mount and Position Sensors
Getting the placement right is key to making the most of your IoT pest sensors. Start by mounting motion-based sensors about 3-4 feet off the ground on sturdy posts or fence rails. This height ensures they can pick up activity from both ground-dwelling pests like rabbits and flying insects.
For pheromone-based traps, position them at the height of the plant canopy - around 2-3 feet for vegetable gardens or 5-7 feet for fruit trees. Place these traps upwind of your plants since pests follow scent trails. Keep them spaced 20-25 feet apart to avoid interference between traps.
When it comes to image-capturing sensors, they need a clear view. Position them to face north whenever possible to reduce glare from the sun, which can impact photo quality. Use adjustable brackets so you can reposition them as your plants grow. Focus on areas where pests are likely to gather, like compost bins or dense foliage.
For stability, mount sensors on posts driven about 18 inches into the ground. Make sure all connections are weatherproof - use electrical tape or waterproof connectors to protect cables where they meet the sensor housing.
Don’t forget to account for seasonal changes. A sunny spot in early spring might be shaded later in the season as plants grow. Leave some flexibility to adjust the angles or relocate sensors as needed.
Set Up Devices and Software
Most IoT pest sensors require an app for setup. Start by downloading the app recommended by the manufacturer and creating an account. Follow the pairing instructions, which usually involve pressing a setup button on the sensor while your phone’s Bluetooth is active.
Label each sensor with its location, like "North Tomato Patch", so it’s easier to identify alerts later. Enter your zip code and local climate zone into the app to get pest management tips tailored to your area.
Adjust alert thresholds based on your tolerance for pest activity. For example, you might set motion sensors to trigger only after 3-5 detections, avoiding unnecessary alerts from harmless insects. For pheromone traps, configure alerts to notify you when they’re 60-70% full, giving you enough time to replace them before they lose effectiveness.
During setup, connect the sensors to your home Wi-Fi network. Choose your primary network over a guest network for better reliability. If your garden has weak Wi-Fi, complete the setup near your router and then move the sensors to their final positions.
Test Wi-Fi signal strength at each sensor location using the app. If the signal is weak - less than two bars - you might run into issues with data transmission. Make a note of problem areas so you can address them before relying on the system.
For gardens managed by multiple people, set up data sharing through the app. This allows family members or gardening partners to monitor alerts, ensuring someone can respond even if you’re away. Once everything is configured, test the sensors to confirm they’re working properly.
Test Sensor Performance
Before relying on your sensors, it’s important to test them. For motion sensors, walk slowly through their detection zones at different times of day to ensure consistent triggering. Test from various angles since some sensors have blind spots at the edges or directly beneath them.
Pheromone traps are a bit trickier to test, but you can simulate insect activity by gently shaking the trap. The sensor should detect this and send a notification to your phone within a couple of minutes.
For image-capturing sensors, intentionally trigger them and review the photos in the app. Check for clear and focused images, and ensure the detection zone covers the target area. If images are blurry or poorly lit, clean the lens or adjust the sensor’s position to avoid backlighting.
Test the sensors under different conditions, like light rain or high temperatures, to see how they perform.
During this testing phase, document baseline activity levels. Knowing what’s normal - like how often beneficial insects trigger alerts - helps you recognize unusual spikes in pest activity. This baseline data is also useful for avoiding false alarms.
Run tests for at least a week to observe daily variations. Insects are typically more active in the morning and evening, while midday activity tends to drop. Understanding these patterns helps you distinguish between genuine pest problems and normal garden activity.
PestTrap | Digital Pest Tracking Station | Monitor Pests Remotely

sbb-itb-4d6a8dd
🚀 Ready to Reinvent Your Garden?
Join thousands of homeowners who have transformed their gardens using our AI design tool. Upload one photo to explore endless possibilities.
Get your AI garden designs →System Maintenance and Monitoring
Once your system is installed and tested, keeping it running smoothly requires regular upkeep, performance checks, and timely updates.
Regular Sensor Checks and Maintenance
To keep your sensors performing at their best, follow these maintenance steps:
- Check battery levels monthly and replace batteries when they drop below 20%. Rechargeable sensors typically need recharging every 6-8 weeks.
- Clean lenses and housings every two weeks with a soft, damp cloth to remove dirt, spider webs, or plant debris.
- Replace pheromone lures every 4-6 weeks, as older lures lose effectiveness and might even repel pests.
- Inspect mounting hardware after storms to ensure screws are tight and sensors haven’t shifted.
- Examine weatherproof seals around battery compartments and connection ports. Replace any damaged or cracked seals immediately.
- Adjust maintenance schedules for extreme temperatures, as cold weather can significantly reduce battery life.
- Log all maintenance tasks in a calendar app, including cleaning dates, battery replacements, and lure changes.
Track System Performance
After maintenance, monitoring your system ensures it continues to operate accurately and efficiently.


Your garden could look like this!
Upload a photo and get professional garden design ideas in seconds.
Design your garden in 3D — free, no sign-up- Monitor detection frequency to establish normal activity patterns. A sudden drop in detections might signal a sensor issue rather than a decline in pest activity.
- Check signal strength weekly. If a sensor shows only one bar, consider relocating it or extending your Wi-Fi range to ensure consistent data uploads.
- Review historical data regularly to spot anomalies or seasonal trends. These insights can help you schedule preventive treatments or adjust garden management strategies.
- Fine-tune false alarms by adjusting sensitivity settings or repositioning sensors that are triggered by wind-blown branches or non-pest insects.
- Set up alerts to notify you of offline sensors, low battery levels, or unusual detection patterns.
- Analyze weekly data for gradual increases in pest activity that may not trigger immediate alerts but signal emerging issues.
Update Software and Firmware
Keeping your system’s software and firmware up to date is just as important as physical maintenance.
- Enable automatic updates to access new features, security patches, and improvements to detection accuracy, which are typically released every 2-3 months.
- Check for firmware updates monthly through the app. These updates can enhance battery performance, weather resistance, and compatibility with your devices. Always install security updates to protect your data from unauthorized access.
- Manually update sensors via USB when required for major upgrades or new features.
- Back up your system settings before performing significant updates to avoid losing data or configurations.
- Test sensors after updates to ensure detection zones, alerts, and custom settings are functioning properly.
- Keep your smartphone apps updated to maintain seamless communication with your sensors and avoid missed alerts.
Using AIGardenPlanner for Garden Optimization

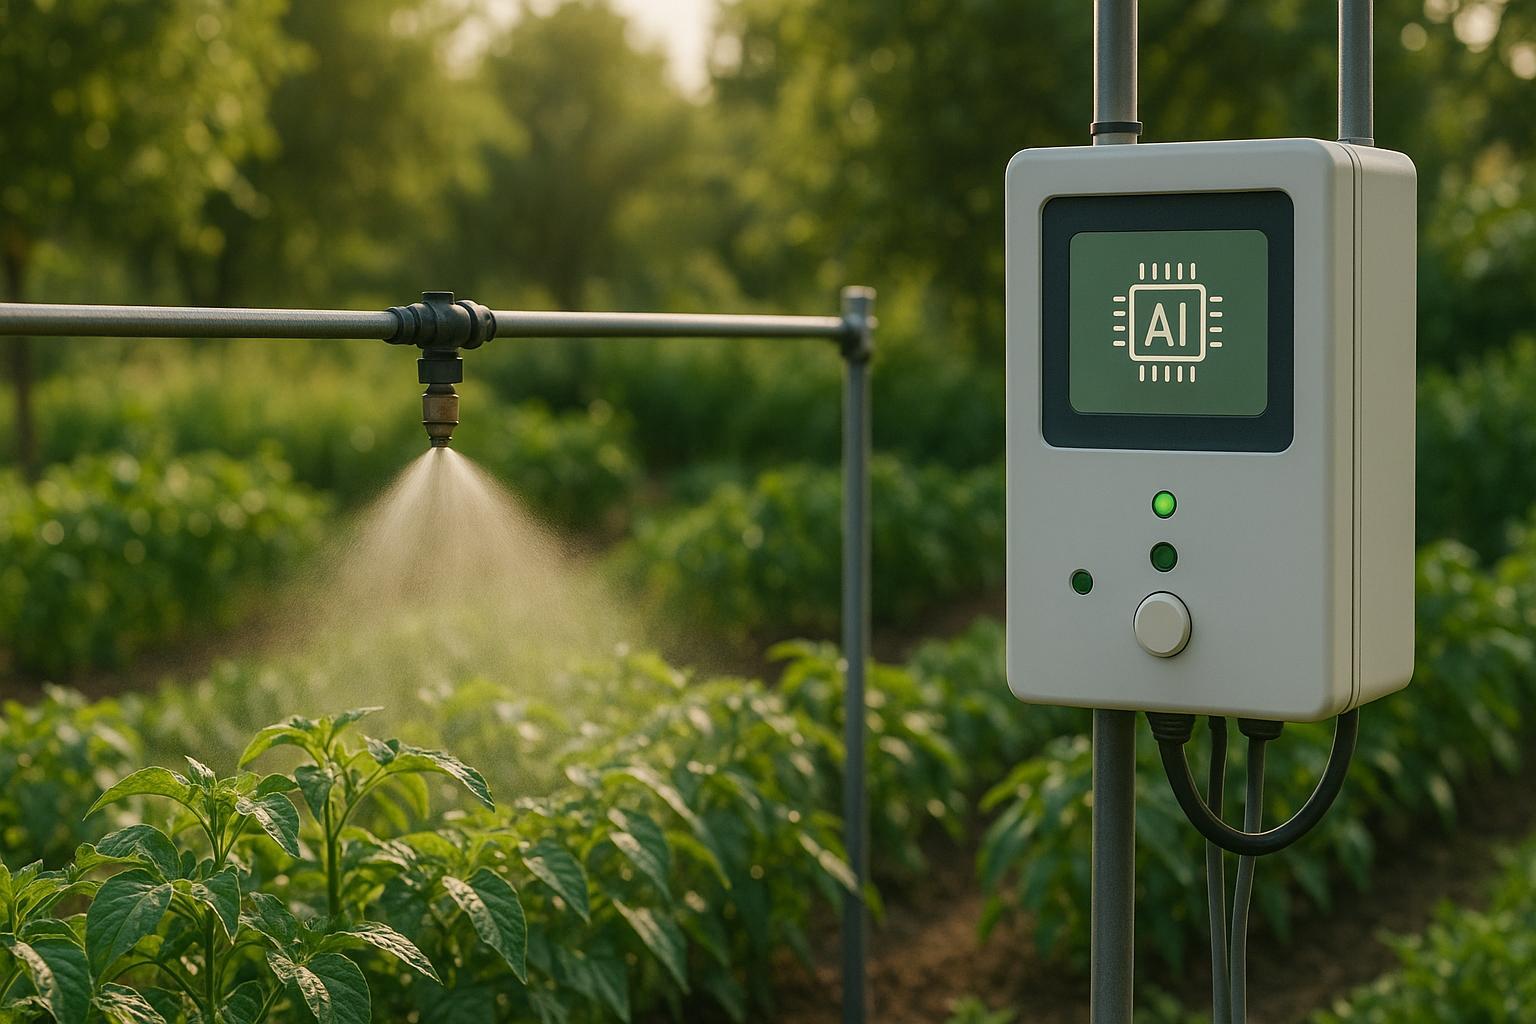
Combine IoT pest sensors with a well-thought-out garden design to improve pest management. AIGardenPlanner uses AI-powered tools to create layouts that not only optimize sensor placement but also encourage the growth of plants that naturally resist pests.
Below, we'll explore how AIGardenPlanner helps refine garden layouts and select plants that support effective pest control.
Plan Your Garden Layout with AIGardenPlanner
The first step to effective sensor placement is understanding your garden's layout. With AIGardenPlanner, you can upload a photo of your garden, and the tool will convert it into a professional design using one of over 50 layout styles. This makes placing and maintaining sensors much easier.
By mapping out your garden space, you can identify the best spots for sensor placement, ensuring comprehensive coverage for pest monitoring and control.
Get Tailored Plant Suggestions for Pest Control
Pair your layout with smart plant choices to strengthen pest management. AIGardenPlanner's AI Plant Advisor allows you to input your garden's dimensions and crop details. In return, it provides recommendations for pest-resistant plant varieties that are well-suited to your local conditions.
The tool also includes detailed growing guides, making it easier to implement these recommendations. The result? Healthy plants that complement your IoT pest sensors and create a more resilient garden.
Key Takeaways
Setting up IoT pest sensors requires thoughtful planning to ensure effective pest management. The success of your system largely depends on understanding the specific pest challenges in your garden and selecting sensors that align with your needs and environmental conditions.
Preparation before installation is essential for building a strong foundation for your IoT pest monitoring system. By assessing your garden's layout, identifying areas most at risk, and confirming power and network requirements, you can ensure sensors are positioned for maximum effectiveness. As discussed earlier, choosing the right type of sensor based on your garden's size and pest concerns is critical to creating a system that works as intended.
Proper installation and configuration are key to reliable performance. This includes mounting sensors at suitable heights, ensuring stable network connections, and thoroughly testing each device before rolling out the full system. Regular calibration and performance checks are also necessary to maintain accuracy over time.
Maintaining your system is just as important as setting it up. Routine upkeep keeps your sensors performing at their best. Weekly visual inspections, monthly battery checks, and quarterly software updates help prevent failures that could leave your garden exposed during peak pest activity. Monitoring performance metrics regularly allows you to catch potential issues early, ensuring your pest management efforts remain effective.
In addition, smart garden design enhances the impact of IoT pest sensors. Using the data from your sensors alongside strategic plant choices creates a more comprehensive pest management plan. Incorporating pest-resistant plants can naturally reduce pest pressure, working hand-in-hand with your sensor network.
IoT pest sensors offer valuable advantages, such as early pest detection, reduced reliance on pesticides, and healthier plants overall. A well-thought-out system provides actionable data for timely and precise pest control, leading to better gardening results with less harm to the environment.
FAQs
Where should I place IoT pest sensors in my garden for the best results?
For the best results, position IoT pest sensors in spots where pests are likely to gather - think entry points, thick vegetation, or areas where pests have been an issue before. Make sure to mount the sensors at least 2 feet off the ground. This height helps prevent interference and ensures the signals transmit clearly.
Spread the sensors throughout your garden, paying extra attention to sections that tend to attract more pests. This setup creates a thorough monitoring network, making it easier to catch problems early. Be mindful to avoid placing sensors near large objects like storage bins or other obstacles that could block their signals.
What are the differences between motion, pheromone, image-based, and acoustic sensors, and how do I choose the best one for my pest control needs?
Motion sensors are great for detecting movement but can't pinpoint specific pests, making them useful for tracking overall activity. Pheromone sensors, on the other hand, are designed to target specific insects by luring them in with chemical signals. If you're looking for a more visual approach, image-based sensors combine cameras with AI to identify pests and provide detailed data. Meanwhile, acoustic sensors pick up on sounds or vibrations, making them ideal for pests that are tough to spot but create noise.
When selecting a sensor, think about your specific pest issue. If you're dealing with a certain type of insect, pheromone sensors are your go-to. Need visual proof? Opt for image-based sensors. For noisy pests, acoustic sensors are a solid option, and if you're unsure about the pest type, motion sensors are perfect for general activity tracking.
How can I keep my IoT pest sensors working reliably throughout the year, even in changing weather conditions?
To keep your IoT pest sensors running smoothly throughout the year, regular upkeep is essential - especially ahead of harsh weather conditions. Start by investing in weatherproof enclosures to shield your sensors from moisture, dust, and temperature fluctuations. Opt for enclosures that are both UV-resistant and waterproof to ensure they hold up over time.
Position your sensors in spots where they’re easy to access for maintenance or quick fixes. Stay ahead of potential downtime by replacing batteries as needed. Additionally, run regular system tests to verify everything is working as it should, and address any problems right away to ensure reliable performance.
🎨 Visualize Your Dream Garden Today!
Transform any outdoor space into a professional landscape design in minutes. Just upload a photo, choose your style, and let our AI do the rest.
Start your garden transformation now →