How To Upgrade Sprinkler Timers To Smart Controllers
Upgrade your sprinkler system to a smart controller for efficient irrigation, reduced water waste, and remote management.
By Alfred van der Heide, Founder, AIGardenPlanner. Editorially reviewed for practical garden-planning accuracy.
Smart sprinkler controllers save water, lower costs, and simplify lawn care by adjusting schedules based on weather, soil, and plant needs. Here's how to upgrade your system:
- Why Upgrade? Save up to 50% on water use, manage zones remotely via an app, and comply with local water restrictions.
- Who Benefits? Homeowners, landscapers, gardeners, and property managers seeking efficient, remote irrigation control.
- Tools & Materials Needed: Screwdrivers, wire strippers, voltage tester, drill, waterproof connectors, and a compatible smart controller.
- Steps to Install:
- Turn off power and water.
- Label and document existing wiring.
- Mount the new controller and reconnect wires.
- Connect to power, Wi-Fi, and set up zones via the app.
- Test and adjust settings for optimal performance.
With a smart controller, you can reduce water waste, maintain healthier plants, and manage your system from anywhere.
💦 How to Replace Your Old Sprinkler Controller with a Smart Controller - A Beginner's DIY Guide

Tools and Materials You'll Need
Getting everything ready before upgrading to a smart sprinkler controller can save you time and prevent unnecessary interruptions. Having the right tools and materials at hand ensures the installation process runs smoothly from start to finish.
Tools You'll Need for Installation
Most of the tools required for this project are probably already in your toolbox. Start with a screwdriver set, including both flathead and Phillips head screwdrivers in various sizes, to remove the old timer and secure the new smart controller.
A wire stripper is essential for preparing wire connections, and a voltage tester or multimeter is crucial for confirming that the power is off before you begin handling any electrical components. Safety first - this step should never be skipped.
If you plan to mount the controller on a wall, you'll need a drill with the appropriate bits for your wall type, along with a level to ensure the controller is installed straight. Other helpful items include a black Sharpie or felt-tipped marker for labeling wires, a hammer for wall anchors, and a metal center punch if you're working with stucco walls to keep the drill bit steady.
Once your tools are ready, it's time to gather the materials you'll need for the installation.
Materials to Gather Before Starting
The most important item on your list is the smart sprinkler controller itself. Popular brands like Rain Bird, Rachio, and Orbit offer various models, so choose one that matches your system's zone count and voltage requirements.
Labeling wires before disconnecting them is a simple but critical step to avoid confusion later. Use pre-made wire labels or masking tape with clear markings to identify each wire. This will make reconnecting them to the new controller much easier.
You'll also need a smartphone or tablet for setup, as most smart controllers rely on mobile apps for configuration and management. Download the app for your specific controller ahead of time to streamline the process.
For secure and weather-resistant connections, use waterproof wire connectors - these are especially important for outdoor installations. Standard wire nuts may not provide adequate protection from moisture. If your setup involves connecting the controller to irrigation valves, you'll need field wire. For systems requiring manifold connections, have PVC pipes and glue ready.
If your valves will be buried, consider getting an in-ground rectangular valve box to protect the manifold. Depending on your smart controller model, you may also need a Wi-Fi hub with its own power plug, or it may connect directly to your home network. Be sure to check the requirements for your specific device.
Finally, gather the necessary mounting hardware, such as screws and plastic wall anchors suitable for your wall type. Having extra hardware on hand can save you an inconvenient trip to the store mid-project.
Before starting, test your Wi-Fi signal strength at the installation site. A reliable connection is essential for features like weather updates and remote control [1][2].
Pre-Installation Setup
Getting everything ready before you start is key to a hassle-free smart controller upgrade. A little preparation upfront can save time and help you avoid potential issues later.
Turn Off Power and Water Supply
Start by unplugging your current controller to cut the power. Then, locate the shutoff valve for your sprinkler system. This is often a ball valve found in places like the basement, utility room, or near the main water line [3]. If the valve handle is parallel to the pipe, water is flowing. Rotate it 90° to stop the flow. Just make sure you're shutting off the water supply for the sprinkler system only - no need to cut off water to the entire house.
Label and Document Current Wiring
Before disconnecting anything, take a photo of the existing wiring setup. Then, label each wire by zone (e.g., Zone 1, Zone 2, Zone 3) using a marker. Don’t forget to mark the common wire connected to the common terminal - it’s essential for completing the circuit. If your system has a pump, label the pump start wire too. For systems with multiple common wires, make a note of it; you might need to connect one wire to each common slot on the new controller [4][5]. A quick sketch of the wiring layout can serve as a helpful backup to your photos.
Once your wiring is documented, double-check your network connection to ensure the new controller will integrate smoothly.
Test Wi-Fi Signal Strength
Good Wi-Fi is crucial for your smart controller to work effectively. Check the signal strength at the installation site using your smartphone, tablet, or laptop [6]. Testing with more than one device gives you a better idea of the signal’s reliability. For a more precise reading, use a Wi-Fi analyzer app to measure the signal in dBm. Aim for a range of -55 dBm to -70 dBm; anything below -67 dBm might cause connectivity problems [7]. If the signal is weak, try rebooting your router, testing the connection with a wired device, or improving coverage by repositioning your router or using Wi-Fi extenders [6][7].
sbb-itb-4d6a8dd
🚀 Ready to Reinvent Your Garden?
Join thousands of homeowners who have transformed their gardens using our AI design tool. Upload one photo to explore endless possibilities.
Get your AI garden designs →Installation Steps
Once you've completed your pre-installation preparations, it's time to move on to the upgrade process. Follow these steps carefully to ensure everything goes smoothly.
Remove the Old Timer
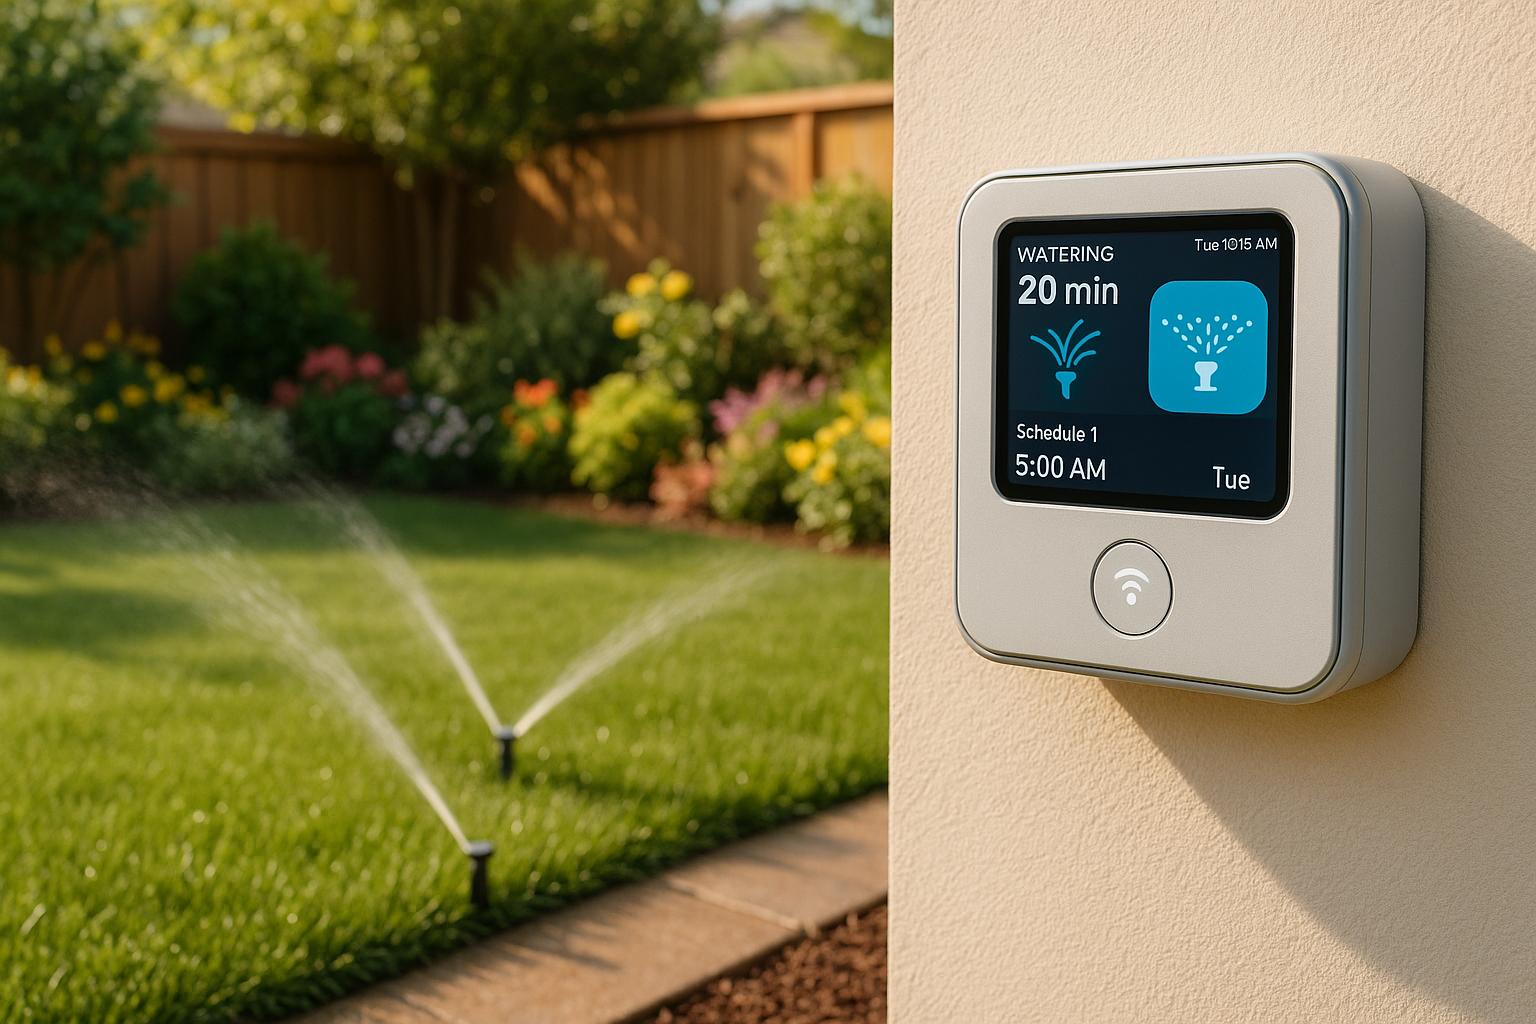
Start by documenting the current watering schedule and settings, even if the old timer isn't working properly. This will help you program the new controller later. A good starting point for the new schedule is watering a few days a week, with rotor zones running for about 20 minutes and spray head zones for 5–8 minutes, ideally starting around 4:00 or 5:00 AM. You can always fine-tune these settings later [8].
To access the wiring compartment, remove the face of the old controller [8]. As you disconnect the wires, label each one with masking tape for easy identification. Pay special attention to the COMMON wire (usually marked "C") and the PUMP START WIRE (often labeled "PS" or "MV"). Note the wire colors as well (e.g., White = Common, Red = Zone 1, Green = Zone 2) [8]. Once all wires are labeled and disconnected, remove the mounting screws and take the controller off its hanger [9]. Set the old unit aside.
Install and Wire the Smart Controller
Mount the new smart controller in the same location using the hardware provided. Many models include a backplate that attaches to the wall first, with the main unit clipping or screwing onto it.
Reconnect the zone wires according to the labels you made earlier. The common wire typically connects to the terminal marked "C" or "COM." If your system has multiple common wires, make sure each one is connected to the appropriate common slot on the new controller [8]. For systems with a pump, connect the pump start wire to the terminal labeled "PS", "MV", or "Master Valve." Double-check all connections to ensure they are secure and correctly placed.
Connect to Power and Wi‑Fi
Plug the power connector into the controller's power jack, then connect the adapter to a nearby outlet [10]. Next, download the manufacturer's app to your smartphone and create an account. Keep your Wi‑Fi password handy - most smart controllers are optimized for 2.4GHz networks rather than 5GHz [11]. Put the controller into pairing mode by holding down the designated buttons until a blinking light appears [11]. Then, follow the app's instructions to connect the controller to your home network [10]. A steady green light usually indicates a successful connection [12].
If the connection fails or drops frequently, consider moving your router closer to the controller or using a Wi‑Fi mesh extender. Some controllers work best on 2.4GHz or guest networks with simple passwords [11].


Your garden could look like this!
Upload a photo and get professional garden design ideas in seconds.
Design your garden in 3D — free, no sign-upOnce power and connectivity are established, you can move on to setting up and testing your system.
Program and Test the System
Use the app to set up each zone. Input details like the type of sprinkler (rotor, spray head, or drip irrigation) and specifics about the plant type, soil conditions, and sun exposure for each zone. This data allows the smart controller to calculate the best watering schedules.
Manually test each zone through the app. Run each zone for a few minutes to confirm the correct sprinklers are activating [11].
If your controller includes weather-based automation, enable this feature. It uses local weather data to adjust or skip watering based on rain or temperature changes. Additionally, set up any extra sensors, such as soil moisture or rain sensors, following the manufacturer's instructions.
Finally, perform a full system walkthrough during the test run. Check for uniform sprinkler coverage, inspect for broken sprinkler heads, and ensure each zone operates correctly. Address any issues immediately - it's much easier to fix wiring or sprinkler problems now than after the installation is complete.
System Setup and Maintenance
Once your smart controller is installed and programmed, setting up schedules and performing regular maintenance are key to keeping your irrigation system running smoothly and efficiently.
Set Up Custom Watering Schedules
Smart controllers offer various scheduling options like Flex Monthly, Flex Daily, and Fixed schedules. These modes adjust watering based on factors like historical climate data, current soil moisture levels, or fixed intervals. To get the most out of your system, group plants with similar water needs together and use multiple start times to minimize runoff.
For example, Rachio's Smart Hose Timer includes features like yearly start and end dates for seasonal adjustments and a Smart Soak function that splits watering sessions to improve soil absorption[13].
"Smart watering ensures that your lawn gets the irrigation it needs without waste, thanks to smart controllers managed with the same mobile device you use to check the weather, get the scores from the latest game, or order a pizza." - Rain Bird[14]
After setting up your schedule, ongoing maintenance is essential to keep your system efficient and effective.
Regular Maintenance Tips
Although smart controllers are low-maintenance, routine inspections can boost performance and reduce water usage by up to 30%[15]. Check sensors regularly to ensure they are functioning properly and have adequate battery power. Reviewing your watering data through the controller's app can help spot problems like sprinkler issues or changes in your plants' needs.
Rain Bird controllers, for instance, allow you to adjust watering times across all zones by a specific percentage, eliminating the need to reprogram each zone individually[14].
"Adjusting irrigation runtimes daily, based on real-time water requirements, is the most effective way to irrigate for optimal plant health and water savings." - Rain Bird[16]
Seasonal changes also play a role. Evaluate your lawn’s needs as the seasons shift by considering factors like soil type, plant species, and weather patterns[15]. Creating seasonal watering zones tailored to these factors ensures your system remains efficient throughout the year.
Beyond system tweaks, aligning your garden design with your irrigation setup can further improve efficiency.
Match Garden Design with Smart Irrigation
Pairing a smart irrigation system with a well-thought-out garden design enhances water efficiency. Tools like AIGardenPlanner simplify this process by transforming your garden photos into professional layouts and offering over 50 design styles.
When planning or redesigning your garden, think about how plants with similar water, sun, and soil needs can be grouped into the same irrigation zones. AIGardenPlanner even provides personalized plant recommendations based on your location, climate, and preferences, making it easier to design a landscape that works seamlessly with your smart controller.
The platform also includes detailed guides on seasonal water needs for various plants, helping you adjust your controller settings as conditions change. By blending smart irrigation technology with thoughtful garden planning, you can create a system that adapts to your landscape’s needs and local weather conditions year-round.
Conclusion
Switching from a basic sprinkler timer to a smart irrigation controller can completely change how you care for your garden. This upgrade brings automated watering that adjusts to real-time weather and soil conditions, making your irrigation system smarter and more efficient.
Smart controllers can reduce water usage by 20–50%, and WaterSense-certified models can save up to 15,000 gallons of water each year [20][21]. These savings not only lower your water bill but also provide the convenience of managing your system remotely.
"A smart sprinkler system can absolutely save enough patio and garden water to pay for itself in one to two years." - Ali Lijee, gardener and founder of TreeMend [17]
Beyond water conservation, a smart controller simplifies garden maintenance. With a smartphone, you can monitor and adjust your irrigation system from anywhere, ensuring your plants get the care they need - even if you're away. This level of automation helps avoid overwatering and eliminates the hassle of adjusting schedules for changing seasons.
If your current controller lacks features like flexible scheduling, multiple zones, or water-saving capabilities, it might be time to consider an upgrade. Smart controllers are available for a range of budgets, from about $130 for basic models to $500 for advanced systems that handle multiple zones [18].
"If you don't have a Wi-Fi controller - well, you should, because it's just so much easier." - Andy Humphrey of the Sprinkler Supply Store and Sprinkler Nerd podcast [19]
Take stock of your irrigation needs and choose a model that fits your property. With the right setup, a smart irrigation controller can provide years of efficient, hands-off garden care while saving water, cutting costs, and reducing environmental impact.
FAQs
What should I consider when selecting a smart sprinkler controller for my garden?
When choosing a smart sprinkler controller, start by checking its compatibility with your existing irrigation system and the number of zones it can support. This ensures it fits your setup seamlessly.
Another key feature to look for is weather-based scheduling, which adjusts watering based on local weather conditions. This not only helps conserve water but also keeps your lawn and garden thriving.
You’ll also want to pay attention to Wi-Fi connectivity - a reliable connection ensures smooth operation and remote control. Installation should be straightforward, and the controller should integrate with weather data to make automatic adjustments. For the best results, pick a model that suits the specific climate and watering needs of your area.
How do smart sprinkler controllers use weather and soil data to improve watering schedules?
Smart sprinkler controllers take the guesswork out of watering by using real-time weather updates and soil data to create smarter schedules. They factor in elements like temperature, rainfall, humidity, and wind to determine exactly how much water your plants need. This way, they help avoid overwatering while conserving water at the same time.
Some models go a step further by incorporating soil moisture sensors. These sensors keep track of how much water is already in the ground. If it’s raining or the soil is sufficiently moist, the system automatically pauses watering. The result? Your garden gets just the right amount of water without wasting your time or resources.
What should I do if my smart sprinkler controller isn’t connecting to Wi-Fi?
If your smart sprinkler controller is having trouble connecting to Wi-Fi, here are some steps you can take to troubleshoot:
- Verify your Wi-Fi credentials: Make sure the network name and password are entered correctly.
- Improve signal strength: Try moving the controller closer to your router.
- Restart the controller: Power cycle the device or reset its Wi-Fi module.
- Check your router's frequency: Ensure it’s broadcasting a 2.4 GHz network, as many controllers don’t work with 5 GHz networks.
- Assess signal strength: The Wi-Fi signal near the controller should ideally be stronger than -70 RSSI.
- Factory reset as a last resort: If all else fails, perform a factory reset and set up the device again.
Following these steps should help resolve most connection problems and get your smart sprinkler system back on track.
🎨 Visualize Your Dream Garden Today!
Transform any outdoor space into a professional landscape design in minutes. Just upload a photo, choose your style, and let our AI do the rest.
Start your garden transformation now →