Checklist for Setting Up AI Spray Systems
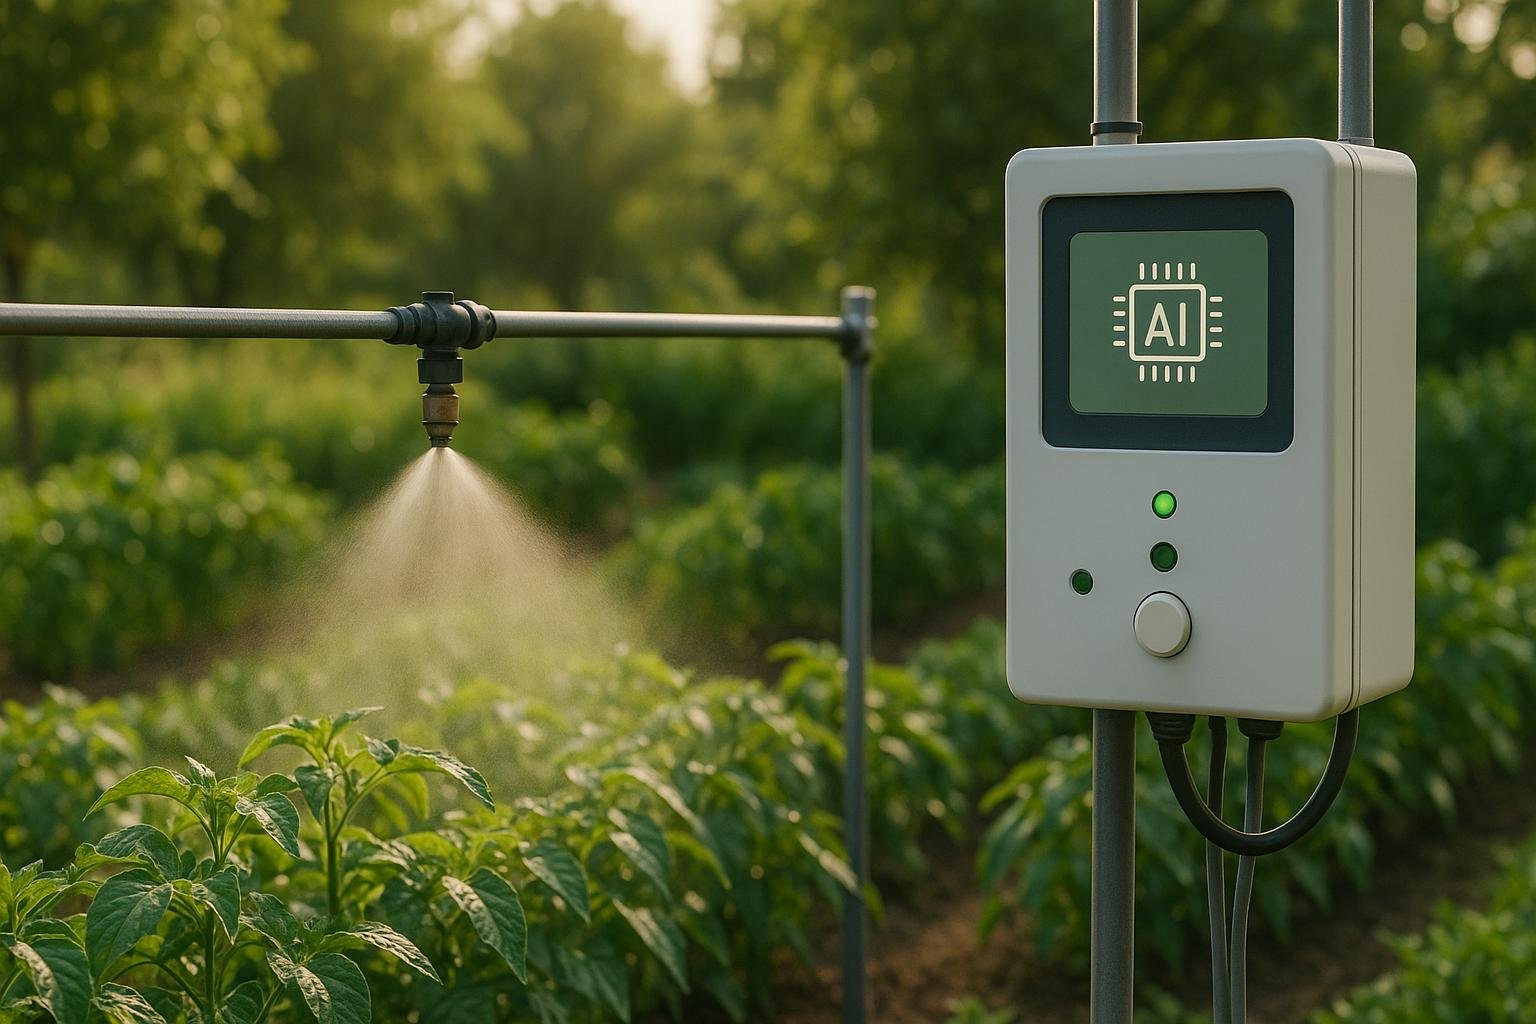
AI spray systems streamline pest control by combining sensors, cameras, and machine learning to monitor gardens, predict pest issues, and deliver precise treatments. Here's a quick overview of how to set up and maintain these systems effectively:
- Preparation: Assess your garden's layout, soil health, water flow, and sunlight. Ensure proper power and water infrastructure and check local regulations for automated systems.
- Equipment: Inspect and prepare components like sensors, pumps, nozzles, and software. Update firmware and gather calibration tools.
- Installation: Position spray hardware, sensors, and control modules correctly. Ensure proper electrical connections with safety measures like GFCI outlets.
- Calibration: Test nozzles, sensors, and spray patterns using plain water. Input garden-specific data like dimensions, plant details, and pest history.
- Spray Schedules: Set schedules based on weather, pest activity, and plant needs. Include safety protocols for wind, rain, and pollinator protection.
- Maintenance: Clean nozzles, update software, and track system performance. Regular inspections ensure consistent and efficient operation.
AI spray systems save time and resources while minimizing chemical use. Proper setup and upkeep are key to optimizing their performance.
Planning Before Installation
Before setting up your AI spray system, it's crucial to carefully evaluate your garden's layout, infrastructure, and environmental conditions. A thorough plan helps prevent expensive errors and ensures the system operates effectively.
Check Garden Layout and Pest Control Needs
Start by analyzing your garden's physical layout and pest management requirements. Consider factors like topography, obstacles, soil quality, plant health, sunlight exposure, and water drainage patterns [2].
- Soil Testing: Check the soil’s nutrient levels, pH, and organic matter. Poor soil health can attract pests, which may require more frequent monitoring and treatment [1][2].
- Vegetation Assessment: Identify areas where plants show signs of pest damage or stress. These zones might need targeted attention.
- Sunlight and Water Flow: Record how sunlight shifts across your garden and where water tends to collect. This data helps fine-tune sensor placement and treatment zones [1][2]. For example, camera-based sensors may need to be adjusted in areas with intense glare, while poorly drained spots could be prone to fungal issues.
Keep in mind that gardens are dynamic. Seasonal changes, plant growth, and shifting layouts can alter sensor coverage and spray patterns over time [2].
Check Power and Water Requirements
Ensure your garden has the necessary power and water infrastructure to support the AI spray system. For instance:
- Power Supply: Confirm there’s a 120V outlet nearby. Measure the distance to ensure the system's cord can reach, such as the 33-foot cord included with the Aiper IrriSense [3].
- Water Supply: Verify that your water source meets the system's specifications. Most systems require a 5/8-inch or 3/4-inch hose connection and a flow rate of 26 liters per minute at 45 psi (2.0 bar) [3].
With these preparations, you’ll be ready to gather the equipment needed for installation.
Review Local Regulations
Before installing your AI spray system, research the rules and guidelines in your area. Many municipalities have specific regulations for automated pest control systems, which may include licensing, notification protocols, and buffer zones near water sources or neighboring properties.
- Local Codes: Reach out to your local agricultural extension office or municipal planning department to clarify any requirements. Some areas may require permits for automated irrigation or spray systems, particularly if they connect to municipal water supplies.
- HOA Restrictions: If you’re part of a homeowners association, check for any restrictions that might affect your installation.
- State and Federal Guidelines: The Environmental Protection Agency (EPA) provides guidelines for pesticide application equipment. Additionally, some states have extra requirements for calibrating equipment and certifying operators.
Equipment and Materials List
Before diving into installation, double-check that all tools and components are ready to go. Having everything prepared ensures smooth setup and keeps your system running efficiently.
Check System Components
Start with the AI control module. Examine the connection ports to make sure they’re clean and undamaged. For sensors, which often include camera units for visual pest detection and monitors for temperature, humidity, and soil moisture, inspect the lenses carefully. Scratches or cracks can interfere with accuracy.
Next, take a close look at the pump and nozzle assembly. Ensure it’s in good working condition, and keep spare nozzles on hand in case clogs occur during operation [6]. Don’t forget to examine tubing and fittings - cracks, especially at high-pressure connection points, can lead to leaks or other issues.
Lastly, verify that your mounting hardware - including brackets, screws, and anchors - is complete. Once all hardware is accounted for, update the system software to ensure everything integrates seamlessly.
Update Software and Firmware
A crucial step is making sure your system runs the latest software and firmware. Updates often include enhanced pest detection algorithms, better spray efficiency, and critical security patches. These improvements can make a big difference in performance.
To check for updates, use the system interface. Since AI algorithms improve regularly, newer software versions typically offer more precise pest identification and optimized spray patterns. Don’t overlook security updates, especially if your system connects to Wi-Fi.
For firmware updates, you’ll likely need to connect the sensors and control modules directly to your computer or smartphone. Follow the manufacturer’s update process carefully to avoid compatibility issues. Some updates may require system calibration afterward, so budget extra time for this step.
Keep a dedicated folder on your device for installation files and update documentation. This backup can save time if you need to reinstall software or troubleshoot connectivity problems later. After completing updates, gather the tools and safety gear needed for calibration.
Gather Calibration Tools and Safety Gear
Accurate calibration is key to ensuring your system works as intended. Use high-quality tools to measure flow rates, pressure, and spray patterns precisely.
- Flow measurement tools: Calibration jugs tailored to your system are essential [7]. For example, the SpotOn® Sprayer Calibrator Model SC-2 ($285.15) automates flow measurement, reducing human error [5].
- Pressure monitoring: The Hypro 2-1/2" Stainless Steel Gauge ($30.50) provides dependable readings up to 2,000 psi [5].
- Basic tools: A measuring tape, stopwatch with second indicators, and a pocket calculator are useful for calculating flow rates [6]. Water-sensitive paper can help verify spray patterns and ensure even coverage [7]. Keep TeeJet cleaning brushes ($7.86) on hand to clear debris from nozzles [7].
Safety is just as important. Wear protective clothing, chemical-resistant gloves, and safety glasses during setup [4][6].
For sensor calibration, specialized kits like the Guardian Calibration Kit ($332.73) come with everything you need - tools, regulators, zero gas, 5ppm calibration gas, connectors, and tubing [8]. These kits ensure your system accurately detects pests and environmental conditions.
Store all calibration tools in a dedicated container to keep them organized and ready for future use. Regular calibration not only maintains accuracy but also prevents over-treating or under-treating pest issues. With this preparation complete, you’re ready to move forward with your AI spray system installation.
Installation Steps
Once the planning and material checks are complete, it’s time to move on to the physical installation. This stage requires careful attention to placement, electrical safety, and weatherproofing to ensure the system operates reliably throughout the growing season.
Install Spray Hardware
Start by positioning the pump assembly within 50 feet of the water source. Mount it on a stable platform elevated at least 6 inches off the ground to prevent water damage. This setup also makes maintenance easier while protecting the pump from direct sunlight.
Next, install the main distribution lines. For permanent systems, use schedule 40 PVC pipes, while flexible tubing works better for seasonal setups. Bury the main lines at least 12 inches deep to protect them from freezing and accidental damage from tools. Mark the location of buried lines with pipe marking tape placed at least 6 inches above ground.
For nozzle placement, space the spray heads 8 to 12 feet apart, depending on your garden’s layout. Install them at a height of 18 to 24 inches above the plant canopy to achieve even spray distribution. Add a shut-off valve near each nozzle to allow for individual zone control during maintenance or specific treatments. On sloped terrain, install pressure regulators at 30 psi intervals to manage water pressure effectively. For areas with elevation changes greater than 10 feet, pressure-compensating nozzles are recommended for consistent coverage.
Before moving on, test the system:
- Run water through the system under pressure.
- Check all fittings for leaks.
- Ensure spray patterns overlap by about 20% to guarantee full coverage.
Install AI Control Modules and Sensors
Once the spray hardware is in place, install the control and sensor modules. Mount the AI control module in a weatherproof enclosure within 100 feet of your Wi-Fi router, ensuring it’s at least 4 feet above ground.
For camera sensors, mount them 6 to 8 feet high on sturdy posts, angled downward at 15 to 20 degrees. This positioning helps detect pests effectively while keeping the cameras safe from spray drift. Each camera can monitor an area of roughly 400 square feet, and adjustable mounting arms make it easier to adapt as plants grow.
Place environmental sensors strategically throughout the garden to capture variations in conditions. Position temperature and humidity sensors in shaded areas, about 4 feet above ground, and away from direct spray zones. Bury soil moisture sensors 6 inches deep in representative spots, avoiding irrigation lines and large roots.
Install wind sensors 10 feet high in open areas, away from obstructions like buildings or trees. This ensures accurate readings and allows the system to halt spraying when wind speeds exceed 10 mph, minimizing drift.
Connect all sensors to the control module using weatherproof cable connectors. Whenever possible, run sensor cables through underground conduits, maintaining an 18-inch separation from electrical power lines to avoid interference.
Connect Electrical Components
With the mechanical components installed, the final step is to connect the electrical system. Make sure all electrical work complies with the National Electrical Code (NEC) and local building codes, especially for systems operating above 120V.
Install GFCI protection for all outdoor electrical connections. GFCIs are crucial for safety, as they quickly cut power in the event of a fault. Test these outlets monthly using their test and reset buttons.
Use outdoor-rated electrical components, including weatherproof electrical boxes for exterior connections. Ensure the covers remain secure even when plugs are inserted. For buried cable splices and connectors, use waterproof junction boxes.
Ground all metal components, such as pump housings, control enclosures, and mounting brackets, to prevent electrical hazards.
Secure all cords away from high-traffic areas using cable clips, keeping them clear of walkways and doorways. For data connections, use shielded outdoor cables to link sensors to the control module, maintaining a 12-inch separation from power lines to reduce electromagnetic interference.
Finally, create a detailed wiring diagram that outlines all connections, circuit breakers, and component locations. Keep this document with your system manual for future reference. Regular inspections, especially after severe weather, are essential to ensure all electrical components remain safe and functional.
🚀 Ready to Reinvent Your Garden?
Join thousands of homeowners who have transformed their gardens using our AI design tool. Upload one photo to explore endless possibilities.
Get your AI garden designs →System Setup and Calibration
Once your AI spray system is installed, it's time to configure it for maximum efficiency. Proper setup and calibration are key to achieving precise pest control while reducing chemical waste and minimizing environmental harm.
Enter Garden Data
The first step is to input accurate information about your garden. Use the system's control interface to define specific zones that match your planting layout. This ensures the AI system understands your garden's unique structure.
Here’s what to include:
- Garden dimensions: Measure and input the size of your garden.
- Management zones: Break down your garden into distinct areas based on planting needs.
- Plant details: Specify plant varieties and their planting dates (MM/DD/YYYY).
- Pest history: Provide a concise record of past pest issues. This historical data helps the AI adapt its strategies over time.
Don’t forget to add environmental details like your USDA hardiness zone, average annual rainfall (in inches), and wind patterns. If your garden has microclimates with slight temperature variations, include those too. These factors allow the system to fine-tune spray timing and intensity for better results.
Once the garden data is set, move on to calibrating the system’s nozzles and sensors.
Calibrate Nozzles and Sensors
Calibration is crucial for ensuring your system operates accurately. Start by adjusting the nozzles according to the manufacturer’s instructions to maintain a consistent spray output. Check the pressure sensors at the pump, along the main lines, and at the nozzles, making sure they’re within the recommended range.
Take time to verify the focus of any cameras and compare sensor readings with reference tools. Ensure wind sensors are responsive enough to detect unsafe spraying conditions. If you notice any spray heads performing inconsistently - like clogged or worn nozzles - repair or replace them promptly.
After calibration, you’ll need to set up a spray schedule that aligns with your garden’s needs.
Set Spray Schedules
A well-planned spray schedule helps balance effective pest control with environmental safety. While many AI systems can adjust schedules automatically using real-time data, it’s still important to establish baseline settings.
- Timing: Schedule sprays for early morning or late afternoon to avoid harming beneficial insects.
- Weather triggers: Program the system to delay spraying during high temperatures, low humidity, strong winds, or after rain.
- Thresholds and intervals: Set pest thresholds, rotate chemicals to prevent resistance, and define pre-harvest intervals.
- Emergency overrides: Configure protocols for unexpected pest outbreaks or urgent conditions.
Following these steps ensures your AI spray system operates efficiently, providing reliable pest control throughout the growing season.
sbb-itb-4d6a8dd
Testing and Fine-Tuning
Once your spray schedules are set up, it’s time to test your AI spray system to make sure everything works as intended before applying any pesticides. This step ensures the system is correctly calibrated and programmed to deliver precise pest control while keeping things safe for the environment. Think of it as the bridge between installation and full operation, giving you confidence that the settings align with your garden’s specific needs.
Run a Test Without Pesticides
Start by running your system with plain water instead of pesticides. This lets you spot any operational issues without wasting chemicals or risking harm to your plants. Simply fill the tank with clean water and activate the system according to the schedule you’ve programmed.
As the system runs, walk through your garden and check for consistent spray coverage. Look for any uneven patterns or areas that might not be getting enough spray. Pay attention to spray drift, especially if it’s breezy, and ensure the system adjusts or pauses when conditions aren’t ideal for safe spraying.
Make sure each spray zone activates as planned and runs for the correct duration. Check that the AI responds properly to sensor inputs like soil moisture, temperature, or pest detection cameras. If you notice certain areas receiving too much or too little spray, adjust the nozzle positions or pressure settings accordingly. Document any issues with time-stamped photos to make troubleshooting easier later.
Monitor AI Adjustments
After the water test, your AI spray system will start analyzing data from its sensors to make real-time decisions. Monitoring how it adapts to changing conditions is crucial to ensure everything operates smoothly.
For instance, if temperatures rise, the system should reduce or delay spraying. Similarly, when humidity drops, it may adjust droplet size to prevent excessive evaporation. The system should also take into account beneficial insect activity. Many AI systems use cameras to detect pollinators like bees and butterflies, pausing spraying during their peak activity times to protect them.
Pay close attention to how the system handles pest thresholds. When pest levels are below your preset limits, the AI should avoid unnecessary treatments. However, if pest activity increases, it may switch from targeted spot treatments to broader coverage. Reviewing the system’s data logs during the first few weeks can give you valuable insights into its learning process and help you fine-tune settings like pest thresholds and sensitivity.
Check Safety Features
It’s important to confirm that all safety features and emergency protocols are functioning as intended. Test emergency stop buttons at all accessible points to ensure they immediately halt all pumping, spraying, and movement.
Make sure the system’s interlocks prevent it from operating under unsafe conditions. For example, spraying should automatically stop during high winds, active rainfall, or when temperatures fall outside the safe range for your chosen chemicals.
Test leak detection by creating small leaks in different areas. Advanced systems should recognize pressure drops, shut down affected zones, and alert you to the issue. This minimizes chemical waste and reduces environmental risks.
Double-check that the system prevents incompatible chemicals from being mixed. It should lock out dangerous combinations and notify you of any conflicts before mixing begins.
Ensure user access controls are in place so only authorized individuals can modify spray schedules, chemical concentrations, or safety settings. Also, verify that data backups are running smoothly. Regular backups - ideally stored securely in the cloud - protect your garden’s data and system configurations in case of hardware failure.
Finally, test the communication features. The system should send notifications via email, text, or app alerts, providing enough detail to help you quickly address any operational issues or maintenance needs.
Maintenance and Troubleshooting
Taking care of your AI spray system isn’t just about keeping it running - it's about protecting your investment and ensuring your garden thrives. A little regular attention goes a long way in maintaining accuracy and reliability.
Plan Regular Maintenance
Stick to a maintenance schedule to keep everything working smoothly. Here’s what to focus on:
- Nozzles and Filters: Use a soft brush and an approved cleaning solution to clear out residues and prevent clogs. Check filters and rinse them as needed to maintain steady water flow.
- Sensors and Connections: Gently clean sensor surfaces with a microfiber cloth and inspect electrical connections for any signs of corrosion.
- Firmware Updates: Manually check for updates to ensure the system is running the latest pest recognition and safety protocols.
- Seasonal Care: At the start and end of the growing season, drain water lines, clean the chemical tank following the manufacturer’s guidelines, and store removable sensors in a controlled environment.
- Spare Parts: Replace worn components promptly and keep essential spare parts on hand for quick fixes.
Track System Performance
Keeping an eye on your system’s performance helps maintain the precision you achieved during setup. Here’s how to monitor effectively:
- Spray Coverage: Use water-sensitive paper around your garden to check for even spray distribution. If coverage is uneven, it might be time to replace nozzles or recalibrate sensors.
- Chemical Usage: Regularly review chemical usage data for unexpected changes. Spikes or drops could point to leaks, mixing issues, or sensor errors.
- Pest Detection Logs: Compare the system’s pest detection records with your own observations. If inconsistencies arise, recalibrate the sensors to improve accuracy.
- System Responsiveness: Make sure the system reacts quickly to environmental changes and that pump pressure and flow rates remain steady across all spray zones.
Document Maintenance Activities
Keeping detailed records makes troubleshooting easier and helps refine your system over time:
- Maintenance Log: Record dates, actions taken, parts replaced, firmware updates (including version numbers), and any performance notes. Take photos of equipment during major maintenance and keep warranty and service records accessible.
- Seasonal Trends: Track pest activity, weather conditions, and system adjustments throughout the year. This data can help you fine-tune the AI settings to better suit your garden’s unique needs.
Conclusion and Final Thoughts
Setting up an AI spray system for your garden isn’t just about plugging in equipment - it’s about creating a precise, efficient pest control solution that minimizes chemical use while keeping your plants healthy. Success starts with careful planning. Before you even open the box, a well-thought-out plan ensures you’re ready to hit the ground running.
Once you’ve got your plan in place, the installation process becomes much smoother. Having all the components organized and the software up-to-date helps avoid unnecessary delays. Taking the time to calibrate and test the system with plain water ensures everything runs smoothly before it impacts your plants.
Ongoing maintenance is the backbone of keeping your system running at its best. By tracking performance, logging maintenance tasks, and keeping an eye on seasonal trends, you can fine-tune your AI settings to adapt to changing conditions and maintain efficiency.
To get the most out of your AI spray system, it’s important to integrate it into a thoughtful garden layout. If you’re redesigning your garden or looking to improve pest control, tools like AIGardenPlanner can help. This AI-powered design tool takes into account your location and climate, helping you make smarter decisions about plant placement and spray system coverage.
🎨 Visualize Your Dream Garden Today!
Transform any outdoor space into a professional landscape design in minutes. Just upload a photo, choose your style, and let our AI do the rest.
Start your garden transformation now →FAQs
What are the biggest challenges when installing AI spray systems, and how can they be resolved?
Installing AI spray systems isn’t without its hurdles. Common challenges include connectivity problems, data security risks, and inconsistent pest detection. On top of that, delays in real-time responses or poor system calibration can negatively impact performance.
To tackle these issues, start by ensuring the system is properly calibrated and undergoes regular maintenance. Using localized hardware can help reduce connectivity issues, while implementing strong data security protocols will safeguard sensitive information. Incorporating advanced sensors and AI-driven tools can enhance pest detection accuracy and speed up response times. Lastly, thorough user training is key to ensuring smooth operation and achieving the best possible results.
How do AI spray systems protect pollinators and other beneficial insects while controlling pests?
AI spray systems are a game-changer when it comes to protecting pollinators and other helpful insects. By leveraging advanced targeting technologies like computer vision, these systems can distinguish between pests and crops. This means pesticides are applied precisely where they’re needed, cutting down on unnecessary exposure and waste.
Many of these systems also adopt practices to safeguard beneficial insects. For instance, they avoid spraying during bloom periods, steer clear of nesting areas, and use precision techniques to minimize the amount of chemicals used. These thoughtful methods not only keep pollinators safe but also help maintain a thriving, balanced garden while still tackling pest issues effectively.
What should I do if my AI spray system shows uneven spraying or sensor issues?
If your AI spray system is showing uneven spray patterns or sensor issues, the first step is to double-check all sensor connections to make sure they’re securely in place. After that, recalibrate the sensors by following the instructions provided in the system's user guide. It’s also a good idea to inspect the system for any visible damage or clogs in the spray nozzles that could be causing the problem.
Still having trouble? Try updating the firmware or software to the latest version - this often fixes common bugs. If the problem continues, you might want to perform a system reset and review the troubleshooting section in the manual. And if none of these steps work, it’s time to contact the manufacturer’s technical support team for expert help.
Related posts
Related Articles
IoT in Biocontrol: Case Studies
Explore how IoT technology is revolutionizing pest management through precision, efficiency, and sustainable practices in agriculture and gardening.

Effective Strategies for Asiatic Garden Beetle Control
Discover key factors and methods for controlling and preventing Asiatic garden beetle infestations. Learn about identification, preventive measures, and various control options.
AI Timing for Parasitoid Releases
AI enhances the timing of parasitoid releases for pest control, improving effectiveness and reducing costs through data-driven insights.
How AI Analyzes Drone Pest Data
AI-driven drones revolutionize pest management in agriculture by enabling early detection and precise treatment, enhancing crop health and sustainability.
AI and Edge Computing: Transforming Pest Management
Explore how AI and edge computing are revolutionizing pest management, boosting crop yields while minimizing pesticide use and costs.

Big Data for Climate-Specific Pest Control
Explore how big data analytics revolutionizes pest control by enabling real-time, climate-specific strategies for farmers and gardeners.