Checklist for Weatherproof Low Voltage Lighting Installation
Learn how to effectively install and maintain weatherproof low voltage lighting for your outdoor space with this comprehensive guide.
By Alfred van der Heide, Founder, AIGardenPlanner. Editorially reviewed for practical garden-planning accuracy.
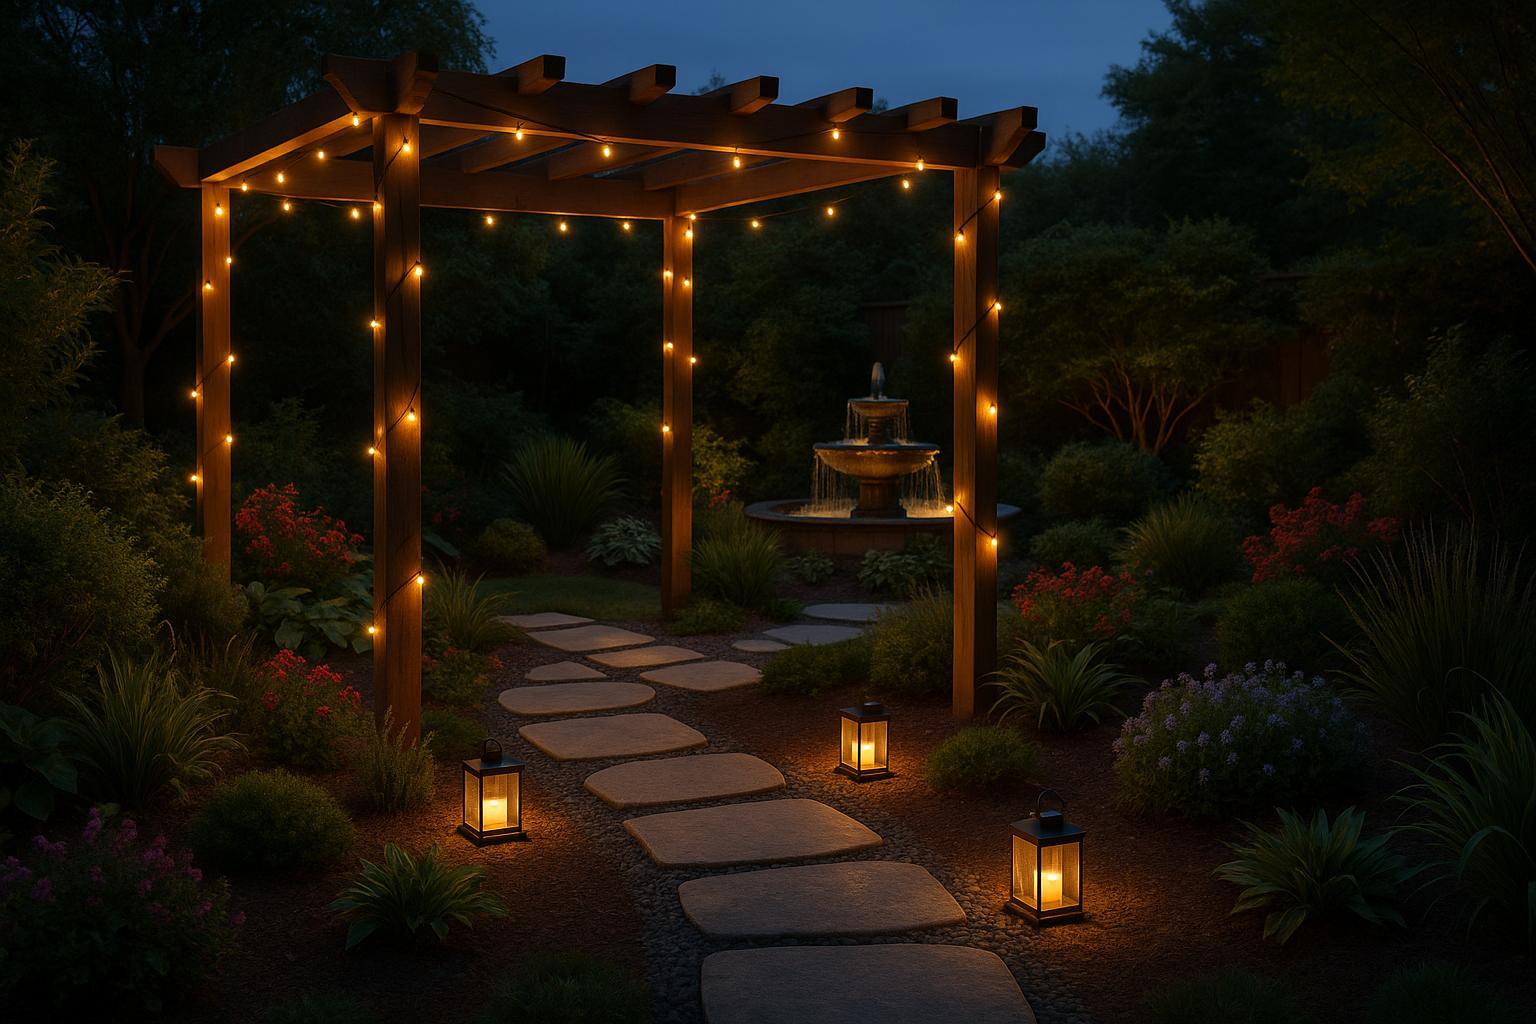
- Plan Your Layout: Map your garden, identify focal points, and divide the space into zones. Space lights 10–15 feet apart for balance.
- Choose Weatherproof Fixtures: Use outdoor-rated lights with durable materials like brass or stainless steel to resist corrosion.
- Locate Utilities Before Digging: Call 811 to mark underground lines and avoid costly damage.
- Install the Transformer: Select a transformer with 20–25% more capacity than your total wattage. Mount it near a GFCI outlet, 12 inches above ground.
- Bury and Protect Cables: Use direct burial-rated cables, dig trenches at least 6 inches deep, and seal all connections with silicone.
- Test and Automate: Check voltage at each fixture, then add timers, photocells, or motion sensors for energy efficiency.
- Maintain Regularly: Inspect for damage, clean fixtures, and replace worn components to keep the system running smoothly.
Pro Tip: Proper weatherproofing and regular maintenance can extend your system’s life to 10–25 years while cutting energy costs by up to 75%. Ready to transform your outdoor space? Start planning today!
Easy How to Install Low Voltage Landscape Lighting for beginners

Planning and Preparation
Setting up weatherproof, low-voltage lighting starts with careful planning. By mapping your space, identifying utility locations, and gathering the right tools and materials, you can avoid mistakes and ensure a long-lasting installation.
Map Your Garden Layout and Lighting Needs
Begin by sketching a detailed layout of your garden. Include features like pathways, flower beds, trees, statues, and seating areas - this will act as your project blueprint[3][4].
Think about what you want the lighting to achieve. Functional lighting improves safety by illuminating walkways and potential hazards, while decorative lighting creates ambiance and highlights your garden's best features. Pay attention to angles; poorly placed lights can create glare or unwanted shadows, especially when accenting architectural elements or plants[2].
For balanced lighting, space fixtures about 10 to 15 feet apart[3].
"You want pools of light to guide your eye from one plant to the next, not continuous illumination." - Mark Piantedosi, Owner of Commonwealth Landscape Lighting[5]
Divide your garden into zones based on usage, such as dining areas, entertainment spaces, or botanical displays[4]. Each zone might need different lighting intensities. Choose a focal point - like a large tree, a statue, or your home’s entrance - and design your lighting around it to create a cohesive look[3].
Once your layout is set, the next step is to address underground utilities safely.
Locate Underground Utilities
Before digging, call 811 to avoid accidents and costly damage to utility lines[6][7]. This service is free, and professionals will visit your property to mark the locations of underground utilities like gas lines, electrical cables, and water pipes. Schedule this a few days in advance to allow enough time for the markings[8].
If you’ve installed any underground wires or pipes yourself, refer to your records for their locations[8]. When digging, keep trenches or holes at least 18 inches away from marked utility lines to maintain a safe buffer zone[8].
Select Weatherproof Lighting Fixtures
Opt for outdoor-rated lighting fixtures that can handle rain, snow, and temperature changes. Look for designs that complement your home’s architectural style for a seamless appearance[4]. Avoid fixtures with untreated metal components, as they can corrode when exposed to the elements.
Gather Tools and Materials
To get started, you’ll need a few essential items:
- A low voltage transformer
- Outdoor-rated low voltage lights
- Low voltage cable
- Weatherproof cable connectors[9]
The transformer is key - it converts your home’s standard 120-volt power to a safer 12 or 24 volts for your lighting system.
You’ll also need tools like wire strippers, screwdrivers, a voltmeter or voltage detector, and trenching tools[9][11]. Keep extra wire on hand for adjustments during installation or future maintenance[11].
For waterproof connections, use silicone-filled connectors to seal off moisture at connection points[11]. A flat-blade shovel or edger will come in handy for digging trenches to bury the cables. Plan to bury wires a few inches underground to protect them and maintain a tidy landscape[10][11].
With everything mapped out and your materials ready, you're set to move on to installing the transformer with confidence.
Installing the Transformer
With your garden layout and utility locations sorted, it’s time to install the transformer - the core of your outdoor lighting system. This device converts your home’s standard 120-volt power into a safer 12- or 24-volt output. Choosing and installing the right transformer is key to ensuring your system works reliably for years to come.
Select the Correct Transformer
Start by calculating the total wattage of your lighting fixtures. Add up the wattage of all the bulbs or integrated fixtures in your system - this is your total consumed wattage. To ensure the transformer can handle the load, select one rated at least 20–25% higher than your total wattage. This extra capacity helps account for long-term use and potential power surges[13][14]. Additionally, the National Electric Code advises derating appliances used for more than three hours daily to 80% of their capacity[13].
"Calculate the total wattage of your system by adding up all of the bulb or integrated fixture wattages. This is your consumed wattage. Then select a low voltage transformer with a wattage greater than your consumed wattage; now multiply your chosen transformer's wattage by 80 percent."[12]
If your system exceeds 150 watts in one area, splitting it into separate runs can help reduce voltage drop.
When deciding between transformer types, keep in mind that magnetic transformers are bulkier and more durable, while electronic transformers are smaller and lighter. Electronic models often feature reset capabilities at the wall switch in case of overload[15][16]. Opt for transformers with safety certifications like UL or CE, and prioritize models with built-in protections such as circuit breakers, overload protection, and thermal fuses[14]. For long cable runs, a multi-tap transformer can help offset voltage drop by offering adjustable output settings.
Mount the Transformer
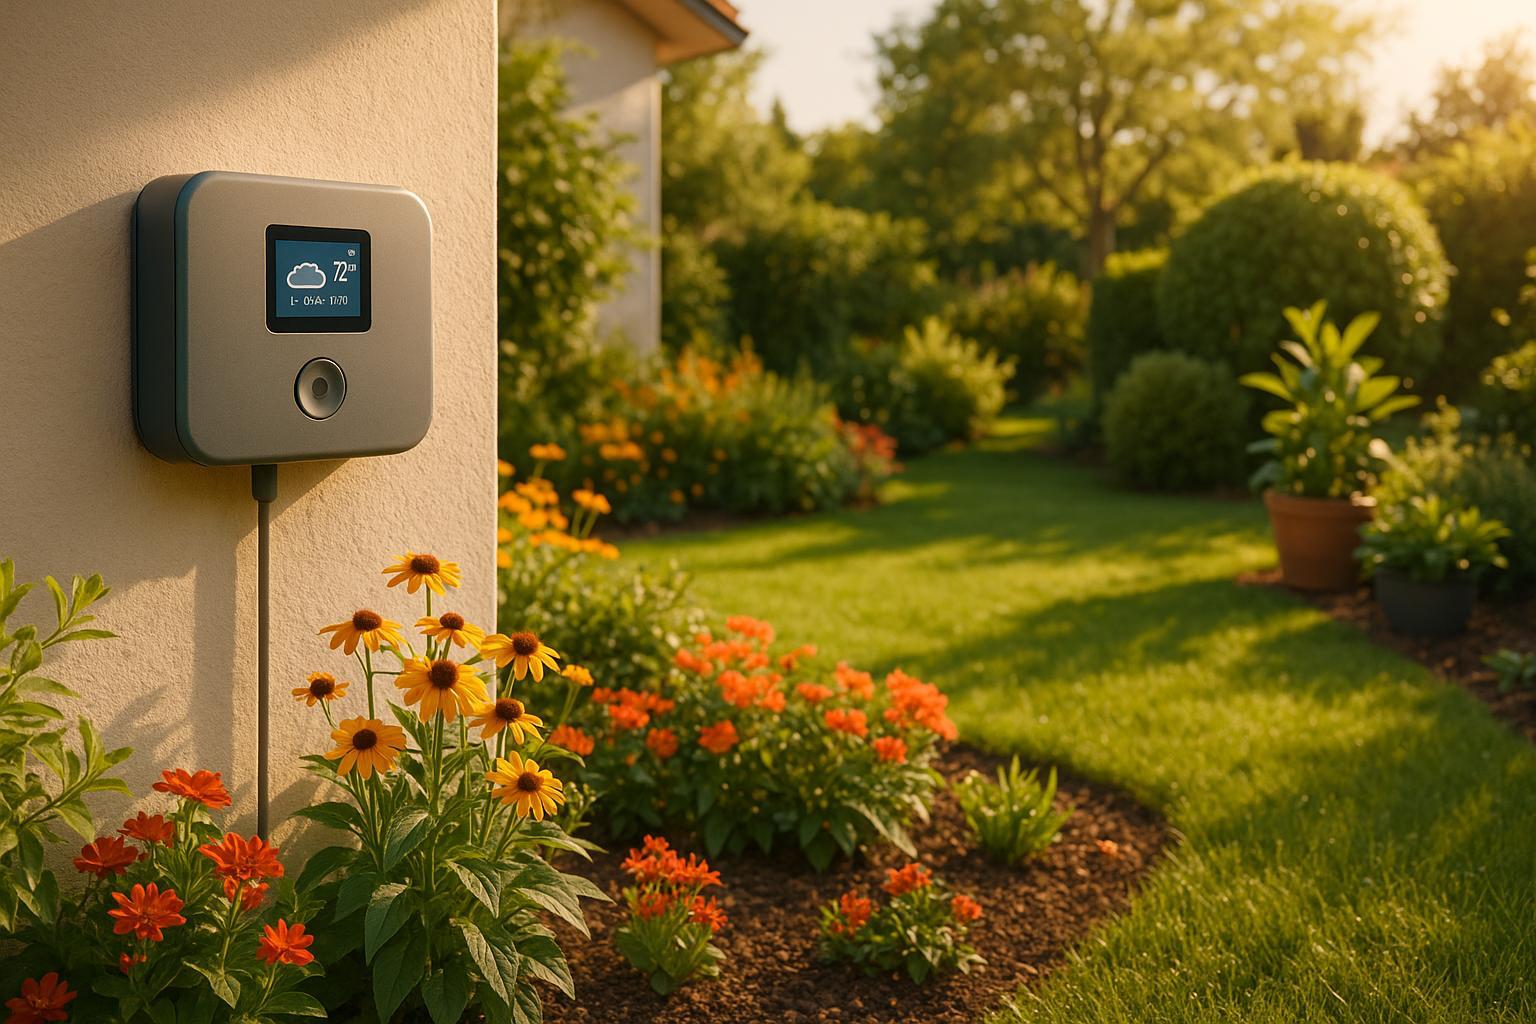
Install the transformer vertically, at least 12 inches above the ground, near a GFCI outlet. Position it under a roof overhang or inside a weatherproof enclosure to shield it from moisture while ensuring proper ventilation[17][19]. You can mount it on a wall, post, or even stake it to the ground, but avoid attaching it directly to vinyl siding[18].
Choose a location close to the power source to minimize long cable runs, but keep it away from water sources or consistently damp areas[17][19]. For added protection, use a waterproof cover over the outlet to prevent moisture from reaching the electrical connection[19].
Make Safe Wiring Connections
Before you start wiring, turn off the power at the transformer, timer, and circuit breaker. If the transformer plugs into an outlet, unplug it for safety.
Separate the cable leads by about six inches and strip ½ inch of insulation from each copper wire. Only use undamaged wires, as faulty ones can lead to poor connections. Twist the exposed copper ends tightly in a clockwise motion and insert them firmly into waterproof connectors rated for direct burial.
"The connection points in an outdoor lighting system are often the weak links where failures can occur. This is why it's essential to ensure your wire connections are done correctly the first time. Proper connections prevent moisture infiltration, ensure consistent power delivery, and maintain the overall integrity of your lighting system."[20]
Once all connections are secure, restore power to the transformer and check that each fixture lights up. Wiring in parallel - not in series - helps prevent total circuit failure if one component goes out and also minimizes voltage drop across the system[20].
With the transformer installed and wired, you’re ready to move on to positioning and installing the fixtures.
🚀 Ready to Reinvent Your Garden?
Join thousands of homeowners who have transformed their gardens using our AI design tool. Upload one photo to explore endless possibilities.
Get your AI garden designs →Fixture and Cable Installation
Once the transformer is in place, the next step is to install the fixtures, completing your lighting system. This part of the process demands careful attention to spacing, burial depth, and weatherproofing to ensure the system operates reliably in all seasons.
Set Up and Position Fixtures
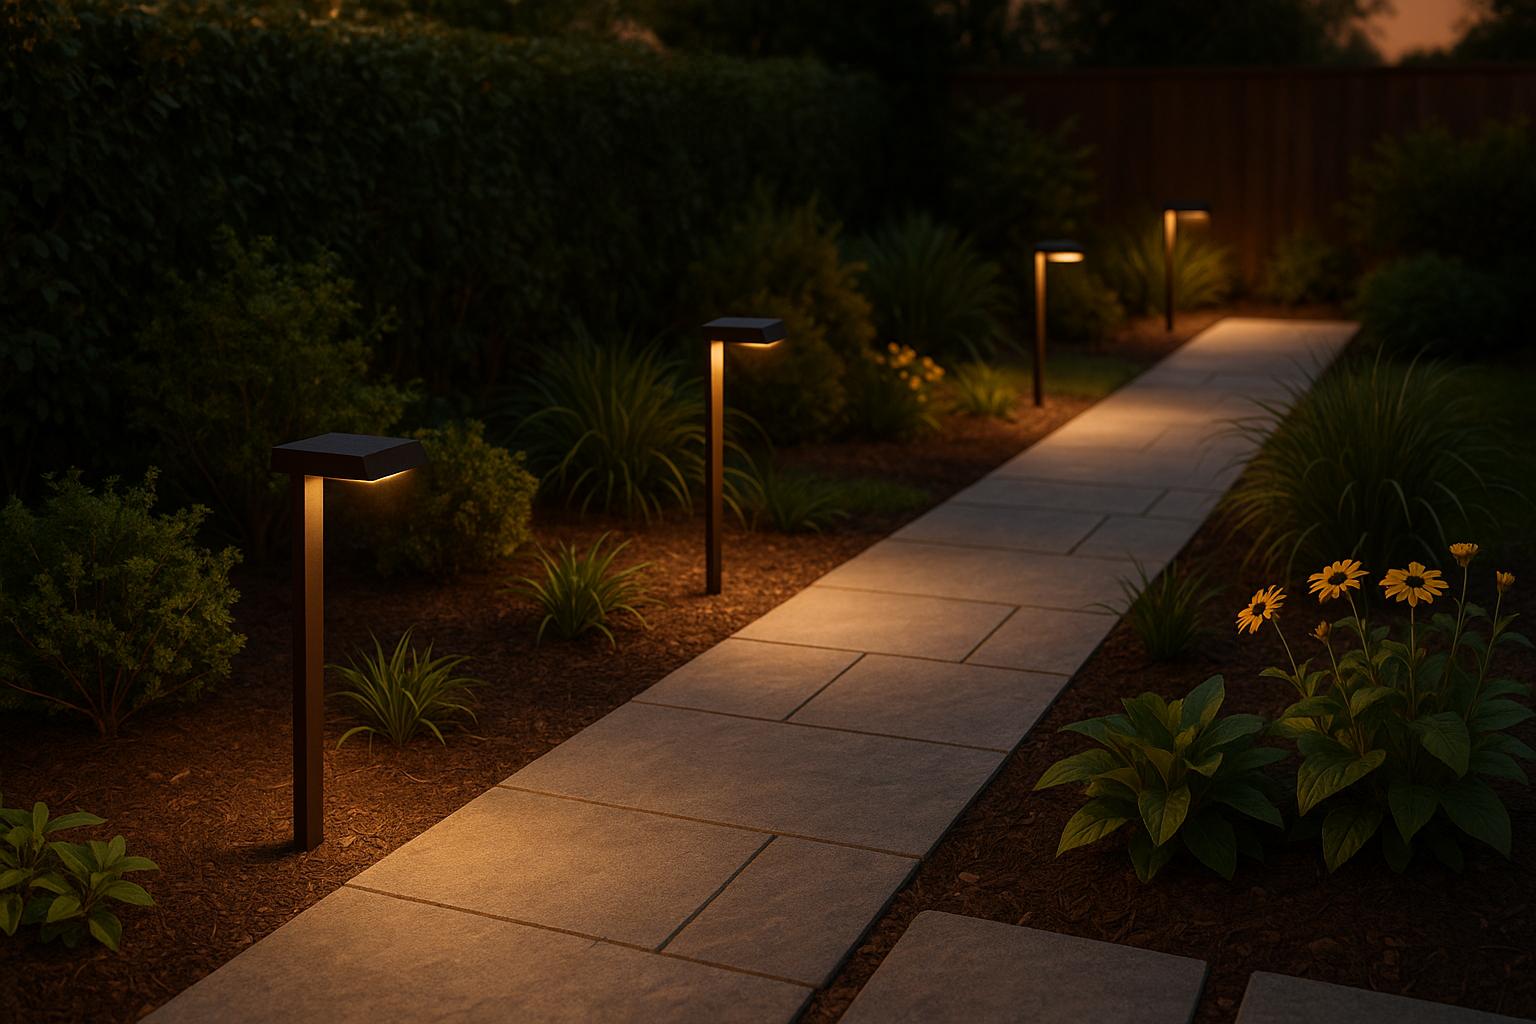
Start by installing the bulbs and securing the mounting hardware before positioning the fixtures. Proper spacing is key for achieving even illumination.
For pathway lights, aim for a spacing of 6 to 8 feet between fixtures to avoid harsh bright spots or dark gaps[21]. To determine how many lights you’ll need, measure the length of your walkway and divide it by your chosen spacing. For a softer, more inviting look, stagger the lights on alternating sides of the path instead of aligning them in a straight line[22][23].
Accent lighting spacing depends on the size of the feature you're highlighting. For smaller elements under 10 feet tall, place lights 3 to 5 feet apart. Larger trees or architectural features can accommodate wider spacing of 10 to 15 feet between fixtures[21]. Deck and step lights should be positioned 4 to 6 feet apart to ensure safe visibility[21].
Brighter fixtures with higher lumen output can be spaced farther apart, while narrow beam lights may require closer placement for effective coverage[21]. Before finalizing your setup, test the spacing at night using a flashlight to simulate beam angles and coverage[21].
Position fixtures where they can be easily accessed for maintenance. In areas with heavy snow, ensure they’re placed where snowplows or shovels won’t damage them[24]. Safety is a priority - make sure pathways, stairs, and any elevation changes are properly lit to reduce the risk of tripping[22][25].
Install and Bury Low Voltage Cables
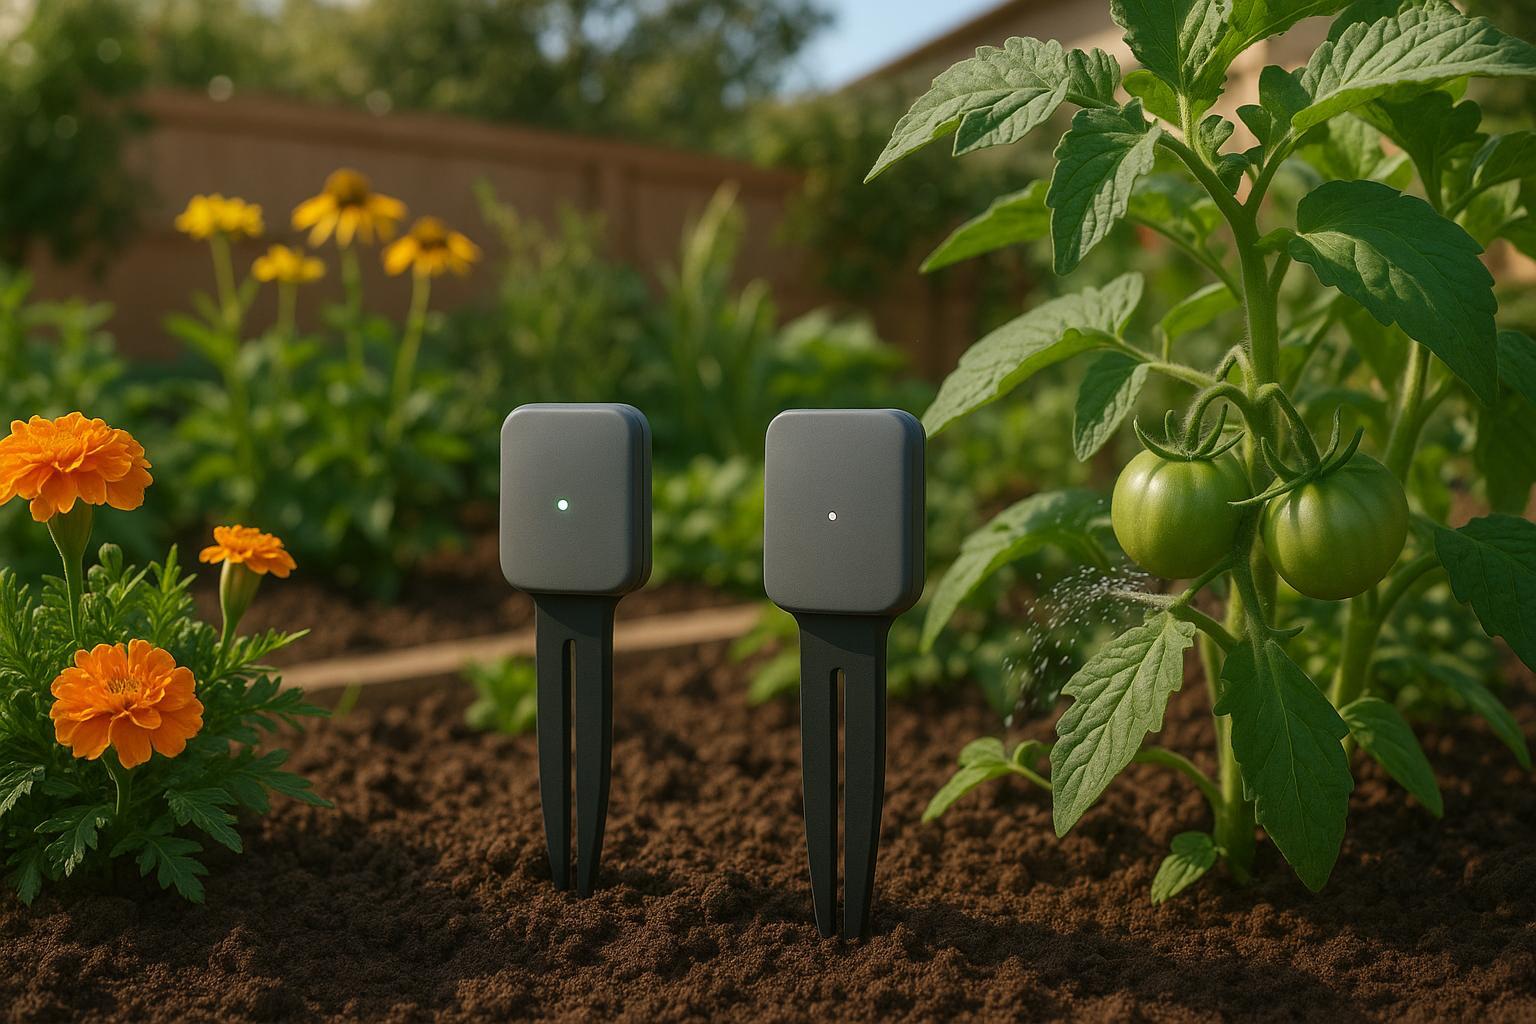
Use cables rated for direct burial to ensure durability. Dig trenches at least 6 inches deep for your cable runs, which is the minimum depth required for low-voltage wires under 30 volts[26]. If you’re dealing with rodents in your area, consider burying the cables 12 inches deep to prevent damage from chewing[27]. Always check local regulations for burial depth requirements and necessary permits[28].
Seal Connections for Weather Protection
Once the cables are buried, it’s crucial to protect all wire connections from moisture. Use weatherproof junction boxes and apply silicone caulking to seal the connections, preventing water from causing system failures[29].
For individual wire connections, heat shrink tubing provides excellent waterproofing. Slide the tubing over the connection and use a heat gun to ensure a secure seal[29].
Apply a continuous bead of silicone sealant around fixtures and junction boxes, leaving a small weep hole to allow moisture to escape[30]. Smooth out the sealant with a sealant tool dipped in water for a clean, professional finish.
Seal all cable entry points into junction boxes or fixtures using weatherproof gaskets or additional silicone sealant[31]. Outdoor electrical boxes should also be sealed tightly with silicone caulking along all edges[32].
Inspect these seals regularly, especially after severe weather, to ensure your system remains watertight and operational[29].
Weatherproofing and Durability Steps
Choosing weatherproof materials and applying protective measures are essential for ensuring your lighting system stands the test of time. With proper care, these systems can last anywhere from 10 to 25 years or more.
Use Outdoor-Rated Products
Start by selecting products with reliable IP ratings, which indicate protection against dust and water. For outdoor lighting, aim for an IP rating of at least IP45, but IP65 is even better. Fixtures rated IP65 can handle direct water spray from any direction, making them perfect for areas prone to heavy rain or sprinkler exposure[34].
When it comes to fixture materials, durability and low maintenance are key. Brass is an excellent choice, particularly in coastal regions where salt air accelerates corrosion[33]. For a sleek, modern look, stainless steel is popular, but not all stainless steel is created equal. In humid areas or locations within 10 miles of the coast, marine-grade 316L stainless steel offers better resistance to chlorides compared to standard 304 stainless steel[39][38]. Copper is another strong option, naturally resistant to corrosion and ideal for humid or water-adjacent settings[33]. If you're working with a tighter budget, aluminum fixtures with powder coating can provide decent corrosion resistance, though they may fade or oxidize over time[33].
High-quality materials not only enhance the appearance of your outdoor space but also reduce maintenance costs. Well-made fixtures can last decades, while LED components use at least 75% less energy and outlast traditional incandescent bulbs by a significant margin[33][35]. Once you've chosen durable, outdoor-rated products, the next step is to protect them further with sealants.
Apply Protective Sealants
Adding protective sealants is a simple but effective way to keep moisture out of your fixtures, especially in vulnerable areas. Silicone sealant is ideal for outdoor use because it’s both flexible and water-resistant, outperforming acrylic caulk.
To apply, clean the surfaces thoroughly, cut the nozzle of the sealant tube at a 45-degree angle, and lay down a continuous bead around mounting points and cable entries. Be sure to leave a small weep hole at the bottom of each fixture to allow any trapped moisture to escape rather than building up inside the housing[37].


Your garden could look like this!
Upload a photo and get professional garden design ideas in seconds.
Design your garden in 3D — free, no sign-upFor a smooth finish and proper adhesion, use a damp tool to smooth the sealant bead. Allow the sealant to cure completely - usually within 12 to 24 hours - before exposing it to the elements[30]. Regularly check the sealant for cracks, gaps, or peeling, especially after severe weather. According to LumarySmart in December 2024, simple measures like sealing gaps can greatly increase the durability and resilience of outdoor fixtures[36].
Choose Corrosion-Resistant Hardware
Once your fixtures are weatherproofed, secure them with corrosion-resistant fasteners. Marine-grade 316L stainless steel fasteners are ideal for humid or coastal environments, while hot-dipped galvanized fasteners offer excellent rust protection with their thick zinc coating. Brass hardware pairs well with brass fixtures and resists corrosion across a variety of climates[39][33].
Avoid combining different metals directly, as this can cause galvanic corrosion. If mixing metals is unavoidable, use non-conductive washers or gaskets to separate them and prevent electrochemical reactions.
Also, consider the thermal properties of your hardware. Marine-grade 316L stainless steel, for example, conducts less heat than standard steel or aluminum, which can be a safety benefit for fixtures near walkways or high-traffic areas[38].
Investing in corrosion-resistant hardware reduces maintenance needs and extends the life of your lighting system. With your fixtures and hardware fortified, you’re ready to move on to system testing and automation.
sbb-itb-4d6a8dd
System Testing and Automation
Once the wiring and fixtures are in place, it's time to test and automate your system. This step not only ensures everything works as it should but also paves the way for energy-efficient automation, saving you time and money down the road.
Test Fixtures and Connections
Before you finalize and bury any cables, turn off the power and test each fixture and connection using tools like a digital voltmeter, multimeter, wire strippers, and a low-voltage tester.
Start with a visual inspection. Look for any signs of damage, such as cuts or exposed wires. Check that all connections - whether at the transformer, cables, or fixtures - are secure to avoid flickering or outright failures later.
Next, measure the voltage at the power socket, transformer output, and at each fixture. You should see a reading close to 12 volts. If you get a zero reading, double-check the wire connections and test the transformer to pinpoint the issue.
Run a continuity test to detect any hidden breaks in the cables that might not be obvious during your visual checks. Once you're confident that the system is functioning properly, you can move on to automating your setup for better efficiency.
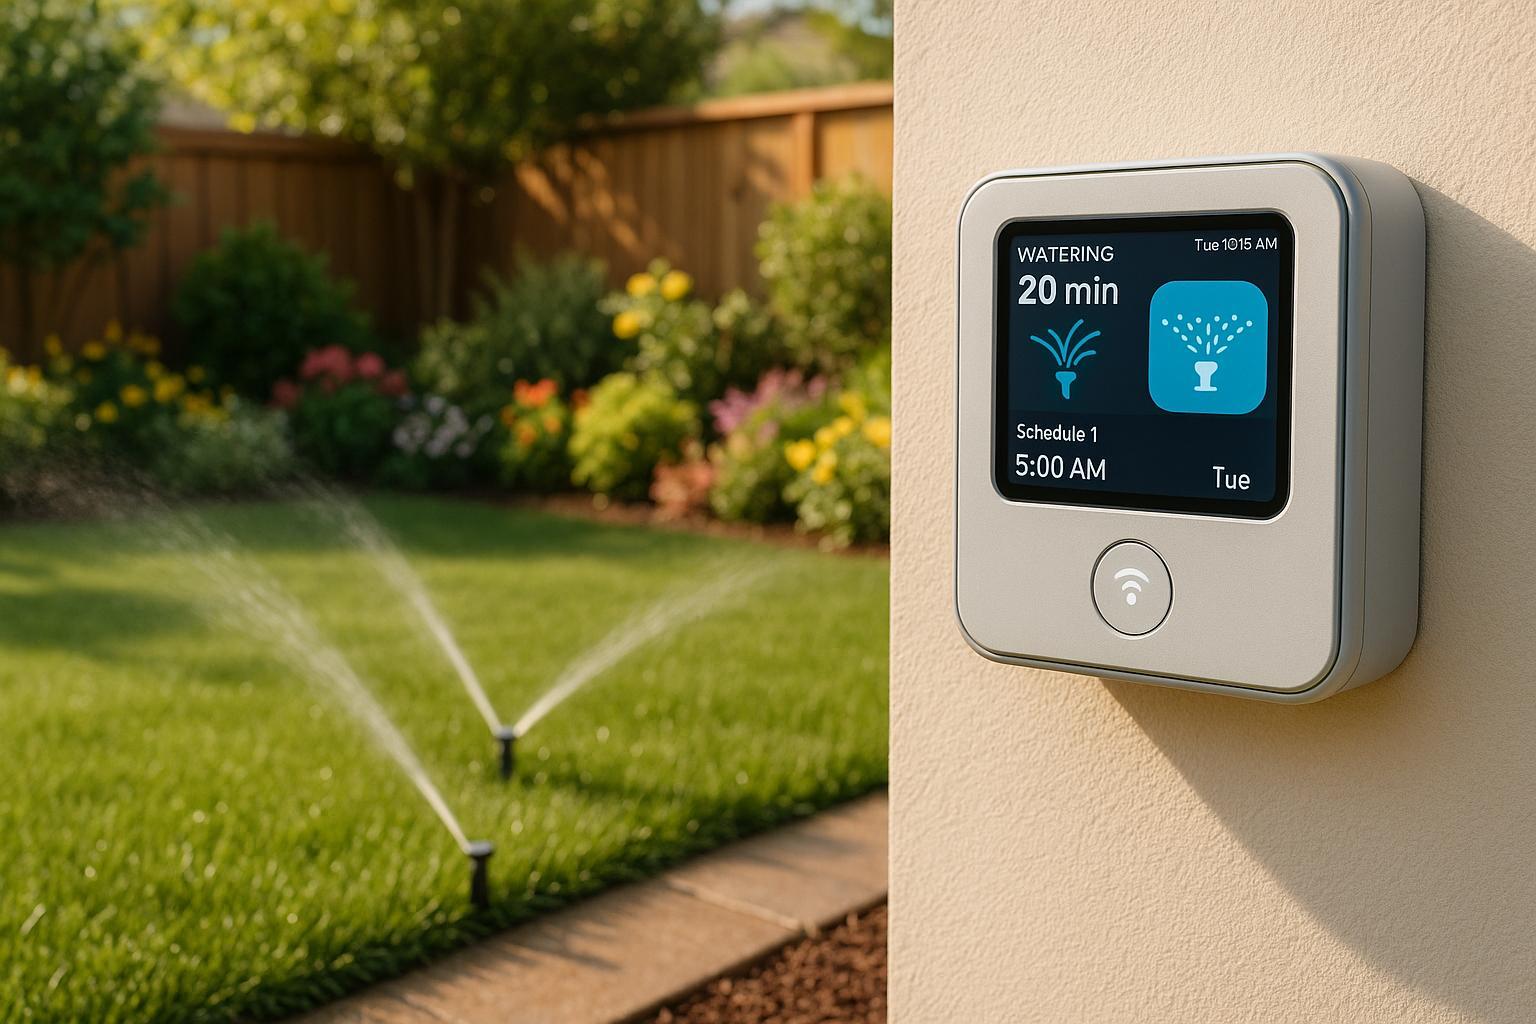
Install Timers or Sensors
Adding automation to your lighting system makes it more energy-efficient and hassle-free. There are several options to choose from, including timers, photocells, and motion sensors, each with varying price points:
- Mechanical timers: Simple and reliable, priced around $24.99.
- Digital timers: Offer precise programming with multiple daily cycles, averaging $45.99.
- Smart timers: Provide remote control through apps, starting at $27.99.
- Photocells: Automatically adjust lights based on ambient light, costing about $22.99.
- Timer/photocell combos: Combine features for around $34.99.
- Inline motion sensors: Activate lights only when needed, starting at $44.99.
Mechanical timers are straightforward, while digital versions let you schedule multiple on/off cycles. Smart timers take it a step further, allowing remote control via your smartphone. Photocells handle dusk-to-dawn lighting automatically, and motion sensors are perfect for areas with occasional foot traffic, reducing energy use by turning lights on only when necessary.
Follow the manufacturer’s instructions to install your chosen control devices, ensuring they’re compatible with LED and low-voltage systems. If you’re using outdoor timers, protect them with weatherproof covers. Schedule your lighting based on actual usage patterns, and adjust settings seasonally to avoid wasting energy.
Record Installation Layout
Keeping a detailed record of your lighting system can save you a lot of time when troubleshooting or upgrading in the future. Start by sketching or photographing the entire setup, noting the location of each fixture, cable run, and junction point.
Create an inventory of all components, including manufacturer names, fixture types, model numbers, and lamp wattages. This makes it much easier to find the right replacement parts when needed.
Document your transformer’s specifications, such as capacity, voltage output, and installation date. Also, note which fixtures are connected to each transformer output and the total wattage load on each circuit. This information is crucial if you plan to add more fixtures later, as it helps prevent overloading.
Maintain a log of inspections, repairs, and upgrades. Record dates, actions taken, parts replaced, and any performance issues. Over time, these records will help you spot patterns and predict when maintenance might be needed.
Store both physical and digital copies of your documentation near your electrical panel for easy access. Having everything well-organized transforms maintenance from a guessing game into a straightforward process.
Maintenance and Troubleshooting
Keeping your weatherproof low voltage lighting system in top shape requires regular maintenance. This not only ensures smooth performance but also extends the lifespan of your system, helping you avoid expensive repairs down the road. By building on the practices you established during installation, you can maintain optimal functionality over time.
After confirming that your system is working properly, consistent care will safeguard its performance. Remember, secure connections and proper sealing - key elements during installation - remain just as important during maintenance.
Check for Damage and Wear
Set aside time each month to inspect your fixtures, connections, and cables for signs of wear or damage.
Start with a visual check of all fixtures. Look for cracks in the housing, loose screws, or any damage caused by weather or landscaping tools. Fixtures can shift due to ground settling or frost, so ensure they’re properly aligned and securely mounted.
Pay close attention to wire connections and junction points. Loose connections, frayed wires, or signs of moisture intrusion, such as discoloration or mineral deposits, can compromise your system’s performance [41][43][44].
Inspect cables running between fixtures, especially at points where they enter or exit the ground. Digging, lawn equipment, or rodents can damage cables, so check for cuts, kinks, or worn protective sheathing [42].
Finally, examine mounting hardware and gaskets. Over time, screws can loosen, and rubber seals may crack or shrink, allowing water to seep into the fixture housing [42]. Regular inspections help catch these minor issues before they become major problems.
Clean and Replace Components
Before cleaning, always turn off the power at the transformer. Use non-abrasive cloths and mild soap to clean fixture lenses, covers, and glass surfaces. Be sure to dry all components thoroughly before reassembling to prevent corrosion. Replace bulbs with ones that match your system’s specifications [45][46][47].
For glass components, use a high-quality glass cleaner and a soft, lint-free cloth to avoid scratches [46]. Avoid harsh chemicals that could damage finishes or corrode metal parts - stick to mild soap and water.
During maintenance, trim any vegetation that might block or cover your light fixtures [43]. This not only improves light distribution but also prevents plants from interfering with the system’s performance.
To provide extra protection, consider applying a clear coat of protective wax or metal sealer to components after cleaning. This can help shield them from the elements [48].
Fix Corrosion Problems Quickly
Corrosion is one of the biggest threats to outdoor lighting systems, and it’s typically caused by water exposure [49]. Regularly check your connections for signs of corrosion, moisture, or damage, and make sure all connections are snug [40].
If you spot corrosion, act quickly. Gently remove it with a brush and apply dielectric grease to prevent it from returning [50]. For components that are severely corroded, replacement is usually the best option. Attempting to salvage heavily damaged parts often leads to recurring issues.
When replacing parts, choose watertight outdoor fixtures and apply anti-corrosion compounds during installation to protect against moisture [49]. Preventive measures are always more affordable than repeated repairs.
Keep a detailed log of any corrosion problems you encounter and the steps you take to address them. This record can help you spot patterns and fine-tune your maintenance routine.
🎨 Visualize Your Dream Garden Today!
Transform any outdoor space into a professional landscape design in minutes. Just upload a photo, choose your style, and let our AI do the rest.
Start your garden transformation now →Improving Lighting Design with AI Tools
Good installation and maintenance create a dependable system, but smart design takes your outdoor space to the next level. AI-powered tools are changing the game for garden lighting, making it easier than ever for homeowners to achieve professional-quality results without needing a design background. These tools bring high-end lighting layouts within reach, often at a fraction of the cost of traditional methods [53]. By blending functionality with style, AI tools can transform your carefully installed system into a stunning visual experience.
Plan Lighting Layouts Visually
AIGardenPlanner makes creating lighting layouts incredibly simple. Just upload a photo of your garden, and the tool generates a professional design in less than 60 seconds - saving you hours compared to traditional methods [51]. With over 50 pre-designed styles and limitless customization options, you can explore different lighting ideas, whether it’s subtle pathway lights, dramatic uplighting for trees, or comprehensive solutions for security.
Improve Fixture Placement
Once you have a visual plan, AI takes it a step further by fine-tuning fixture placement. It evaluates environmental and aesthetic factors, such as plant colors, shapes, and heights, using advanced pattern recognition to predict how your garden will look throughout the seasons [52].
"Imagine an evening garden illuminated precisely by AI-driven lighting placement that adapts to your landscape and routines." - DreamzAR App [52]
AI tools also adapt to your preferences, suggesting warm lighting for cozy gathering spots or cooler tones for security areas [54]. They’re designed to enhance energy efficiency by analyzing usage patterns, ensuring maximum impact while keeping power consumption low [54]. Some tools even recommend wildlife-friendly lighting, such as amber tones that support moths or low-level path lights that don’t disturb nocturnal birds [52].
Combine Lighting with Plant Design
AIGardenPlanner’s AI Plant Advisor goes beyond lighting by helping you select plants that thrive in your specific climate, soil, and weather conditions [51]. It also integrates plant growth into your lighting design, considering factors like mature plant sizes, bloom cycles, and foliage density to ensure your lighting remains effective as your garden evolves. This prevents common issues, such as placing uplights too close to fast-growing shrubs or installing path lights where plants might eventually block the illumination.
The platform even provides care instructions, seasonal schedules, and expert tips for your chosen plants [51]. By combining lighting and plant design, you not only enhance the beauty of your garden but also ensure energy efficiency and long-term functionality.
AIGardenPlanner offers flexible pricing to fit different needs, starting at $15 for 15 AI-generated garden designs on a Pay As You Go plan, or $9 per month with an annual subscription [51].
Conclusion
Installing weatherproof low voltage lighting the right way ensures your system delivers value for years to come. Success hinges on three core principles: detailed planning, effective weatherproofing, and routine maintenance.
The planning stage lays the groundwork for everything. By mapping out your landscape and allowing for a capacity buffer, you create a system that meets your current needs while remaining adaptable for future upgrades [9]. These thoughtful preparations align seamlessly with weatherproofing measures and ongoing care to keep the system running smoothly.
Weatherproofing is what separates a system that lasts a few years from one that performs reliably for over a decade. Waterproof connectors and enclosures are especially critical in areas prone to moisture, shielding your system from environmental wear and tear [55]. However, even the best-built systems need consistent upkeep to maintain their performance.
Quarterly inspections help catch minor issues before they turn into bigger problems, while yearly professional checkups ensure everything stays in top shape for the long haul.
"Our clients typically see 3-5 years between service calls on quality low-voltage systems." - James R., Licensed Landscape Electrician [1]
Simple maintenance tasks, like cleaning fixtures, checking connections, and confirming the transformer delivers the correct 11–15 volts, go a long way in preventing common issues [44]. Properly burying cables and keeping fixtures clear of obstructions also safeguards against accidental damage during routine yard work [44]. These steps not only extend the life of your system but also enhance its energy efficiency, boosting your property’s value and ensuring years of outdoor enjoyment.
FAQs
What steps should I take to keep my low voltage lighting system weatherproof and long-lasting?
To keep your low voltage lighting system weatherproof and long-lasting, start by selecting outdoor-rated fixtures that feature waterproof enclosures and connectors. Place the transformer in a protected spot, such as inside a shed or under a covered area, to shield it from rain and other harsh weather conditions.
Routine maintenance plays a big role in extending the life of your system. Make it a habit to clean the lenses, look for any exposed or damaged wires, and inspect for moisture or signs of corrosion. Tackling these issues early can prevent bigger problems and ensure your system continues to perform well.
With proper setup and regular care, your lighting system can stay durable and dependable through the years.
What are the advantages of using AI tools like AIGardenPlanner to design my garden lighting layout?
AI tools such as AIGardenPlanner simplify the process of designing your garden's lighting layout. These tools take into account your garden's dimensions, local climate, and personal preferences to create customized lighting plans. This not only saves you time but also eliminates much of the trial and error.
With AI-powered customization, you can create a lighting design that feels like it was done by a pro. It enhances the look and usability of your outdoor space while being efficient and budget-friendly. Plus, the tailored approach ensures the lighting fits seamlessly into your garden's overall design.
How can I select the right transformer for my low voltage lighting system to ensure safe and efficient operation?
To pick the right transformer for your lighting system, start by calculating the total wattage your setup requires. Once you have that number, choose a transformer with a capacity that's at least 20% higher than your total wattage. For example, if your system uses 150 watts, you should go for a transformer rated between 180 and 200 watts. This extra capacity helps prevent overloading and keeps things running smoothly.
For safe and reliable operation, make sure the transformer isn't working beyond 80% of its maximum capacity. Staying within this limit reduces the chances of overheating or causing damage. Always double-check the manufacturer's specifications to ensure the transformer is compatible with your system.