Smart Soil Sensors with Home Assistant
Utilize smart soil sensors with Home Assistant to automate garden watering, enhancing plant health while conserving water efficiently.
By Alfred van der Heide, Founder, AIGardenPlanner. Editorially reviewed for practical garden-planning accuracy.
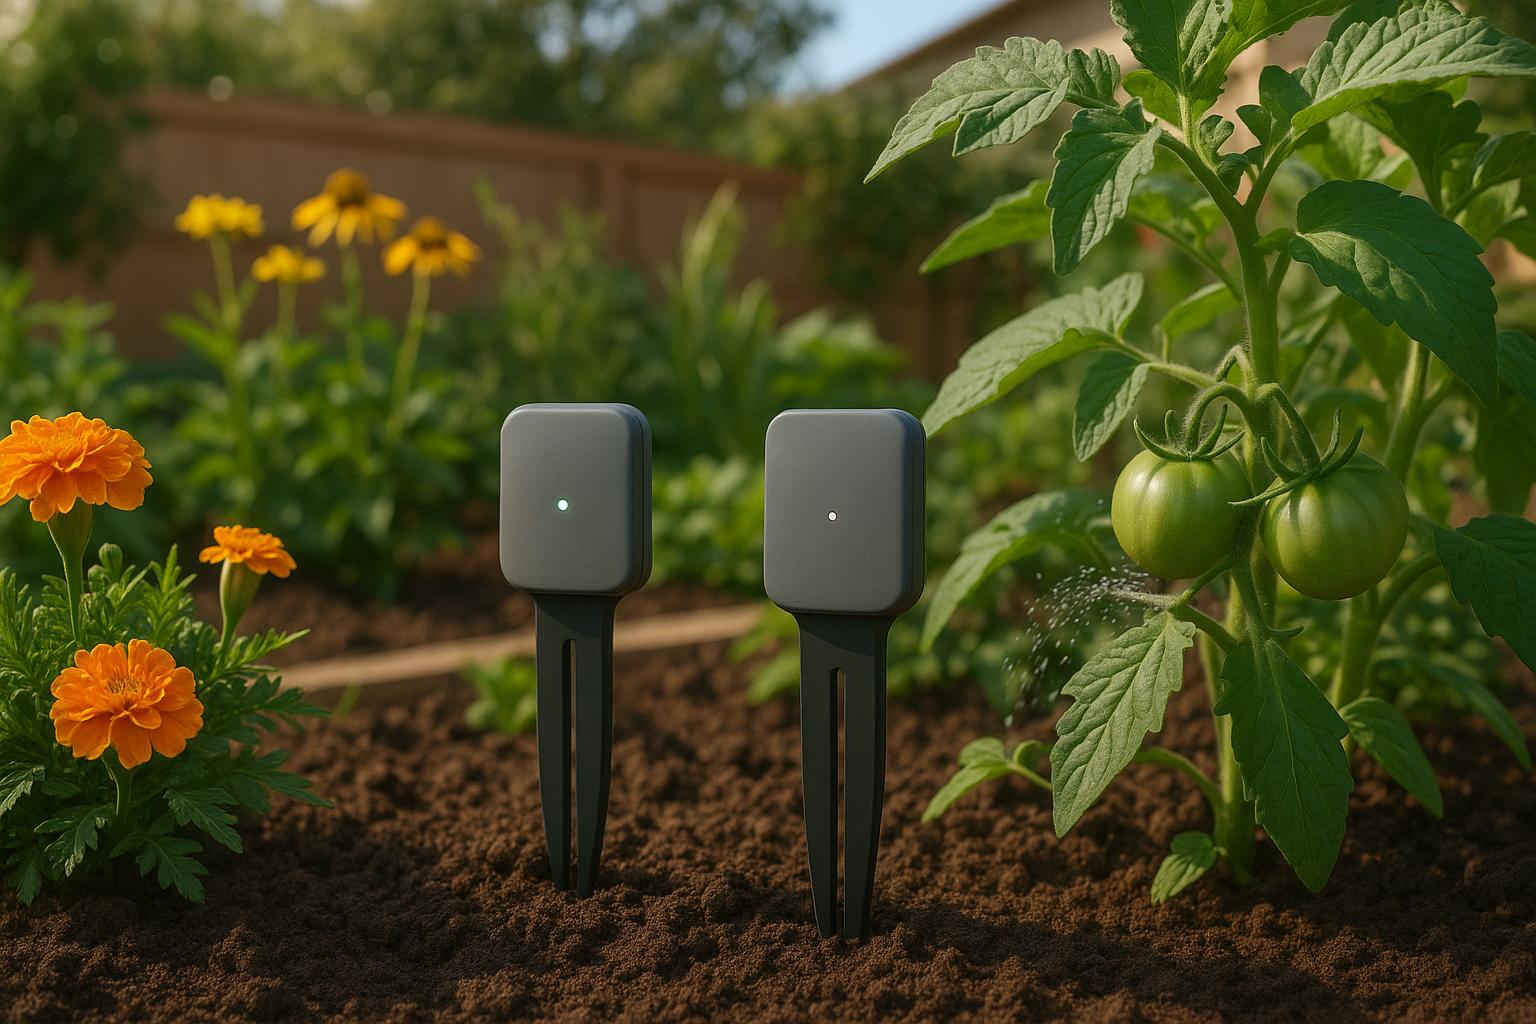
Gardening just got smarter! Smart soil sensors paired with Home Assistant simplify plant care by automating watering based on real-time soil conditions. These sensors measure moisture levels and integrate with Home Assistant - a privacy-focused platform that connects them to irrigation systems, weather data, and more. The result? Efficient water use, healthier plants, and reduced garden maintenance.
Key Highlights:
- Soil Sensors: Devices like Sensoterra, Ecowitt, or DIY ESP32 setups monitor soil moisture accurately.
- Home Assistant: Automates watering schedules, tracks moisture trends, and integrates with smart irrigation systems like Rachio or OpenSprinkler.
- AI Tools: Platforms like AIGardenPlanner offer garden design and plant recommendations tailored to your soil data.
- Water Efficiency: Save up to 15,000 gallons per year by optimizing irrigation based on real-time data.
With the right sensors and setup, you can build a connected garden that stays hydrated without wasting water. This guide covers sensor options, installation tips, and how to create automated watering systems using Home Assistant.
WSMS#1 - Wireless Sensor to control garden irrigation with ESPHome and Home Assistant

Selecting Hardware for Soil Sensor Setup
Choosing the right soil sensors involves balancing compatibility, durability, and the specific needs of your garden. Below, we’ll explore some top sensor options, connection methods, and tips tailored for U.S. users.
Best Soil Sensors for Home Assistant
The ThirdReality Smart Soil Moisture Sensor stands out as a budget-friendly option at $19.99. With a three-year battery life and Zigbee connectivity, it’s easy to integrate into various smart home ecosystems. However, some users, like Joe Gombarick, have reported frequent disconnection issues [3].
Another strong contender is the Ecowitt WH51 Soil Moisture Sensor, priced at $22.99. This sensor uses 433MHz RF communication and connects through Ecowitt's Wi-Fi gateway, enabling local control without relying on cloud services. Many users have praised its improved range and reliability [3].
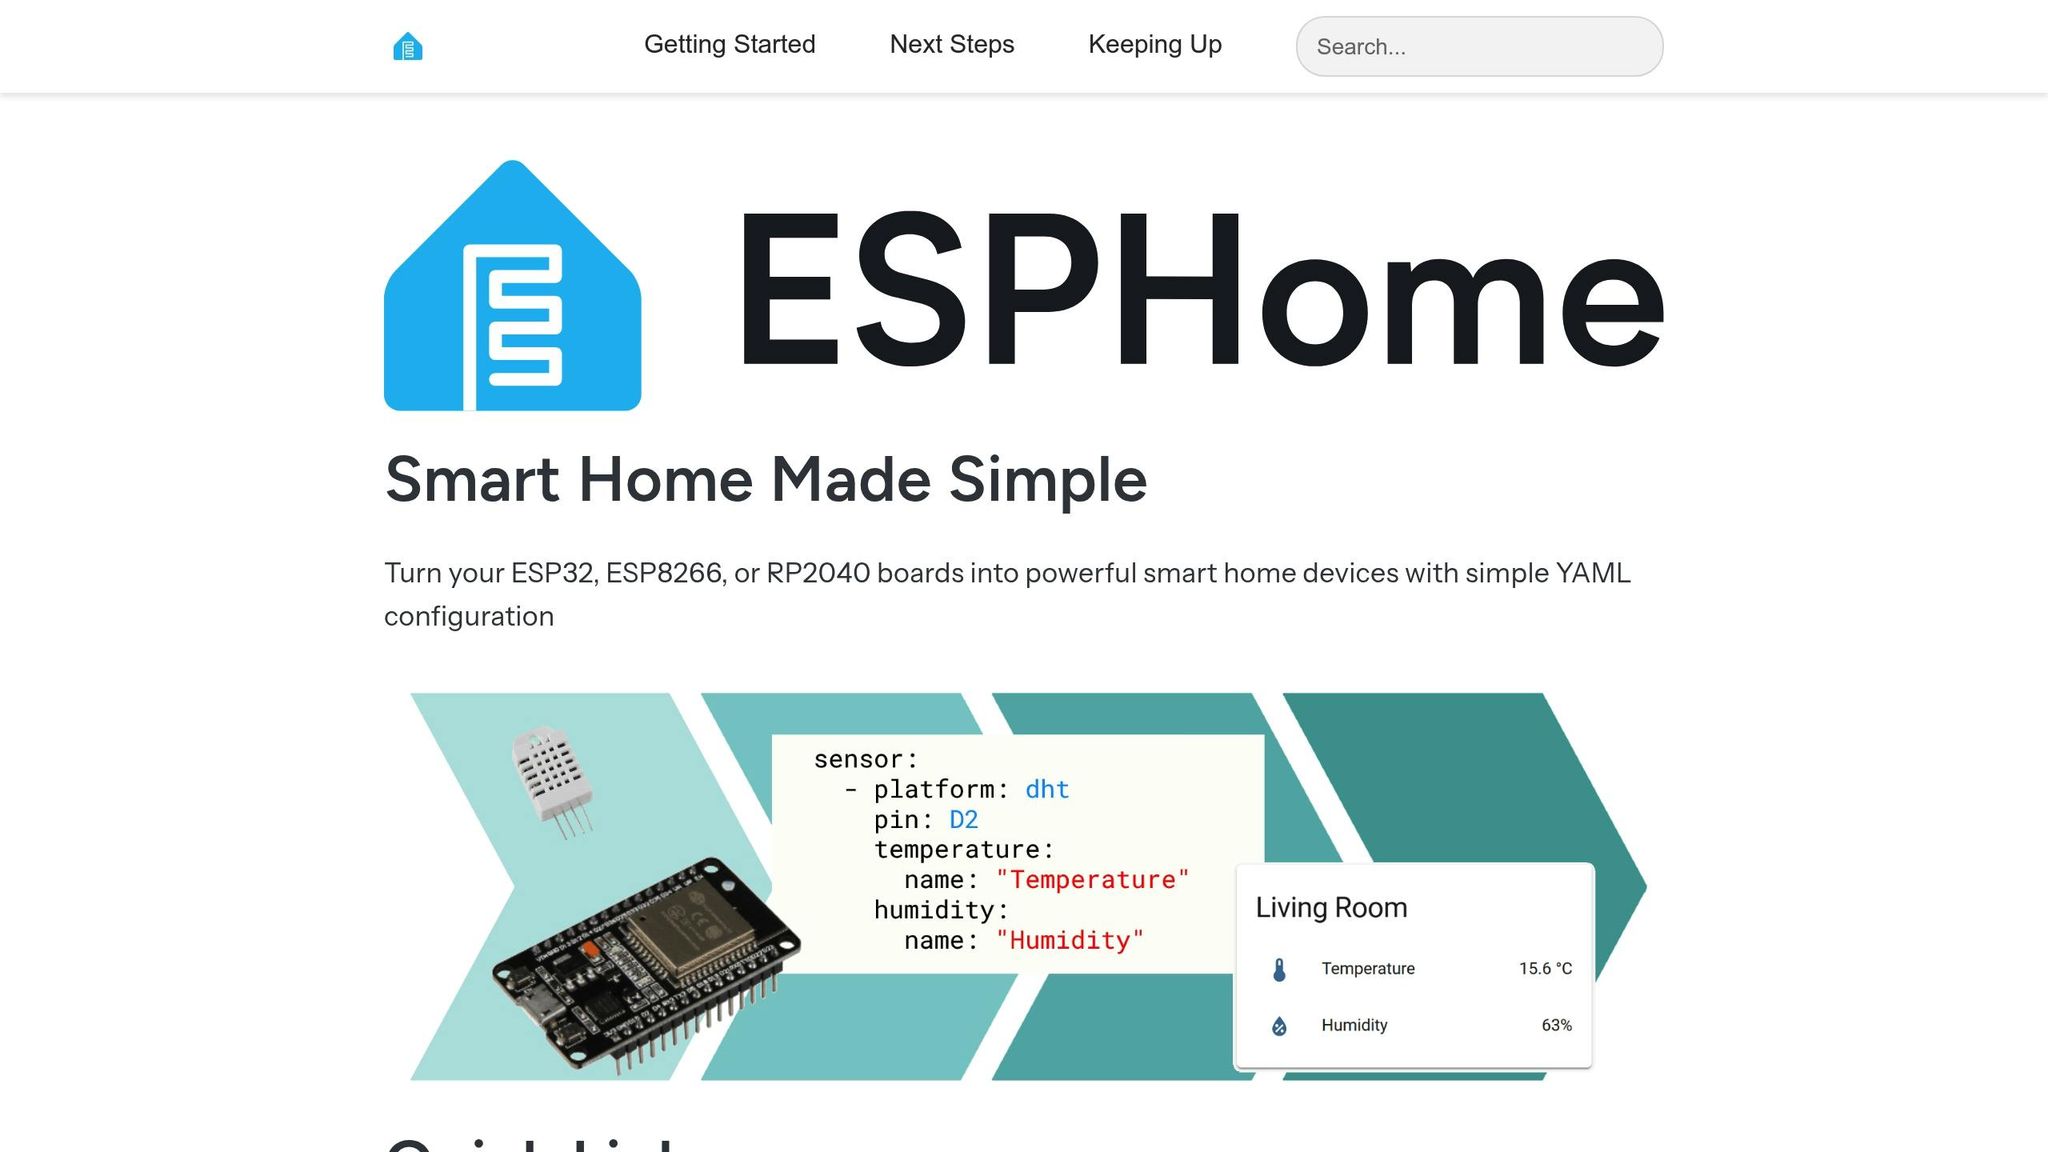
For those who enjoy tinkering, ESP32-based DIY solutions offer unmatched customization. By pairing ESP32 microcontrollers with VH400 sensors and using ESPHome for calibration, you can create a tailored setup. While this approach requires technical expertise, it allows complete control over how the sensor behaves and manages data [4].
Capacitive sensors are another excellent option for long-term use. Unlike resistive sensors, which are prone to electrode corrosion and typically last only several months to a year, capacitive models can last 1 to 3 years by avoiding direct soil contact. This makes them a better choice for outdoor installations where durability is a priority [9].
Once you've selected the right sensor, the next step is to ensure you have the best connectivity setup for seamless Home Assistant integration.
Wireless Connection Options
Zigbee connectivity provides a reliable way to integrate sensors with Home Assistant. It’s easy to set up, but range limitations can be an issue. For instance, the ThirdReality sensor has an Amazon rating of 3.6/5, with users appreciating its simplicity but noting occasional connectivity challenges [3]. Larger gardens may require additional Zigbee repeaters to maintain a stable connection [5].
433MHz RF offers a significant range advantage over Zigbee, Bluetooth, or Wi-Fi. Ecowitt sensors leverage this frequency by connecting to a Wi-Fi gateway, which then integrates with Home Assistant. This setup provides excellent range and local control, though it may require an RTL-SDR USB dongle and RTL433 software for configuration [6].
Bluetooth sensors are ideal for small or indoor gardens. However, they struggle with range, especially when walls or other obstacles like concrete or steel are present. To extend their usability, a dedicated Bluetooth gateway or proxy is often needed for reliable integration with Home Assistant [6][7].
Wi-Fi sensors are another option, offering direct network connectivity and decent range. However, they tend to consume more power, and some models have been criticized for software bugs. Choosing a reliable product is essential to avoid potential frustrations [7][8].
| Connection Type | Range | Power Usage | Setup Complexity | Best For |
|---|---|---|---|---|
| Zigbee | Medium | Low | Easy | Small to medium gardens |
| 433MHz RF | Excellent | Low | Moderate | Large properties |
| Bluetooth | Limited | Very Low | Easy | Container gardens, indoor use |
| Wi-Fi | Good | High | Easy | Medium gardens with strong Wi-Fi |
US-Specific Hardware Requirements
When choosing sensors, consider hardware features suited to U.S. conditions, including power compatibility, durability, and environmental factors.
Power compatibility is straightforward, as most soil sensors run on standard batteries readily available in the U.S. For example, the ThirdReality sensor’s three-year battery life minimizes the need for frequent replacements, and Ecowitt sensors offer similar longevity [5].
Outdoor durability is critical due to the diverse climate conditions across the United States. Look for sensors with insulated circuits and robust designs to handle extreme temperatures [9][10].
Weatherproofing is vital to protect sensors from moisture and ensure reliable performance throughout the irrigation season. With U.S. homeowners using nearly 50% more water outdoors than indoors, weatherproof sensors are a must for efficient garden management [11].
Range considerations are especially relevant for larger properties in suburban and rural areas. In such cases, 433MHz sensors are particularly advantageous due to their extended range.
Lastly, soil compatibility matters. U.S. gardens often feature diverse soil types, from clay-heavy to sandy compositions. Capacitive sensors generally perform well across these variations without needing frequent recalibration [9].
Installing Soil Sensors with Home Assistant
Once you've chosen your hardware, the next steps involve assembling, wiring, and calibrating your sensors. Each step is crucial to ensure your automated garden system delivers accurate and reliable data.
Sensor Assembly and Wiring Steps
Start by soaking the sensors for 30 minutes. This improves their sensitivity, ensuring they provide better readings.
For WATERMARK 200SS sensors (priced at $36 each), you'll need a PVC pipe, PVC glue, a PVC cap, and outdoor-rated wire. These sensors pair well with a digital data reader (around $210) for initial testing and calibration [13].
If you're using an ESP32 DIY setup, you'll need to build a voltage divider circuit. This protects the ESP's analog input and ensures accurate readings [16].
For capacitive sensors, mix soil and water into a slurry before inserting the sensor. This eliminates air gaps that could cause inaccurate readings and unreliable automation triggers [12].
Run the sensor cables through PVC conduit or wire loom, securing them with UV-resistant zip ties [15]. To install the sensors, use a hand auger or soil probe to create holes. For professional-grade accuracy, you could opt for the TEROS Borehole Installation Tool [14][15].
Adding Sensors to Home Assistant
Integrating your sensors into Home Assistant can be done using ESPHome, Zigbee, an RF gateway (for Ecowitt), or Bluetooth. Follow the specific integration steps for each, ensuring the devices are in discovery mode.
For custom sensors using ESPHome, configure the YAML file to include the analog pin, sensor name, and update intervals. If you're working with battery-powered setups, connect GPIO16 to the RST pin to enable deep sleep mode, which helps preserve battery life [16].
Take, for example, the Apollo PLT-1 plant sensor. This device integrates seamlessly with Home Assistant using ESPHome firmware. It tracks soil moisture, air temperature, humidity, illuminance, and UV rating, displaying all this data in Home Assistant's interface [16].
Once integrated, these sensors provide the data needed to automate your garden effectively.
Sensor Calibration and Problem Solving
Calibration is where the magic happens. To ensure your sensors deliver dependable data, record "wet" and "dry" voltage thresholds by testing the sensors in saturated and dry soil [17]. Use these values to calculate percentage-based moisture readings in Home Assistant.
Recalibrate your sensors every three months and inspect them annually. Clean off any rust or mineral buildup to maintain performance [19].
Here are some common issues you might encounter and how to address them:
| Problem | Cause | Solution |
|---|---|---|
| Wacky numbers | Drift over time | Recalibrate the sensor to restore accuracy [19] |
| Sensor not detecting | Rust or buildup | Clean the probe to remove corrosion [19] |
| Static interference | Wires near power sources | Shield cables and ensure proper grounding [19] |
Electrical interference can be a challenge, especially in gardens with nearby irrigation controllers or outdoor lighting. To minimize this, use shielded cables, avoid running sensor wires parallel to power lines, and ensure each sensor is grounded properly [18].
Soil type also plays a role in calibration. Sandy soils drain quickly and might require more frequent watering, while clay soils hold moisture longer. Instead of focusing on absolute values, observe moisture trends when setting up irrigation automation [18].
For the best results, install sensors 6–8 inches deep to monitor the root zone of most plants. Press the soil firmly around the sensor to avoid air pockets, which can lead to inaccurate readings.
If you're using battery-powered sensors, deep sleep mode (configured via GPIO16) can extend battery life. You might also consider a TP4056 charging/protection board for lithium-ion batteries [16]. For ESP32 connection issues, check your Wi-Fi signal strength and power supply. A Wi-Fi extender can help in remote garden areas.
Finally, weatherproof your setup by using enclosures to protect electronic components and sealing all connections against moisture. If you live in an area with freezing winters, consider removing the sensors during the cold months to prevent damage.
sbb-itb-4d6a8dd
🚀 Ready to Reinvent Your Garden?
Join thousands of homeowners who have transformed their gardens using our AI design tool. Upload one photo to explore endless possibilities.
Get your AI garden designs →Setting Up Automated Garden Watering
Use real-time soil data to trigger watering only when needed, helping plants thrive while saving water.
Building Watering Automations
Home Assistant provides two ways to set up watering automations: using YAML configuration files or the visual automation editor. Both options allow you to start irrigation when soil moisture drops below a set level.
To get started, adjust trigger levels based on each plant’s specific water needs. In the visual editor, create a new automation using a numeric state trigger. This trigger activates when soil moisture falls below your chosen threshold. Add a time condition to avoid watering during peak sun hours (typically 10 AM to 4 PM), when water loss from evaporation is highest. To prevent the system from cycling on and off too frequently, include a cooldown period that checks if watering occurred within the last 4–6 hours.
Here’s an example of YAML code to automate watering when soil moisture dips below 30%:


Your garden could look like this!
Upload a photo and get professional garden design ideas in seconds.
Design your garden in 3D — free, no sign-upautomation:
- alias: "Water Tomato Bed"
trigger:
- platform: numeric_state
entity_id: sensor.tomato_bed_moisture
below: 30
condition:
- condition: time
after: "06:00:00"
before: "09:00:00"
action:
- service: switch.turn_on
entity_id: switch.tomato_irrigation_valve
- delay: "00:15:00"
- service: switch.turn_off
entity_id: switch.tomato_irrigation_valve
Once your automation is set, you can enhance it by linking it with smart irrigation controllers for more advanced control.
Connecting Smart Irrigation Systems
Expand your Home Assistant setup by integrating it with modern irrigation controllers like Rachio or OpenSprinkler, both of which work well with soil moisture sensors [2].
For Rachio, install its official Home Assistant component to sync moisture readings with the controller. This integration allows the system to skip scheduled watering sessions when sensors detect sufficient moisture, saving water.
OpenSprinkler is a great choice for DIY enthusiasts. It connects directly to Home Assistant and supports detailed zone control using multiple sensor inputs. You can also manage 24V AC solenoid valves through relay modules connected to ESP32 boards, giving you complete control over watering schedules and conditions [20].
These integrations create a flexible system that adjusts irrigation based on real-time data, laying the groundwork for water-efficient gardening.
Water Saving and Efficiency Methods
Smart irrigation systems with soil sensors can significantly cut water use while keeping plants healthier. For example, WaterSense-certified soil moisture sensors can save an average household over 15,000 gallons of water each year [23].
Incorporate weather forecasts into your watering schedules to avoid unnecessary irrigation [2]. Home Assistant can pull local weather data and skip watering cycles if rain is expected within 24 hours. Rain sensors can also stop watering during and after rainfall [22].
For more precise watering, calculate evapotranspiration - a measure of how much water plants lose due to heat, humidity, and wind. Home Assistant supports custom components for this, allowing you to fine-tune irrigation run times [21].
Schedule watering for early morning hours (5 AM to 9 AM) to reduce evaporation and minimize turf diseases [22]. Avoid evening watering, as it can encourage fungal growth and pests. Additionally, use deep, infrequent watering cycles to encourage strong root growth. Instead of brief daily sessions, water deeply every 2–3 days when sensors indicate it's necessary. This approach helps plants become more drought-resistant and reduces overall water use [24].
Track soil moisture trends using Home Assistant’s history graphs to refine your watering schedules [2]. Identify zones that dry out quickly and adjust irrigation times or sensor placement as needed. Create dashboards to monitor daily, weekly, and monthly water usage [2], helping you spot inefficiencies and measure improvements.
"Sensoterra's wireless soil moisture sensors provide accurate soil moisture data (99.5% with soil calibration) and ease of use." - Jessica Nuboer, Marketing & Communications, Sensoterra [2]
Tailor your watering schedule to specific zones, taking into account factors like sunlight, plant types, and soil conditions. For instance, south-facing beds often need more frequent watering than shaded areas, while mature trees typically benefit from less frequent but deeper watering compared to annual flowers.
Improving Garden Management with AI and Data
Using soil sensor data alongside AI tools can take your garden management to the next level. By combining these technologies with your existing sensor setup and automation systems, you can create a smart, responsive system that caters to your plants' needs while maintaining the overall health of your garden.
Monitoring and Understanding Soil Data
Soil moisture data becomes incredibly useful when you analyze it over time, revealing patterns and trends that help you fine-tune your watering schedule. For example, Home Assistant’s history graphs can show how moisture levels fluctuate daily, weekly, and seasonally, giving you a clearer picture of your garden’s water needs.
Factors like soil texture, structure, organic content, density, temperature, and salinity all affect water retention. For instance, clay soils hold water longer, while sandy soils dry out more quickly. Monitoring each garden zone can highlight areas that lose moisture faster - like south-facing beds, which tend to dry out more in the afternoon compared to shaded areas that retain moisture better.
You can create custom dashboards in Home Assistant to track Volumetric Water Content (VWC) and Soil Water Tension (SWT). VWC gives insight into your garden's overall water balance, while SWT shows how water moves from the soil to plants and its availability for uptake [26]. Together, these metrics provide a detailed understanding of soil conditions.
Set up alerts to notify you when moisture levels drop below critical thresholds for specific plants. If you notice signs of water stress, adjust irrigation based on updated soil tension data until conditions improve [26].
Weather integration adds another layer to your analysis. Use a 14-day weather forecast and historical data to identify drought trends and plan irrigation for vulnerable areas [26]. Home Assistant can pull weather data from OpenWeatherMap to predict the impact of upcoming rainfall on your soil moisture levels [29].
"Soil moisture is the critical parameter in agriculture. If there is a shortage or overabundance of water, plants may die." - EOS [26]
Seasonal trends also play a role. Spring often brings rapid moisture changes as plants grow actively, while fall data can guide reduced watering as plants enter dormancy. These insights can feed directly into AI-powered garden planning tools for even more efficient management.
Using AIGardenPlanner for Garden Design

AIGardenPlanner uses your soil sensor data to create intelligent garden design recommendations. By analyzing moisture patterns alongside climate data and plant needs, the platform provides tailored advice. Simply upload photos of your garden layout, and the AI incorporates your soil conditions into its suggestions for plant placement and garden modifications.
The AI Plant Advisor tool takes your location and soil moisture data into account to recommend plants that will thrive in your garden. These recommendations are based on real sensor readings, ensuring they align with your garden’s unique conditions.
For even better results, combine the AI’s suggestions with local plant knowledge to refine your choices [25]. AIGardenPlanner adapts its advice to match your garden’s moisture levels and growing conditions, ensuring practical and effective designs.
The platform also includes detailed growing guides to complement its recommendations. For example, if the AI suggests drought-tolerant plants for areas with low moisture retention, the guides provide specific care instructions to support those plants.
For professional landscapers, AIGardenPlanner offers commercial licensing options. This allows users to create custom garden designs based on sensor data patterns, building a library of layouts tailored to different moisture conditions.
You can also use historical sensor data to develop seasonal garden plans. By integrating this data with AIGardenPlanner’s layouts, you can create strategies for plant rotations and seasonal adjustments that reflect how moisture levels change across different zones throughout the year.
Expanding Your Sensor System
To get a more comprehensive view of your garden’s conditions, consider adding sensors that measure light levels, temperature, and humidity in addition to soil moisture. This expanded monitoring provides a fuller understanding of your garden’s environment.
ESPHome integration with Home Assistant makes it easy to connect these devices via WiFi [27]. You can also integrate weather stations and forecasts to avoid overwatering during rainy periods [27].
For larger properties, remote sensing options can measure moisture across wider areas than traditional sensors [26]. Adding backup sensors can help prevent disruptions in your automation system [28].
Beyond basic moisture monitoring, track Total Available Water (TAW) - the difference between the soil’s moisture content at field capacity and the permanent wilting point [26]. This metric offers deeper insights into how much water is actually accessible to your plants.
Customize your sensor network for specific areas like vegetable beds, flower borders, or lawns. Each zone can have unique monitoring thresholds and automation rules tailored to its plants and soil type.
Set up mobile alerts to notify you of critical sensor readings, such as dangerously low moisture levels or equipment malfunctions. Home Assistant can send these alerts directly to your phone, allowing you to address issues quickly, even when you’re away. By expanding your sensor network, you can build a smarter, more integrated garden management system that works seamlessly with your existing automation tools.
Summary and Main Points
Smart soil sensors integrated with Home Assistant make gardening more efficient by ensuring plants get the right amount of water, reducing maintenance, and promoting healthier growth. Instead of relying on guesswork, these systems use real-time soil data to make informed decisions.
By preventing overwatering - a common issue with traditional methods - these sensors save water and protect plant health. When paired with Home Assistant, the system delivers precise irrigation, ensuring water is used efficiently and only when needed [1].
Home Assistant acts as the control center, connecting various garden devices to enable advanced automations. You can customize notifications for low soil moisture, create dashboards to track moisture trends, and even adjust irrigation schedules automatically based on weather forecasts [2].
AI tools take automation a step further. For example, AIGardenPlanner uses soil sensor data and climate information to recommend plants and garden designs tailored to your specific conditions.
These systems also support sustainable gardening. By optimizing water use and preventing waste, they help reduce runoff and minimize the leaching of fertilizers and pesticides, which benefits the environment [1][30].
The setup is flexible, allowing you to start with basic soil moisture monitoring and expand over time with additional sensors like temperature, humidity, and light. Since most crops begin to show stress when soil water depletion reaches 30–50% of their water-holding capacity [12], smart sensors help detect these conditions before they become critical.
Combining precise sensor data, automation, and AI-driven planning, this approach simplifies garden management while supporting environmental responsibility.
FAQs
How can I choose the best soil moisture sensor for my garden and local conditions?
Choosing the right soil moisture sensor for your garden involves looking at a few key factors. First, take into account your soil type - whether it's sandy, loamy, or clay-based. Different soils may need sensors to be calibrated for accurate readings. For many gardeners, capacitive sensors are a go-to option because they’re durable and provide quick feedback. However, keep in mind that these sensors work best in settings where regular calibration is feasible.
Next, think about the size of your garden and how much area the sensor can cover. Most soil moisture sensors are capable of monitoring areas up to 1–2 acres, so select one that fits your garden's size. Don’t forget to weigh other important factors like cost, ease of use, and durability, especially if your garden experiences fluctuating moisture levels, salinity, or extreme weather conditions.
By keeping these factors in mind, you’ll be better equipped to choose a sensor that aligns with your garden’s specific requirements and helps streamline its care.
What are the advantages of using smart soil sensors with Home Assistant for managing your garden?
Integrating smart soil sensors with Home Assistant transforms garden care into a more efficient and precise process. These sensors deliver real-time soil moisture readings, enabling Home Assistant to automate your irrigation system. The result? Your plants receive just the right amount of water exactly when they need it, reducing water waste and encouraging healthier growth.
Beyond automation, these sensors provide detailed insights into soil conditions, helping you steer clear of overwatering or underwatering. By watering only when it's genuinely needed, you can make better use of resources, nurture healthier plants, and even enhance crop yields. It's a straightforward yet powerful way to keep your garden flourishing with less effort.
How can I use AI tools like AIGardenPlanner with soil sensors to improve my garden design and plant care?
AI tools like AIGardenPlanner can take your gardening to the next level by using data from soil sensors to offer smart design and care suggestions. These sensors deliver real-time updates on moisture, pH levels, and nutrient content, helping you fine-tune watering and fertilization to suit your plants' specific needs.
With this information, AIGardenPlanner creates custom garden layouts tailored to your soil type, local climate, and personal style. This not only boosts plant health and saves water but also streamlines the entire gardening process, making it easier and more enjoyable - whether you're just starting out or have years of experience under your belt.
🎨 Visualize Your Dream Garden Today!
Transform any outdoor space into a professional landscape design in minutes. Just upload a photo, choose your style, and let our AI do the rest.
Start your garden transformation now →