Preventing Algae in Drip Systems: Best Practices
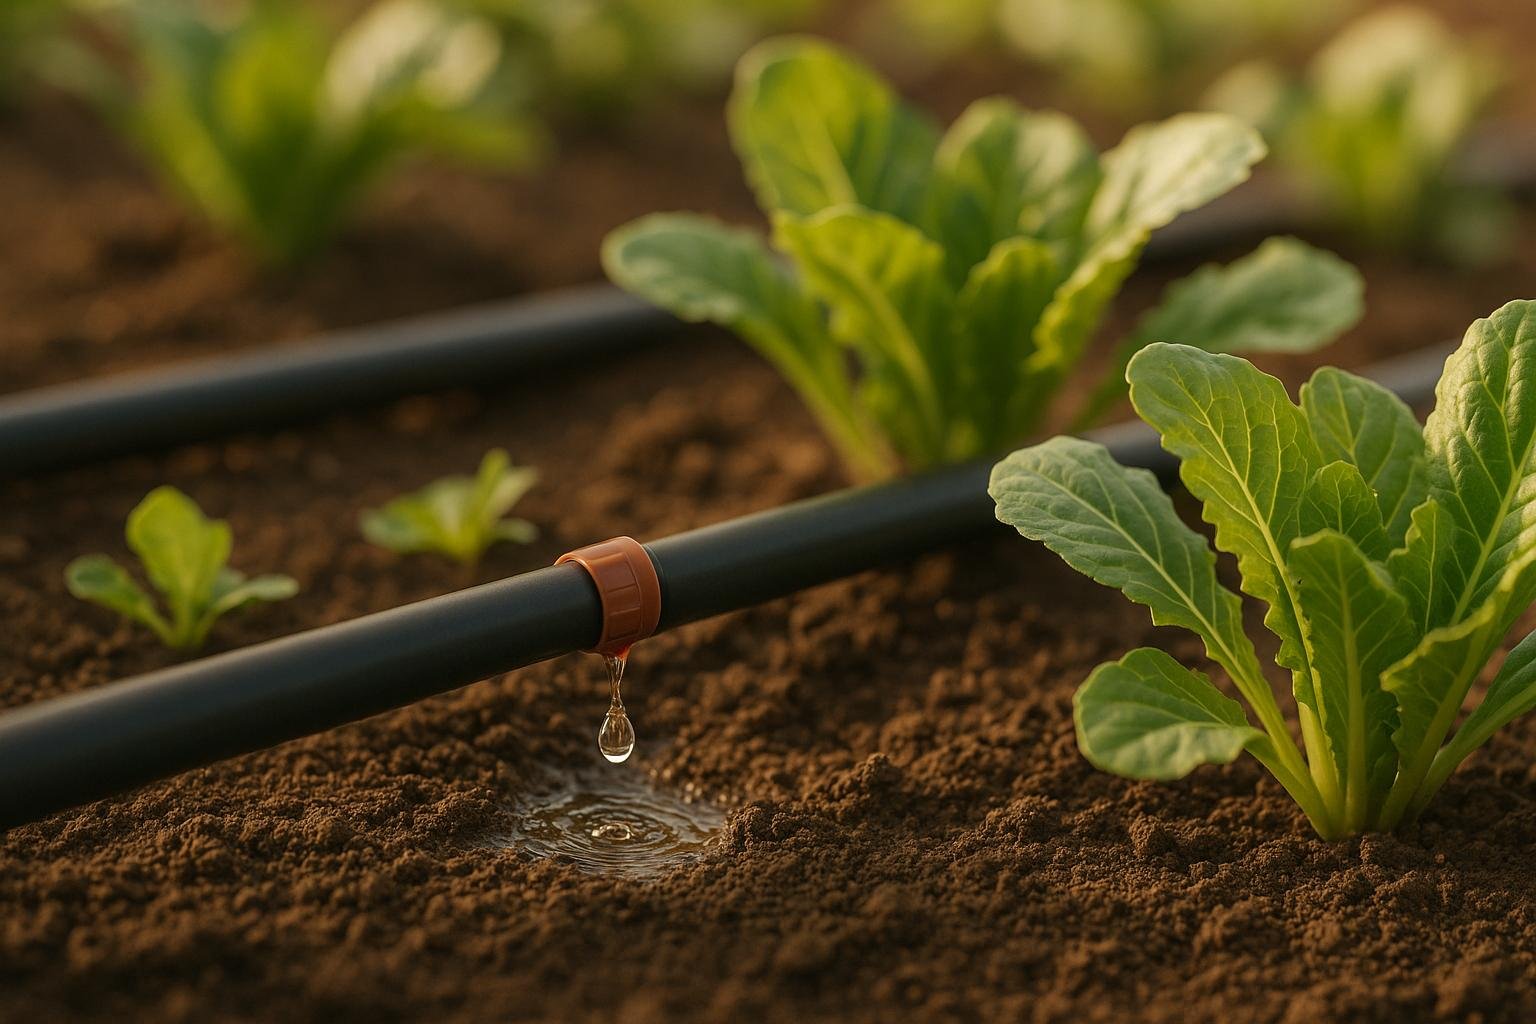
Algae in drip irrigation systems can clog emitters, reduce water flow, and damage plant health. The warm, damp conditions inside these systems, especially in summer, create the perfect environment for algae to thrive. But the good news? You can stop algae before it starts.
Key Takeaways:
- Causes of Algae Growth: Poor water quality, sunlight exposure, and unsuitable pipe materials are the main culprits.
- Prevention Tips:
- Use opaque pipes (like black polyethylene) to block sunlight.
- Install effective filtration systems to keep out debris and microorganisms.
- Opt for underground or shaded layouts to limit light exposure.
- Cleaning Methods: For existing algae, flush the system with solutions like diluted bleach, hydrogen peroxide, or muriatic acid, followed by thorough rinsing.
- Smart Technology: Use sensors to monitor pH, water flow, and pressure for early detection of algae-related issues.
How Algae Affects Drip Systems
What Algae Is and How It Forms
Algae are photosynthetic organisms that range from tiny, single-celled microalgae to larger, multicellular forms. They’re considered lower plants because they rely on sunlight for energy through photosynthesis, even though they lack roots, stems, or leaves [3]. You may also come across cyanobacteria, often called blue-green algae, in irrigation systems. Despite the name, these are actually photosynthetic bacteria that behave similarly to algae [3][4].
These organisms can infiltrate your drip system as tiny particles or whole cells that bypass filters. They often originate from surface water sources like ponds, rivers, or open storage tanks [1][2]. Once inside, algae attach to surfaces within the irrigation lines, forming clusters or mats that adhere to pipe walls and block emitter openings [2][3].
Exposing drip lines to direct sunlight creates the perfect conditions for algae to thrive.
Problems Algae Causes in Your System
When algae take hold, they can seriously impact your drip system’s performance. A major issue is clogged emitters - algae colonies grow and block the openings, restricting water flow [6]. But the trouble doesn’t stop there. Algae can also clog pipes, filters, sprinklers, and micro-outlets, causing pressure drops throughout the system [4][6]. You might even notice green growth on emitter surfaces or inside flow channels, a clear sign of obstruction [6].
How to Spot Algae in Your Drip System
Catching algae early can save you a lot of trouble. Start by inspecting your water source for visual signs. Algae-contaminated water can appear in various colors - green, blue-green, khaki, brown, white, blue, yellow, orange, or even red, depending on the type of algae [4][5]. In the beginning stages, you might spot small green specks floating in the water [4].
Scum formations on the water surface are another giveaway. These can look like green paint, foam, or mats that resemble spilled paint. Sometimes, they leave sky-blue marks on rocks or plants along the water’s edge [4][5].
The smell is another clue. Algae-contaminated water often has a strong, earthy odor, while decaying algae blooms can produce a foul smell similar to rotten eggs or decomposing plants [4][5].
Inside your irrigation system, watch for reduced water flow from emitters, visible green growth on emitter surfaces, or pressure drops that suggest widespread clogging. These are red flags that need immediate attention [6].
If you suspect algae contamination - particularly blue-green algae - it’s a good idea to consult an analytical lab for expert identification [4]. Early detection allows you to take action before the problem escalates.
Best Practices for Algae Prevention in CEA

Main Causes of Algae Growth
Algae flourish when the right conditions align, and understanding these factors is key to keeping their growth in check.
Water Quality and Untreated Water
Surface water sourced from ponds, lakes, rivers, streams, or storage pits is rich in algae, bacteria, and other microorganisms [7][8]. Algae cells and their residues are often too small to be caught by filters, allowing them to collect inside irrigation systems. Over time, this buildup clogs drippers and reduces water flow.
When algae residues decompose, they encourage the growth of slime-forming bacteria. These bacteria, when mixed with mineral particles, create additional blockages in the system [7]. Suspended solids exceeding 100 ppm significantly increase the risk of clogging, and phosphorus levels above 1.0 mg/L further accelerate algae growth [8][9].
While water quality is a major factor, environmental conditions also play a crucial role in algae development.
Light Exposure and Pipe Materials
Sunlight is a primary driver of algae growth through photosynthesis [10]. Any part of an irrigation system exposed to direct sunlight becomes a potential hotspot for algae. Clear piping is particularly problematic, as it allows sunlight to penetrate, creating an ideal environment for algae. Even pipes that aren't fully transparent can let in enough light during the day to support growth. Above-ground components like drip lines, exposed main lines, and surface-mounted distribution pipes are especially prone to algae buildup.
Reducing sunlight exposure to these vulnerable areas is one of the most effective strategies for controlling algae growth [11].
🚀 Ready to Reinvent Your Garden?
Join thousands of homeowners who have transformed their gardens using our AI design tool. Upload one photo to explore endless possibilities.
Get your AI garden designs →How to Prevent Algae Growth
Keeping algae at bay requires smart design choices that ensure your system runs smoothly without clogs or interruptions.
Installing the Right Filtration Systems
A good filtration system is your first line of defense. It keeps debris out of your drip irrigation setup and minimizes the risk of clogs. Make sure to select a filter that matches both your water source and the size of your system. This step not only protects your system but also helps maintain its overall efficiency.
Picking the Right Pipes and System Layout
The type of pipes you use and how you lay out your system can make a big difference. Opt for opaque materials like black polyethylene tubing, which blocks light and discourages algae from forming[12]. For even better results, consider designing the system as a subsurface drip irrigation setup. By keeping the system below ground and away from light, you add an extra layer of protection against algae growth[12].
sbb-itb-4d6a8dd
Cleaning Existing Algae Build-Up
If algae has settled into your drip irrigation system, here’s how to clean it up and get things running smoothly again.
Cleaning and Flushing with Chemicals
For chemical treatments, warm water between 70-80°F works best. One of the simplest and most effective options is chlorine bleach. Start by disconnecting your system from the water source and removing all emitters or drippers. Mix a solution of 1 part household bleach to 10 parts water.
Fill the system with this bleach solution and let it sit for 2-4 hours. Afterward, flush the entire system thoroughly with clean water until there’s no chlorine smell left.
If you’re working with systems used for edible plants, opt for a 3% hydrogen peroxide solution instead. Mix equal parts peroxide and water for a gentler approach that’s safe for your plants and system components. Allow this solution to circulate for 1-2 hours, then flush the system with clean water.
For algae combined with mineral deposits, a 1:20 muriatic acid solution is highly effective. Always wear protective gear, including gloves and eye protection, and remember: add acid to water - never the other way around. This solution typically works within 30 minutes, after which you must flush it out thoroughly.
Once the cleaning chemicals have done their job, flush the system completely to remove any residue before restarting.
Post-Treatment Flushing and System Restart
After using chemicals, a thorough flush is essential to ensure your irrigation system is safe and functioning properly. Flush for at least 15-20 minutes if you used chlorine, or 10 minutes for hydrogen peroxide. Check the water coming out of the emitters - it should be clear and free of any chemical odor.
Next, test the water’s pH level, which should fall between 6.0-7.5. If the pH is still too high, continue flushing until it stabilizes.
Inspect all emitters and replace any that are damaged or clogged with algae. Emitters showing visible residue or reduced water flow should not be reused.
Before resuming normal irrigation, run a test cycle with clean water for 30 minutes. This step ensures proper water flow throughout the system and helps identify any remaining blockages or issues.
Finally, document the cleaning date and method used. Keeping a record allows you to track how often cleaning is necessary and which methods are most effective for your system and water conditions.
Smart System Design and Technology
Building on preventive methods and regular maintenance, smart system design takes protection to the next level with built-in monitoring and automation. By incorporating these elements, you can significantly reduce algae growth and cut down on maintenance efforts. Modern sensors and controls make it possible to address issues before they escalate.
Designing Systems to Prevent Algae
Preventing algae starts with thoughtful system layout. Position the main filter as close as possible to the water source, and run distribution lines underground or in shaded areas to limit light exposure. For any above-ground sections, use opaque covers to block sunlight.
Automating chemical treatments is another key step. This ensures water stays disinfected without requiring constant manual adjustments. Pressure-compensating emitters are also helpful, as they maintain consistent water flow across the system. Additionally, designing the irrigation layout with isolatable zones - using well-placed ball valves - makes it easier to perform targeted maintenance without disrupting the entire network.
Using Smart Tools for Monitoring
Smart sensors can monitor critical factors like pH, conductivity, temperature, and turbidity in real time, sending alerts when conditions suggest algae might develop.
Flow and pressure sensors are particularly useful for detecting subtle changes that may indicate clogs or algae buildup. When linked to automated controllers, these sensors can adjust system operations, such as triggering extra flushing cycles, to address risks early. The data collected from these devices also helps refine system design through advanced planning tools.
Using AIGardenPlanner for Better Planning
AIGardenPlanner offers AI-powered tools to create irrigation layouts designed to combat algae naturally. Its AI Plant Advisor takes into account local climate and water quality to recommend optimal plant placement and water distribution strategies.
Conclusion
Keeping algae out of your drip system requires a combination of smart planning, regular upkeep, and modern tools. It all begins with understanding your water quality through a thorough assessment and installing the right filtration system. These initial steps create a solid foundation for effective algae prevention.
Consistent maintenance is key. Regularly flushing your system clears out residues that can encourage algae growth [13]. Pairing this with the use of solid black plastic lines, which block light from reaching the water, further minimizes the risk of algae forming.
When applied properly, chemical treatments can also help manage and prevent organic buildup [13][14]. Always handle these chemicals with care - never mix them - and make sure to flush your system thoroughly between applications.
Smart monitoring tools, like pH sensors and flow monitors, add another layer of protection by identifying potential problems early. These tools, especially when paired with advanced design aids like AIGardenPlanner, help ensure your system stays ahead of algae issues.
🎨 Visualize Your Dream Garden Today!
Transform any outdoor space into a professional landscape design in minutes. Just upload a photo, choose your style, and let our AI do the rest.
Start your garden transformation now →FAQs
What materials and setup can help prevent algae in drip irrigation systems?
To keep algae from taking over your drip irrigation system, begin with reliable filters - options like screen, sand, disc, or centrifugal filters are great for trapping debris and organic material before the water flows into the system. Adding safe treatments, like chlorine or copper sulfate, occasionally can also help keep algae at bay.
Make sure your filters are installed correctly and take the time to flush the pipelines regularly to clear out any sediment or organic buildup. A clean, well-maintained system not only keeps algae in check but also ensures everything runs smoothly for the long haul.
How can smart technology help prevent algae growth in drip irrigation systems?
Smart technology brings practical solutions to keep algae at bay in drip irrigation systems. One key tool is real-time monitoring sensors, which keep an eye on water quality by detecting indicators like chlorophyll levels - an early sign of algae.
On top of that, AI and machine learning step in to analyze the sensor data, spotting patterns and predicting potential algae growth. This means you can address the issue before it becomes a problem.
Some systems go a step further with ultrasound technology, which disrupts algae growth without causing harm to the environment. By blending these advanced tools, smart technology helps maintain cleaner irrigation water and minimizes algae-related headaches for your system.
What are the best and safest ways to remove algae from drip irrigation systems used for growing edible plants?
To clear algae from drip irrigation systems used for edible plants, chlorine-based solutions like sodium hypochlorite are a reliable choice. Applying a concentration of 10–20 ppm for 30–60 minutes is usually sufficient to get rid of algae and bacteria. Alternatively, you can use hydrogen peroxide at a rate of 4 ml per gallon of water, which works well for flushing out algae.
Once you've treated the system with any chemical solution, make sure to flush it thoroughly with clean water. This step is crucial to remove any chemical residue that could harm your plants. Always handle these treatments carefully, following safety guidelines to protect both your plants and yourself.
Related posts
Related Articles
Top 5 AI Apps for Plant Care Reminders
Explore the top 5 AI apps that simplify plant care with personalized reminders, health diagnostics, and tailored advice for every gardener.
Variable Rate Spraying: Key Performance Metrics
Explore how Variable Rate Spraying optimizes pesticide use, enhancing efficiency and sustainability while reducing costs and environmental impact.
AI-Powered Irrigation Apps: How They Work
AI-powered irrigation apps optimize water use, enhance plant health, and reduce costs, transforming how we manage gardens and farms.
AI in Spray Coverage: How It Improves Accuracy
AI technology is revolutionizing agricultural spray coverage, enhancing precision while cutting costs and reducing environmental impact.

How Climate Data Improves Planting Decisions
Explore how climate data and AI are transforming planting decisions, enhancing crop management, and boosting productivity in gardening and agriculture.

Effective Strategies to Keep Turkeys Out of Your Garden
Discover practical methods to deter turkeys from damaging your garden. Learn how to use physical barriers, scare tactics, and plant deterrents effectively.